Rocket Engines Made From Trash
Foundry
Micro
Mini
Midi
Dimples
Flight Test
How To...
Home
| Mini
|
Cast Nozzle II
Rocket Engines Made From Trash |
Foundry |
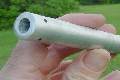
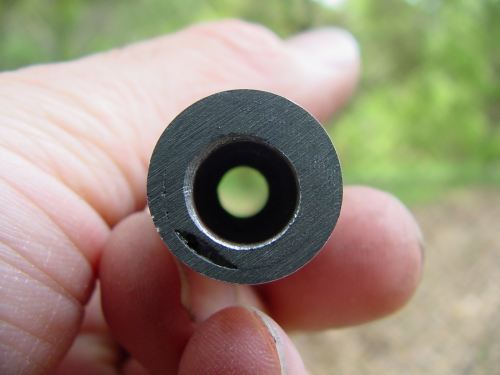
Second Engine Casing, "3/4 inch" tube
The micro engine is really cute, but it is rather hard for my big, clumsy hands to work things that small. I found a slightly-larger aluminum tube at the local Tractor Supply. Although the label clearly said "3/4 inch" the outside diameter was 0.7 to the penny, and the inside diameter 0.59. That leaves a wall thickness of 0.055 inch.
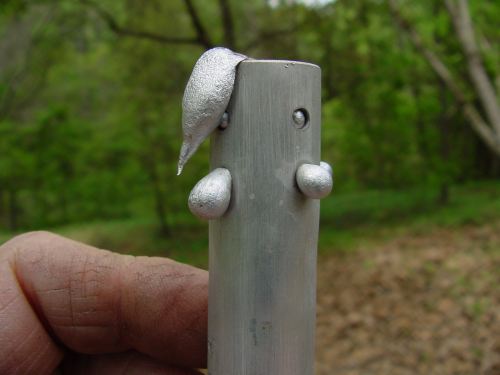
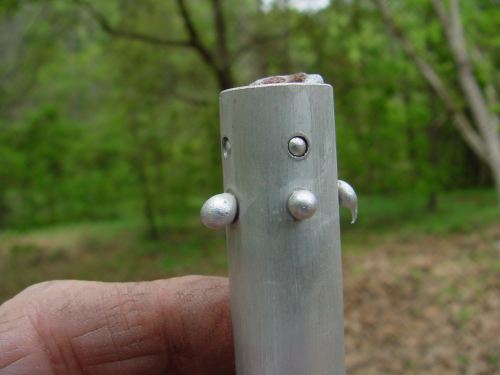
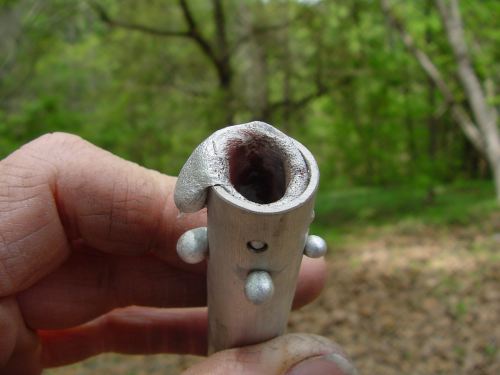
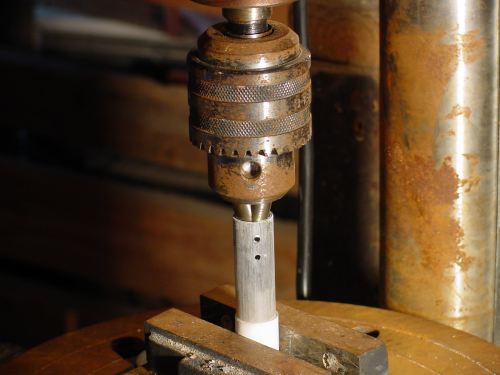
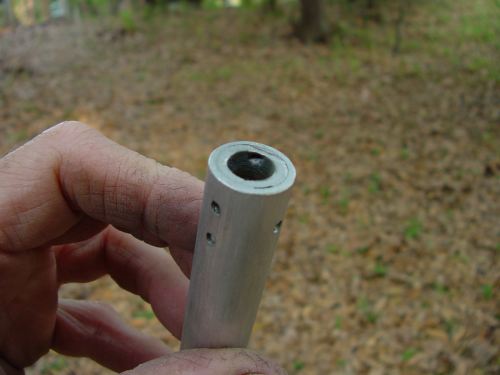
Since the nozzle on the micro-engine threatened to leave its casing, I drill eight 1/8 inch holes in the nozzle-area of the tube. I assume that the aluminum will flow into the holes, making little lugs that hold it in place. And I was right. Boy, did it flow! Salvador Dali would have been proud. But the result cleaned up pretty well, and the nozzle was almost centered.


Geek note: You might notice that my thumbnails are in cute little frames. That is because I discovered a program that facilitates the creation of thumbnails and automatically links them to their associated photographs. It is Irfanview, it is freeware, and it is available at: www.irfanview.com. It insists upon making the frames, which can be annoying. Otherwise, the program is excellent and worth many times its price.
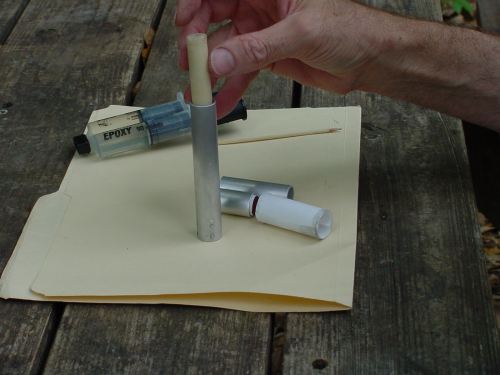
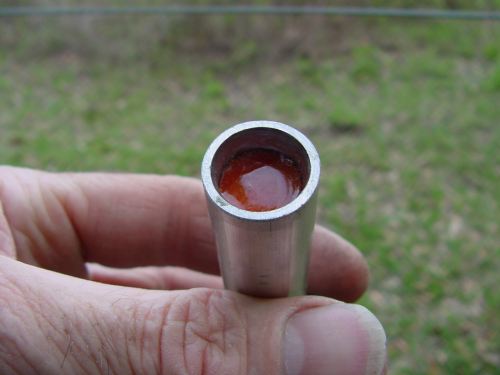
So I mold a13-gram uninhibited grain of rcandy 2 inches long. The mold is a 2-inch section of the same aluminum tube. The tube is lined with a strip of paper which has plastic adhesive tape on the inner side. This lets me get the finished grain out of the tube, peels off easily, and makes the grain slightly smaller than the engine tube for ease of loading and good flame circulation upon ignition.

Burn-through header
Instead of tapping this case and inserting a huge bolt, as in the micro-engine, I simply made a short cylinder of rcandy which is a nice tight fit, and glue it in with 5-minute epoxy. I have done this for years with paper tube rockets to create an ejection-charge initiator, and see no reason why it wouldn't work in the aluminum tube. Well, there is a possible reason. The header candy sometimes went out in flight. I suspect this due to the drop in pressure which occurs when the propellant charge burns out. These stronger casings can operate at higher pressure and will have a more radical drop. But now I have Red Iron Oxide and suspect that catalyzed rcandy will continue to burn when uncatalyzed propellant would have gone out. We shall see.


Oops! I modified the parameters in Irfanview and got uglier frames. Oh well. I'll leave them for now so I can get this done.
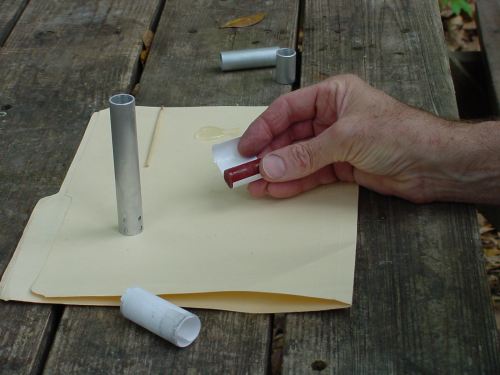
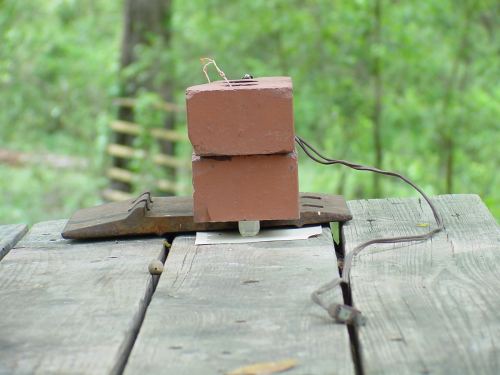
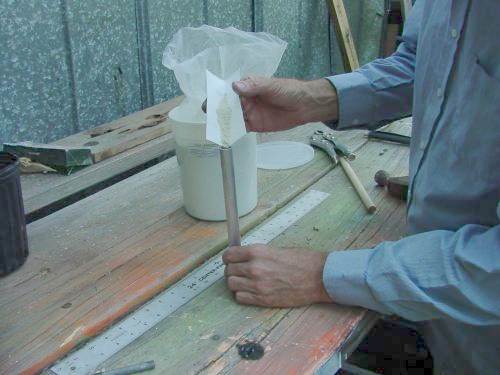
I suspect the holes around the nozzle will leak, and want to know how much. So I wrap a 3x5 index card around that area and secure it with tape.
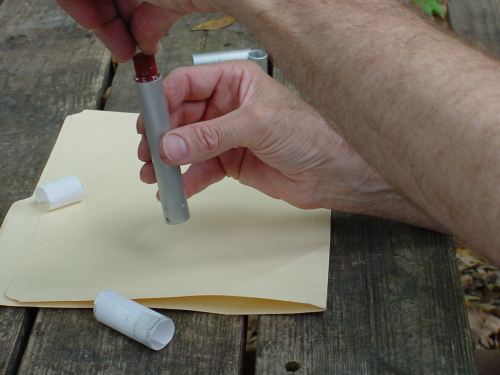
Since I am testing the rcandy header as a burn-through ejection initiator, I make a small hole in the epoxy covering it, place a little black powder in the indentation, and secure it with tape.
Yes, the burn-through header is too long. I miscalculated. But this is an experiment so I will use it as is.
I plan to be cowering behind a tree when the ignitor pops, but my camera will be watching.
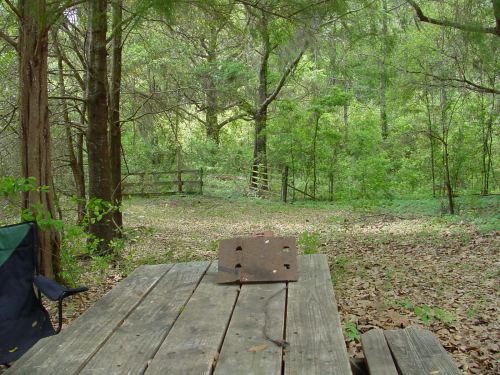

Click here for a video of this static test
Beware, 1.3 meg file, 15 seconds of video
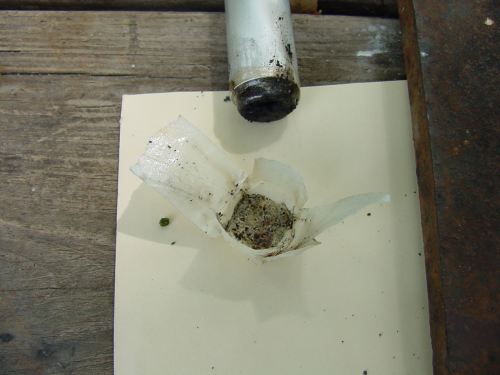
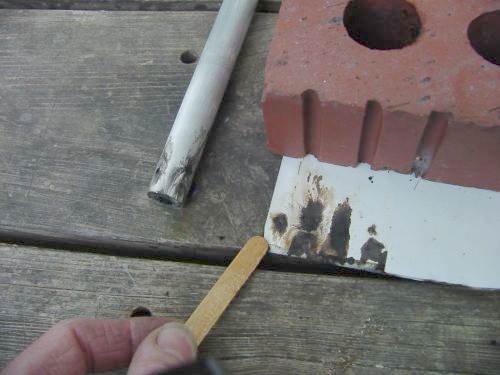
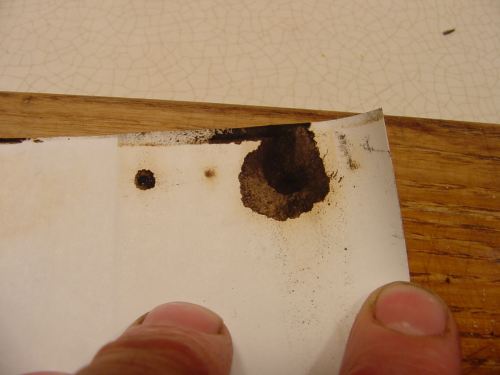
Well as you can see it was a good burn. And below you will note that the ejection charge did fire, as evidenced by the scorched tape. The index card is scorched too. The holes did leak considerably. Gotta stop that. And I have an idea...

But first things first. (I believe that is a theorem) I have thought of two quick and easy tricks that might make this a better nozzle. For one thing, I used a wooden dowel to plug the last tube. It scorched badly, causing the aluminum to bubble and fume. This may have contributed to the looseness of the nozzle.
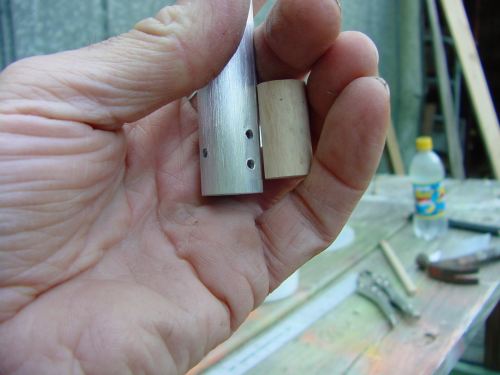
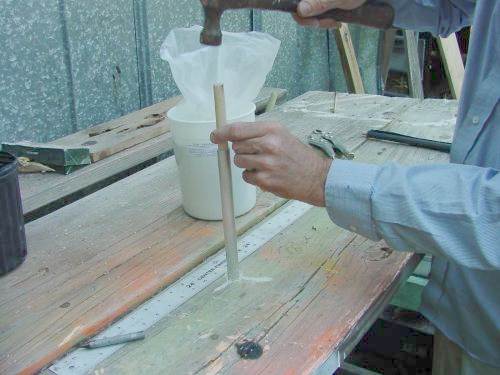
A better plug
So I use Bentonite clay. I just happen to have a bunch of it lying around. A short piece of dowel is cut and inserted into the nozzle end - it extends up just past the peg-holes. I pour a little clay into the tube, insert a longer dowel and pound it lightly until the clay is solid. This makes a nice, heat-proof plug to stop the aluminum, right?
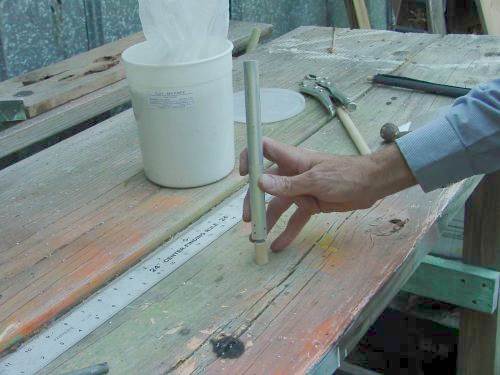
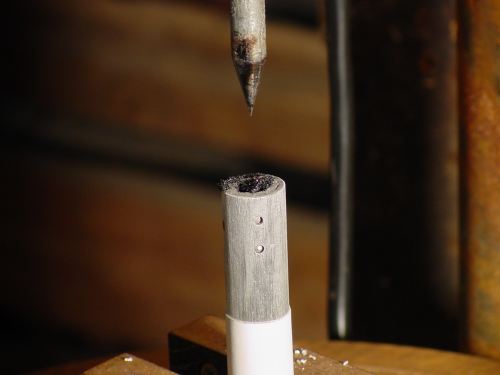
A cone-centering device
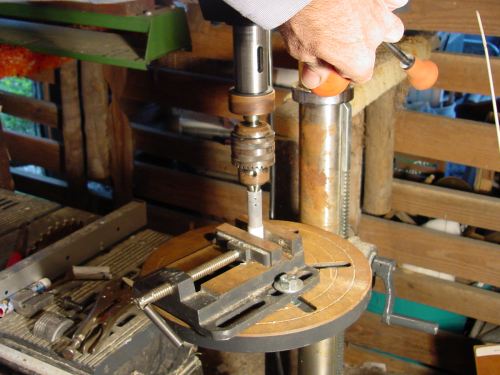
Another problem arises: I have been jabbing the cone-former in the molten AL by hand, never getting it quite centered. I long for a tool that would hold the tube steady and lower the cone straight down into it. Wonder if I could rig up such a thing. I have lots of clamps, and a few old cars, many cats, and a few cheap but functional power tools...
Hey! The drill press! It even has a funky vise to hold the tube.
I use the jaws of the chuck to get the tube centered, lock the chuck down and tighten the bolts so the vise won't move, then chuck the cone-former.
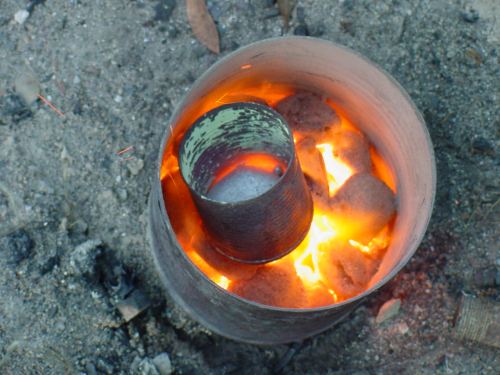
A bit of aluminum is melted in my tin-can foundry.
First pour
What's wrong with this picture?
Click here to find out!
(Beware, 1.4 meg download for 15 seconds of questionable
virtue)
Fortunately, the can is annealed and bends readily
Video of successful pour
(Beware, 1.4 meg download for 15 seconds of video)
It's really hard to pour just the right amount of metal. Fortunately, it doesn't stick well to the outside of the tube or to the vise.
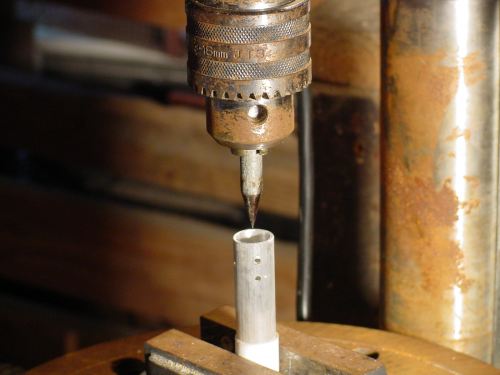
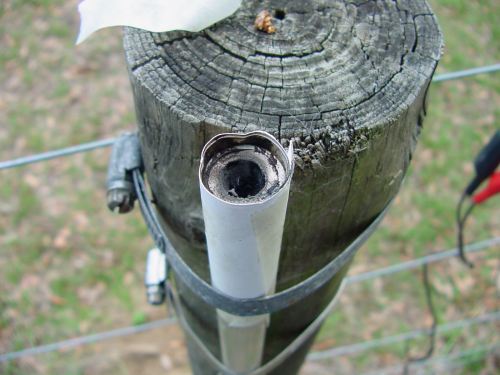
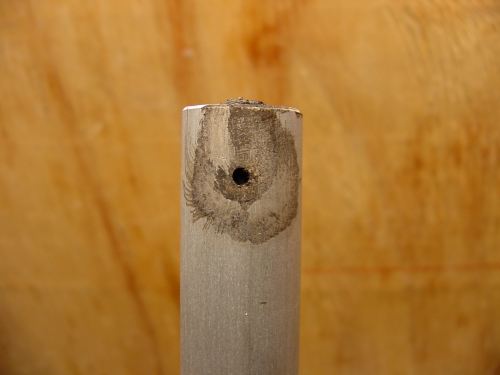
After cooling, cleaning up the outside and grinding the end flat, I put it back in the vise and drill the throat. Later on, I get smart and leave the case in the vise after the pour, let it cool, change bits, and drill the throat without moving the work. This ensures that the throat is centered with the cone, right? Well, not really. This is not a very good vise...

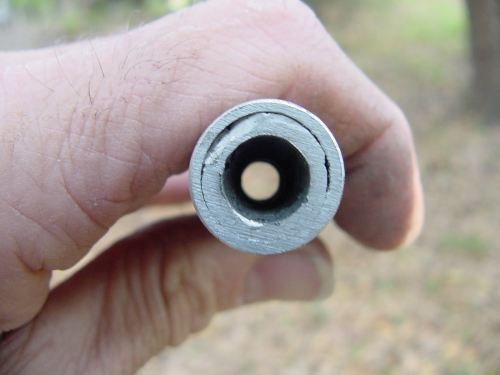
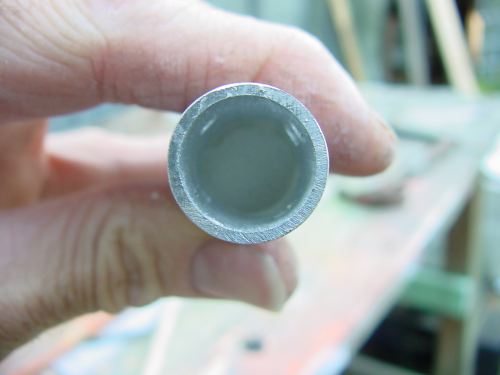
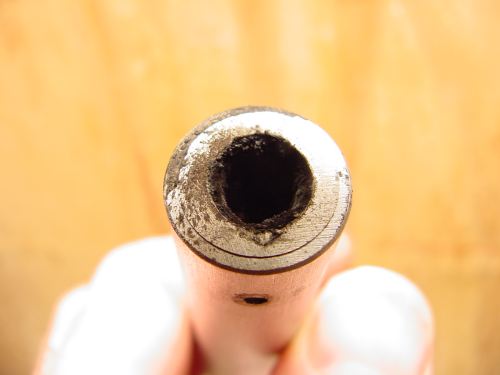
This nozzle has a more pronounced annular ring than any previous. That concerns me. But note that the aluminum did not flow out of the holes - I drilled them smaller, 3/32 inch. This tube is 8 inches long so that I can challenge the tubing, but I will test it with small uninhibited grains to start.

The engine is strapped to my geo-stationary test stand.
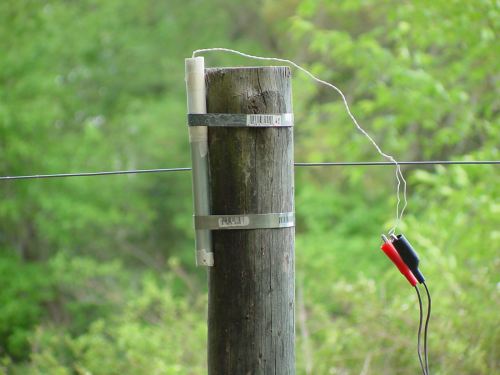
Click Here for a video of this burn
(1.4 meg file, 15 seconds, half of it wasted)
You might note a good, brief burn followed by 5 seconds or so of smoke-trail
and a flash at the head for ejection. This is just about what I had
in mind.
But there is still leakage. Gotta fix that.
Two uninhibited grains
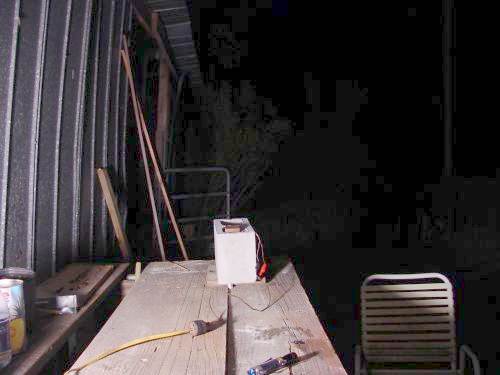
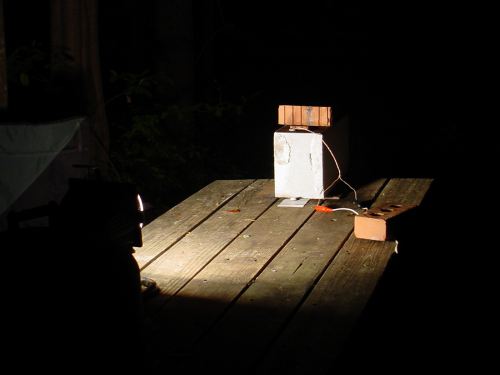
But first, to see if this case can take a heavier load. This time it contains two 13-gram uninhibited grains. Night has fallen, so I resort to the brickwork test stand at the workshop where I can rig up some lights.
Click here for a video of this burn
(1.4 meg download, 15 seconds of video)
Interesting that the nozzle holes leaked less this time, even with a heaver load. I didn't clean the nozzle area of the case between firings, so maybe propellant residue clogs the passages.
Three uninhibited grains
Now for the real test. Three uninhibited grains, initial Kn 390. Loaded for bear. Expected maximum pressure about 1700 psi. I cower behind my favorite tree and flick the switch...
Click here for video
(1.4 meg file, 15 seconds)
Well that was dramatic, don't you think? I am relieved that the case held and the header blew out. This suggests that the epoxied-in header charge serves as a safety-valve of sorts. It also suggests that this design cannot handle that much pressure.
So I made another case, and did a better job this time.


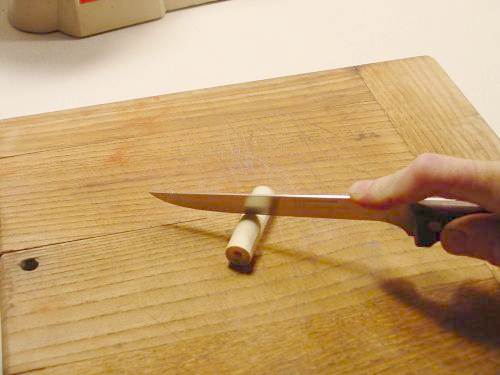
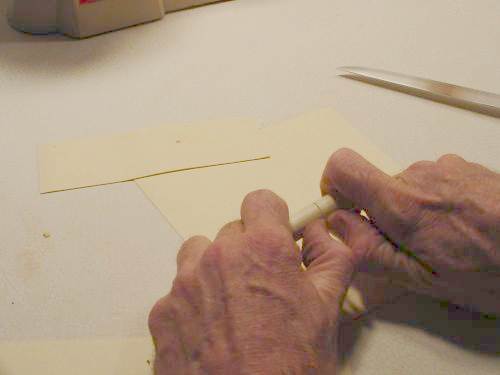
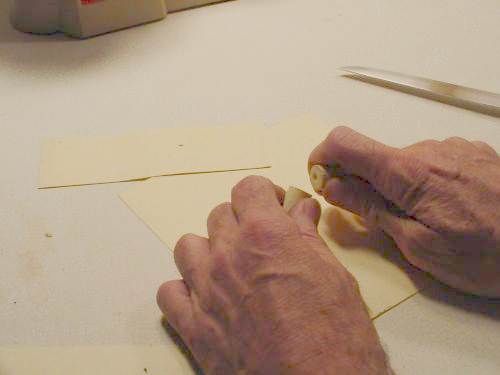
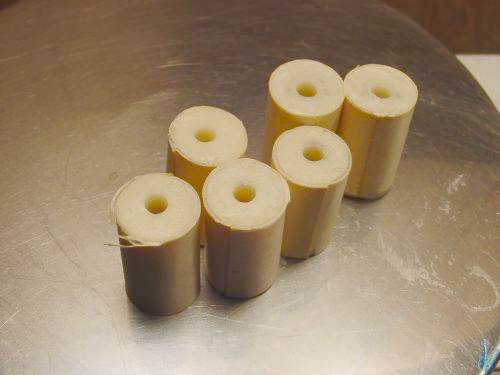
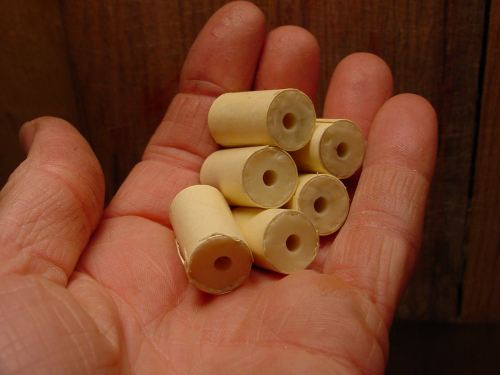
I want to try it with Bates grains. So I use the same molds as for the uninhibited grains, each 2 inches long. But this time I line them with roughened manila-folder paper so the candy sticks. After cooling, I roll each one under a knife blade to cut through the paper and score the candy. Then they are broken in half to make 6 tiny Bates grains. I will only use 5 of them.


Click here for a video of this burn
(Beware: 5.4 meg file for a 15 second video!)
A nice burn, wouldn't you say? Strong, even thrust for 0.7 seconds, 5 seconds of smoke, then burn-through. The magic of Bates grain.
But notice that there is leakage through the lug-holes, and that the nozzle has been set-back a bit, perhaps with some annular leakage. Gotta fix that.
Next: Larger tubing, new trick to reduce nozzle leakage, many more errors and misteaks.
Jimmy Yawn
7/7/02
jyawn@sfcc.net