
Rocket engines made from trash
Melting aluminum with household appliances
Foundry
Micro
Mini
Midi
Dimples
Flight Test
How To...
Home
| Foundry
|
Cast-Nozzle 0
Rocket engines made from trash Melting aluminum with household appliances |
Foundry |
Camping out on the Withlacooche River many years ago I got bored after dinner and started playing with the campfire. My companions, already asleep in their tents, had somehow acquired a pile of aluminum cans. Someone had told me that aluminum cans could be burned up in a campfire. I threw one in and watched it melt. Part of dinner had come in a steel can. I placed it in the hottest part of the fire, where flame was drafting up from coals below, and dropped a crushed aluminum can in it. It stank for a moment, then melted. I added more cans. The aluminum melted, the steel can didn't. I cast a shiny doodad in the fine river sand.
Shortly thereafter, I obtained a book from Lindsay Publications by Dave Gingery which included instructions on building a cheap but effective small foundry which burned charcoal briquettes. I never got around to making this foundry, but remembered some of the principles.
So I decided one day to make an earth-foundry. Dig a hole, lay in a pipe, fill it with burning charcoal, and hook up a blower. The earth should be able to stand this heat, right? To make the hole cylindrical, I lined it with an old juice can. Poked a hole in the bottom of the can, stuck in the blower pipe, and buried it. This worked pretty well. I soon discovered that it was not necessary to bury the can, provided that I used a light touch with the blower.
Over this recent Winter Holiday it struck me - why not cast rocket nozzles from aluminum? Well, there are always reasons why not but I prefer to learn them first-hand, provided that life, limb, or personal freedom are not threatened. I tried a crude version of lost-wax casting, molding a cylinder of paraffin to the shape of a nozzle, embedding it in plaster of Paris, melting out the wax, drying it for several days, and pouring the cavity full of melted aluminum cans. The result was really ugly coming out of the mold, but cleaned up nicely at the grinding wheel. It has endured three 4x4 launches with KN/sucrose, suffering some degree of erosion at each firing. It is in a tube again now, awaiting its fourth and perhaps final flight before recasting.
Today I wish to document the construction and use of this foundry. I was not well-prepared to make a nozzle, and so just cast some vaguely nozzleish things.
Fast forward to July 2002:
This method has proven adaptable to casting integral
nozzles in aluminum tubing.
Click Herefor
that page.
Charcoal
I make my own charcoal. Yes, I have used briquettes, but they burn much more slowly. The light charcoal from my wood stove burns much quicker and hotter.
At the end of a cool evening, when the warm blankets are calling but there is a bed of coals in the stove, I will often shovel them into a fireproof container, put on a tight lid, and set it in a safe place. Later, I sift the ashes out and have lovely charcoal. It can also be ground in a blender, sifted through pantyhose for use in homebrew black powder and other pyrotechnic mixtures.

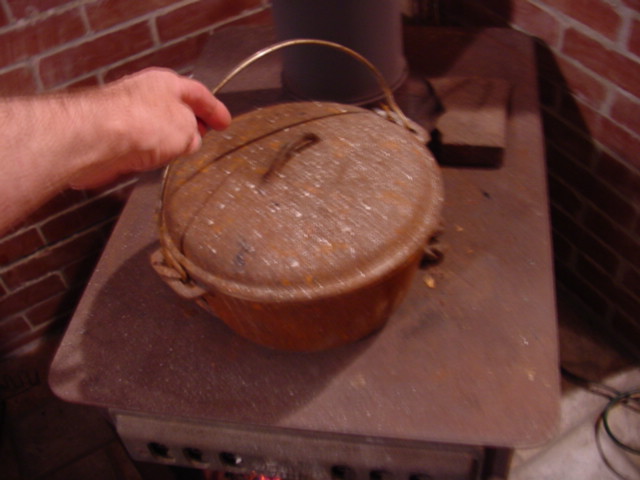
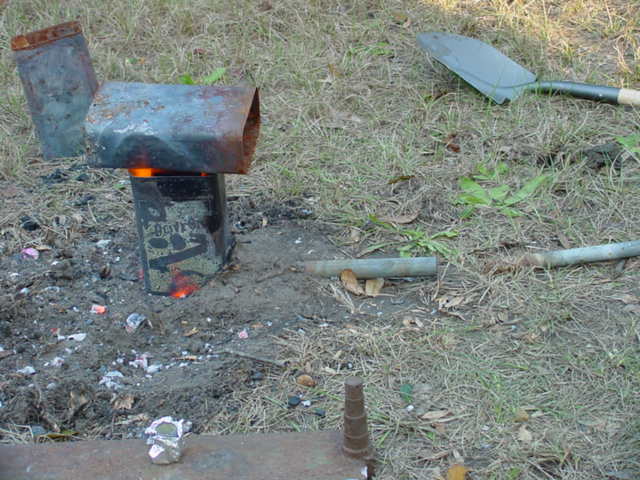
Now we need a large can. The rectangular 3-liter olive oil can works very nicely. I make lots of pizza and so use large quantities of olive oil. Good thing. I wouldn't have any friends if I didn't feed them. And I use olive oil to make soap - also helpful in keeping friends. These cans don't last very long with the kind of abuse this one is about to receive. Round 3-liter or gallon cans work too.

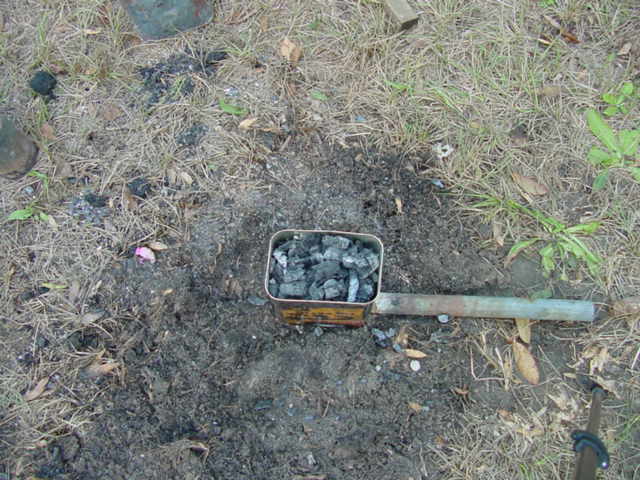
I punch a couple of holes in the bottom with a can-tap, then use a knife to enlarge the hole so that a section of iron pipe can be rammed in. The hole does not need to be air-tight around the pipe - we will compensate for leakage with dirt.

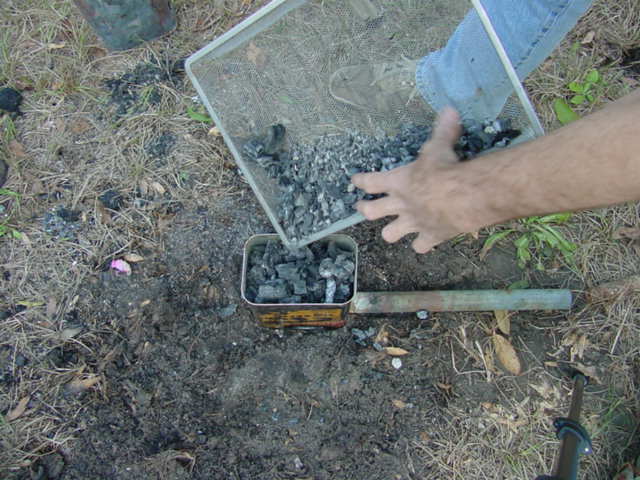
I have started some charcoal in another can with lighter fluid. Once it gets going, I will pour it into the foundry can.
The usual demise of these cans:
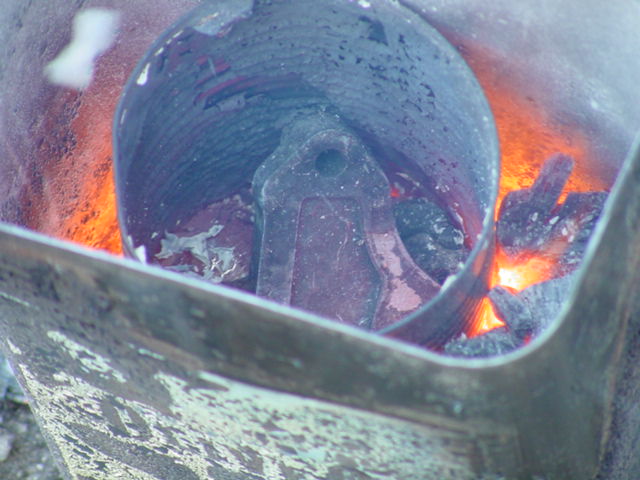
My deepest thanks Al Bradley who pointed out that the alloy used in cans is not optimal for casting, that I should find cast-aluminum and use it. Here I have broken up an old water-pump from the Toyota pickup. Looks cast to me. Indeed, this aluminum melted much more readily than the cans, and cast very nicely.
The cans did work OK, but about half of their volume floated to the surface, creating a crisp slag that did not seem to melt. I suspect that the alloy separated, with relatively pure aluminum going to the bottom, and its alloying metals floating to the top along with much of the aluminum. This is just a guess. The cast aluminum created very little such slag.
I place the broken aluminum in a smaller steel can. No need to remove the label or clean out smelly chunks - the fire will do that just fine.
Note that there is a hole punched at the top of the can. This is so I can hook the can with a coat-hanger wire and lift it from the fire.
As Mr. Terry McCreary observed, a vacuum cleaner blows too hard for such a small foundry. Even my cheap little shopvac would quickly burn up both steel cans, if it did not blow the charcoal out of the can and onto the ground. But I know a trick. Air is cheap. I will waste some of it. A lot of it. I have two pieces of iron pipe. One fits the vacuum hose nicely, and lays on the ground, pointed at the inlet pipe for the foundry. I simply move the pipes closer together for more air, or farther apart for less. The pipes are heavy enough that they tend to stay put. By judicious use of this technique, the foundry can last through several firings.
Fast Forward again: This double-pipe business proved unnecessary and wasteful. Now I just aim the one blower-pipe at a hole in the bottom of the foundry can. This is simpler, provides better control of the air supply, and the cans last much longer. See How2 for photos.
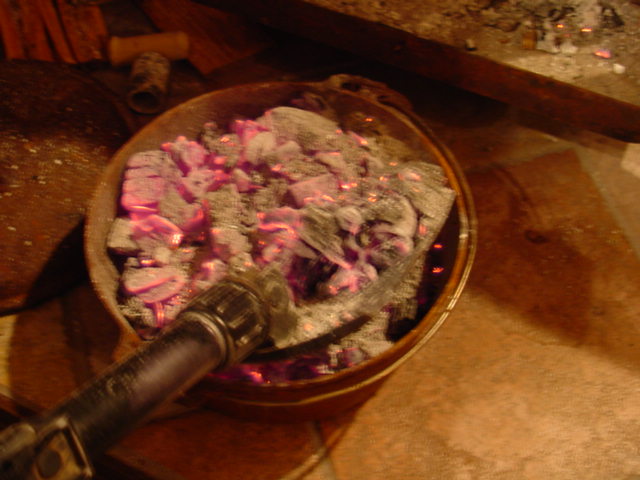
Lighted coals go in the can first. Then it is filled with charcoal. If you use briquettes, use less.
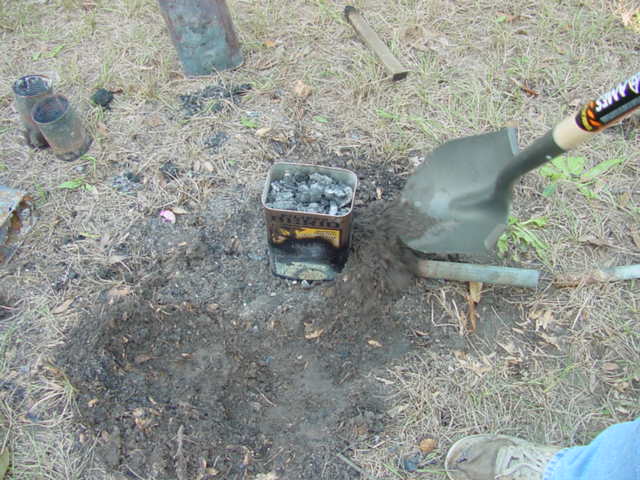
Pack dirt around the hole where the pipe enters. This seals-in most of the air. It might need to be re-packed a time or two during the burn. You might note that I forgot this step - the can is burned at the bottom. No big deal, it just blows some fire out the bottom as well as the top.

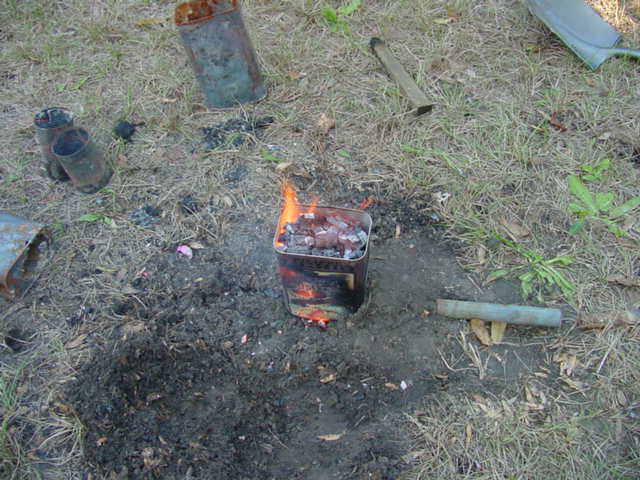
The blower starts. I like to let the coals get all lit and burned down a bit before putting in the can of aluminum.
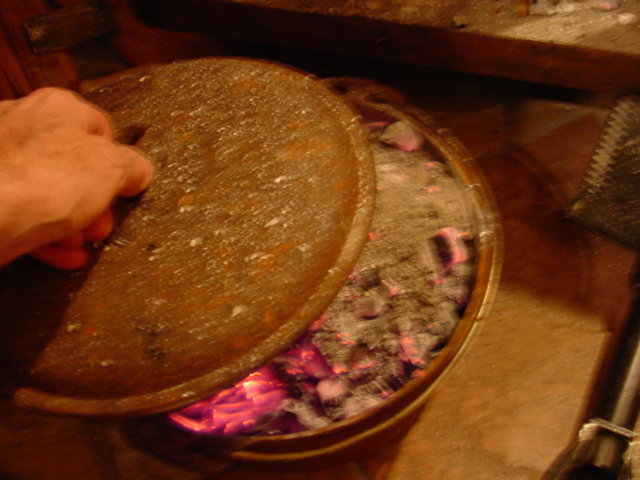
After it burns down a bit, another can is used to create a loose-fitting lid. This keeps in more of the heat.
The aluminum is mostly melted now.
If you have fast internet access, here is a short video of the burn. (8 seconds, 1.3 meg)
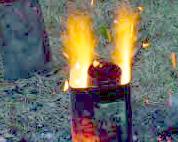
Well that was annoying, wasn't it? What my shopvac lacks in power, it makes up in noise. I wear ear plugs.
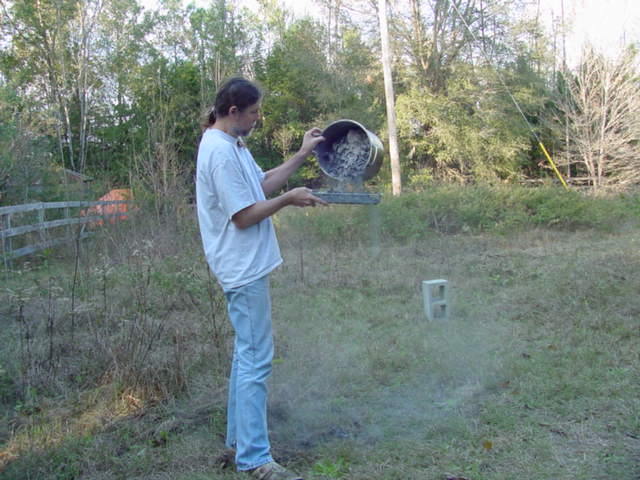
How about a video of the metal being poured...
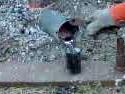
(1.3 megs. 15 seconds)
Well that went pretty smooth. Too smooth. I need to try it again, and mount a search for more cast aluminum.
This kickstand from a defunct bicycle looks like it was cast. I broke it up with a hammer. Now what to use for a mold...
What good fortune. I just modified tonight's soup from vegetable to tomato-vegetable and scored a small can in the bargain.
The Results
The first pour was into a short iron pipe nipple, which just fits into 1-1/4 inch PVC pipe. I found it easy to drill a 5/16 inch throat, and suspect that one could create a 30 degree forcing cone and 15 degree exit cone by using appropriate reamers.
I tore the can off the slug in the tomato-paste can. The result is farily smooth and uniform. And it happens to be a tight fit in 2-inch PVC pipe.
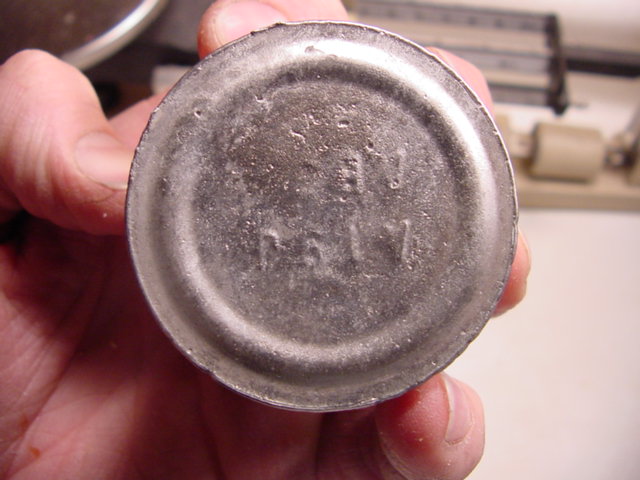
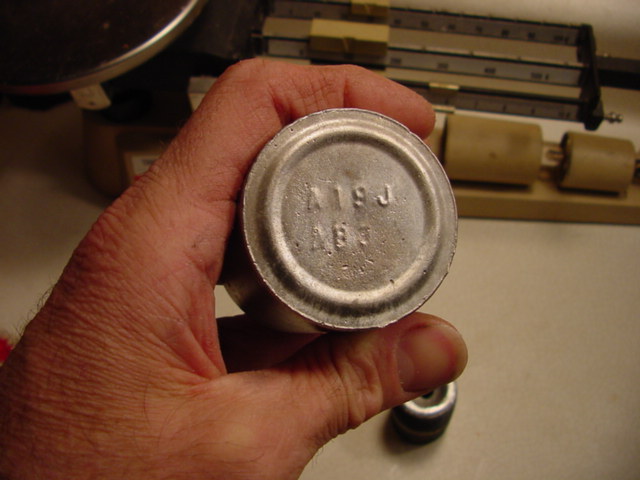
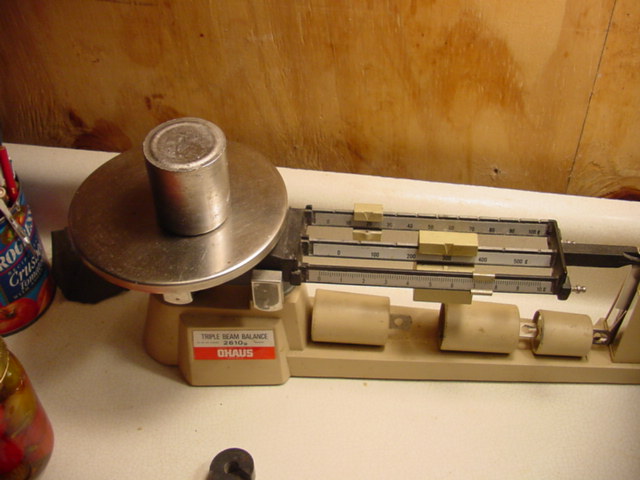
This ingot weighs 327 grams. I would guess that this little foundry could melt a pound or so of aluminum without difficulty.
My apologies if this seems juvenile to anyone. This foundry is inferior to all others I have ever seen. But it is also an effective, very low-cost way to produce sturdy metal objects. I am excited to have this avenue to explore.
One of my great joys is to learn how to do a new and different things with materials which are freely available in the world-at-large.
Is this the best way to produce rocket nozzles? Certainly not. Better techniques and better materials are available. But the tin-can foundry is a tool I will keep in my box, faithful that it will prove an elegant solution to some problem, some day.
Next: That day was in March. Micro Motor Casing with integral nozzle
Jimmy Yawn
01/07/02
rev. 7/7/02