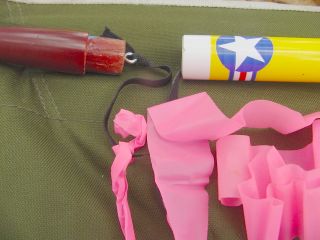
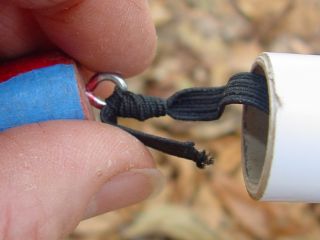
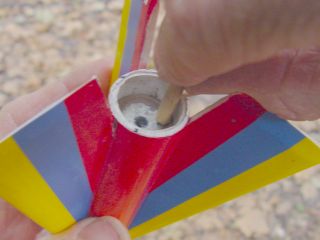
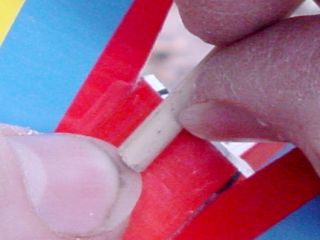
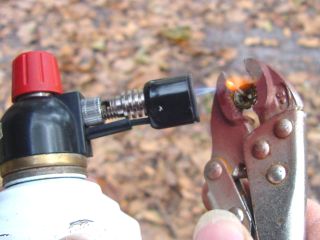
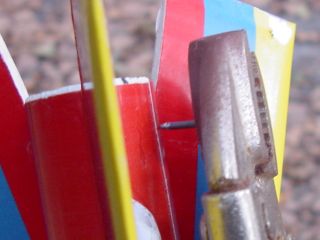
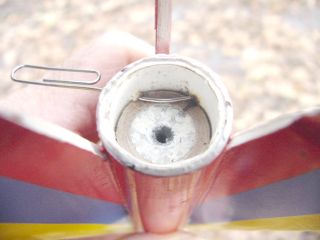
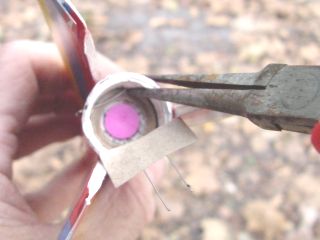
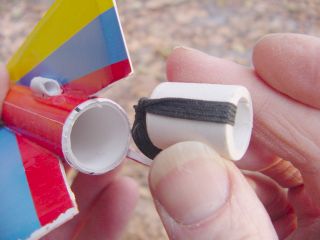
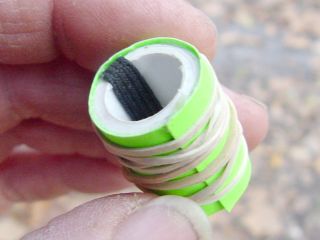
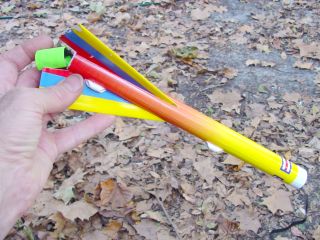
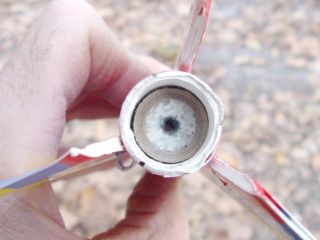
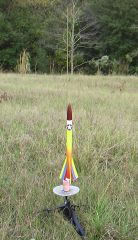
Scratch-Built Model Rocket
Part 5:  
Finalizing
Thrust Ring, Motor Retention, Recovery Streamer

Quick links:
  1. Body Tubes
  2. Fins
  3. Nose Cone
  4. "Decals"
  5. Finalizing

Thrust ring, shock cord

 
Remember that second tube made way back when?  It was 20 inches of posterboard rolled on a 1/2 inch dowel.  Well this isn't it.  I changed my mind.  

This tube is made from 14 inches of posterboard just like the airframe.  But instead of being rolled on a 3/4 inch dowel, it is rolled on a 1/2 inch rod.  That makes it a loose fit in the airframe tube, and that is a good thing.  I cut off an inch, and tie 18 inch length of shock-cord elastic around it.  


It is wrapped with another strip of posterboard, just enough to go around the tube plus a little overlap.  I used green posterboard so you could see which is which.  It was sprayed with Super 77 before wrapping, and is secured with rubber bands while the glue sets.  This should provide a smooth fit into the airframe tube, a solid bulkhead against which the motor will thrust, and a secure mounting for the shock cord.  Too bad the shock cord is so close to the motor - it might get burned a bit upon ejection.  


The shock cord elastic is run through the body tube, and is dangling out the nose end of the airframe.  In a moment, I will put a big glob of Elmer's in the airframe, and use a spent motor casing to push the green thingy up to the right spot.  


Did you catch that?  I had to move quickly, and did not get a photo.  But I did what I said, squirting a globular ring of Elmer's around the inside of the airframe tube at the fin end.  Then I inserted the thrust ring tube, and used a spent Estes motor casing to push the tube forward about three inches.  This leaves the nozzle of the Estes casing about 1/2 inch inside the tube.  That is good.  That's where we want it.  But not for long.  I find a stick, and push out the motor casing before the glue has time to set on it.


At the other end....


Nose cone is tied to the shock cord, and a gaudy streamer added.  My field is kinda small - models using parachutes sometimes don't come back.  


Here is an error to avoid:  When inserting the nose cone, make sure the free end of the shock cord does not get pinched between the nose cone and the body tube.  There were several ejection failures in my Rocket Science 101 class, and I think this is one of the reasons.  The other is that we were using the traditional method of motor retention, wrapping the motor with masking tape until it was a tight fit.  Not tight enough in some cases, so here is a better way:


Positive Motor Retention


One of the problems with my original "kit" was motor ejection.  The motor often ejected, in spite of massive wads of masking tape trying to keep it in.  When the motor ejects, the nose cone often doesn't, resulting in a lawn dart.  We had quite a few of those on the RS101 launch, so here I am trying to do better.

Two small holes will be burned in the airframe tubing, just past the motor.  A short section of stiff wire will be inserted, to prevent the motor from moving backwards upon ejection.  


After the glue has had a few minutes to dry, I put the casing back in and measure the depth from the end of the airframe.  Use my rule of thumbs to mark the depth on the outside of the airframe.  I will burn a hole here soon.  


OK, so I'm not really burning a hole in the second photo.  Mostly, I'm taking a picture!  This little tack loses heat very quickly, so if I'm distracted (which is likely!) it will cool down before I get around to using it.  But I did it again after putting down the camera, and made a hole at the spot indicated.  Then I made another one on the other side of the closest fin.  Here's why:


I'll use a piece of this paper clip for motor retention.  I removed the spent casing, replaced it with a live Estes motor, clipped the paper clip and am now bending the ends so it can't wiggle out.  Since the motor is recessed, it's a lot easier to install the ignitor before putting it in the airframe.  


Here it is on the launch pad, ready to go.
Click here to see the launch (2 meg .wmv file, 27 seconds of highly compressed video)

In the Rocket Science 101 class launch, 10 of these models were flown a total of 30 times, using A, B, and C motors.  All fights were stable.  Some did not eject as planned.  Most survived the lawn dart recovery with minimal damage.  Photos of this launch are here.  

Please let me know what you think of this project and the site describing it.  
Praise and adulation are welcomed, but suggestions and criticisms are equally valued.

And if you come up with any good "wrappers," please send them to me!  


Jimmy Yawn
jyawn@sfcc.net
Recrystallized Rocketry

rev. 11/26/05