They look like this:
These can be good cheap fun, but their performance is disappointing to
me.
I know water rockets can do much better.
Water Rocket |
Movies by Teresa Shorter, edited movie Longer, unedited movie Requires QuickTime Movies will play better if copied to hard drive. |
Mom was never a vindictive sort, it just seemed
that way sometimes.
Much to the contrary, she was one of the kindest and most forgiving
of people.
Good thing. I needed a lot of forgiving. Maybe that is why, on my 12th Christmas, I received both a Parks Plastics water-rocket set and a bad cold. Sentenced to stay inside for several years... well a couple of days but it seemed like centuries. Guess it didn't help that I had whined about this cold enough to stay home from school the last two days before Christmas vacation. But having and holding a genuwine store-bought rocket and not be able to launch it was pure torture. It gave me ample opportunity to read the instructions. Over and over. Don't think I had ever read instructions before.
I did fire it in the living room with only air. Once. Made a little dent in the ceiling. Caused the canary to shut up, offering a moment's peace. That canary must have been bred for the mines. It sang constantly, continually, annoyingly until something odd happened. The eerie silence alerted parental authorities that they should check and see what I had done now.
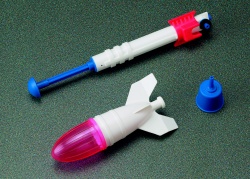
But it was a beautiful set. A two-stage water-rocket with a large booster, and a smaller upper-stage that mounted on top of it. The second stage was finicky, but it actually worked a couple of times, going almost out of sight. Oh, there was also a spherical second-stage "satellite" module too, that worked like a second stage but was not stable and just spun around. Mostly I just fired the booster by itself, which was impressive enough.
That kit was great fun, and an excellent learning experience.
| Similar water rockets are still available, but they aren't nearly as
good. The ones I have encountered lately are crudely-made, low-powered,
and often unstable. A good flight might go 25 feet, with some luck.
The whole rocket is about the size of the second stage on the old Parks
kit.
They look like this:
|
|
There must be a solution.
There is, but it took a special event to motivate me to find it.
Awhile back I was asked to do a presentation on rocketry for a local
elementary school. I knew exactly what to do: PANIC! Certainly
I could talk for an hour on rocketry. I've spent much of my last
51 years thinking about rockets, reading about them, making them, losing
them, starting over... But now I am on the spot. These kids
don't want to sit and listen to this old fogey talk and talk...
We have to DO something!
Look under "Air Toys". |
Edmund Scientific to
the rescue. For about $20. one can buy a "Rokit"
water rocket kit and have it shipped overnight for too much more money
so that it arrives after dark the night before the 8:00 am presentation.
Thank goodness.
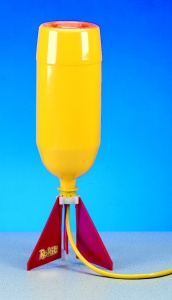
This kit is simply a heavy rubber grommet with a cap that is screwed onto a plastic soda bottle which serves as its pressure chamber. Three plastic fins attach to the cap, and a high-pressure hose supplies air from a bicycle pump. The hose has a brass connector on the rocket-end which locks into the rubber grommet. It forms a seal, but blows out at a certain pressure and the rocket takes off. The Rokit works well. Quite well. I am off the hook. After 40 minutes of fascinating discussion about rockets, the kids get to go outside and watch an actual launch on school property. No FAA clearance or Fire Marshall approval was required. No injuries or property damage occurred, no angry calls from parents or their attorneys. No men in black asking pointed questions. Life is good. The kids all wrote thank-you notes. Everyone mentioned the water-rocket. One mentioned my talk. I think it was the teacher. |
Mykit
Click for a bigger picture |
The Rokit is clever. Simple, reliable and fairly effective.
Seems that one could make a similar contraption from scratch.
One can.
Building a Water Rocket from scratch
A developmental approach
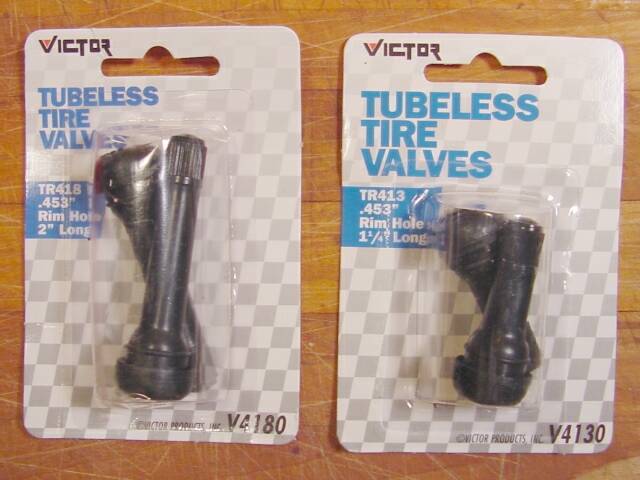
Wandering around the automotive parts store looking to see how I might waste a little more money, I see valve stems. I have never bought a valve stem before. Maybe now it is time. I should be buying tires, but I can afford valve stems. I got a couple for about $1.50. I figure there MUST be a way to rig a pressure-release that will make this into a rocket.
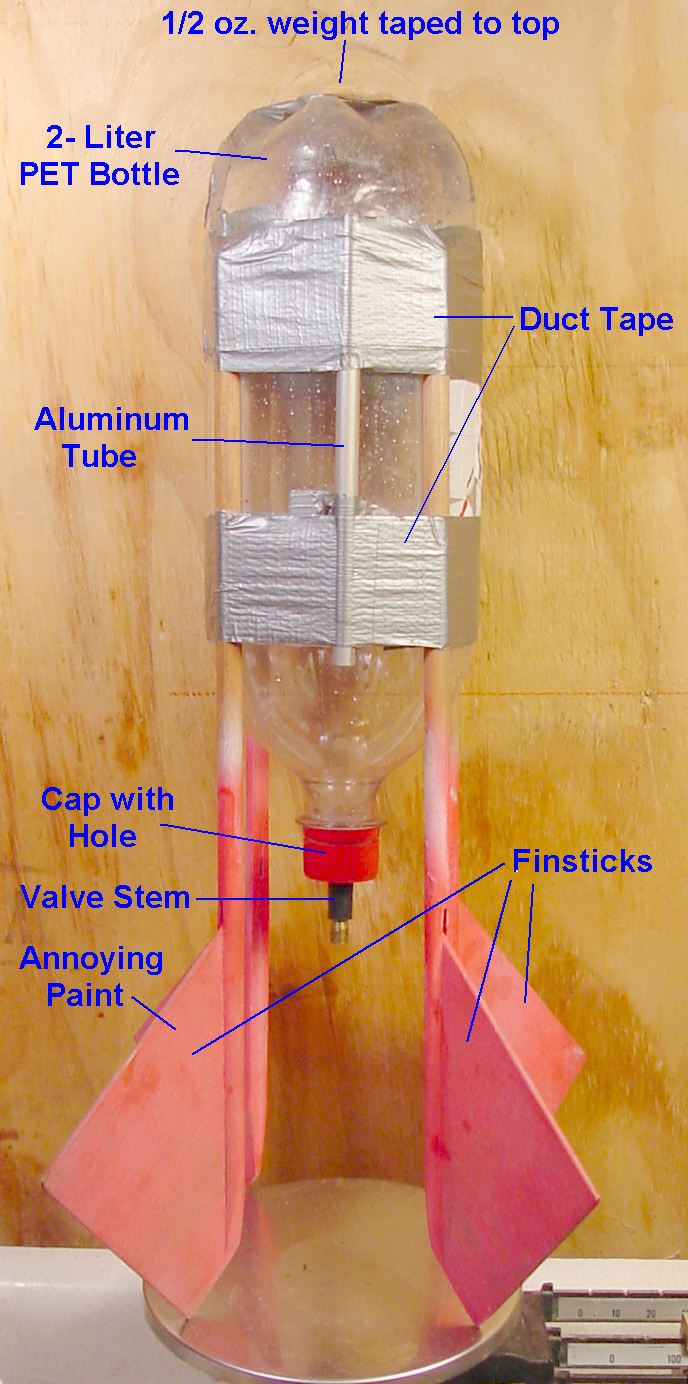
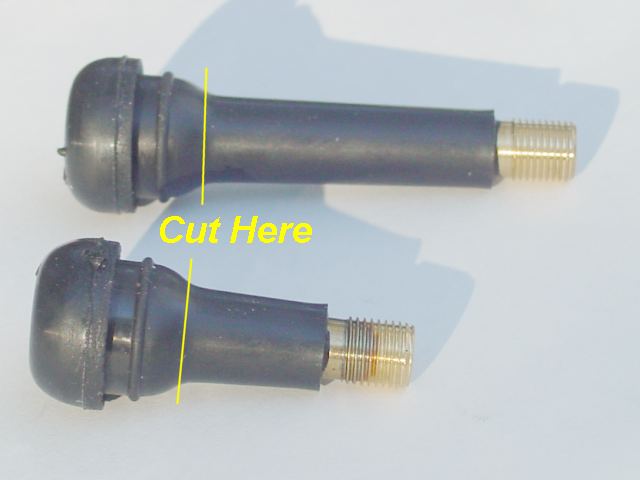
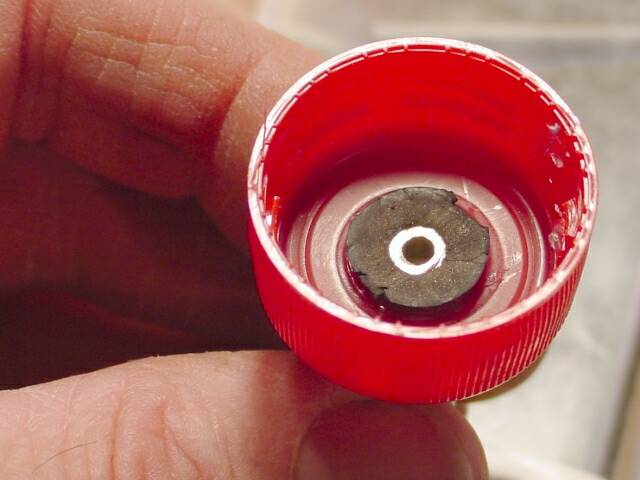
There is. It is the bottle cap. Drill a 3/8 inch hole in the middle of it. Cut the bulbous end off the valve stem. Enlarge the hole in the cap until it is a tight fit and there ya have it.
 +
+ 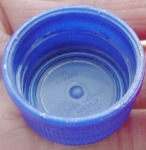 =
= 


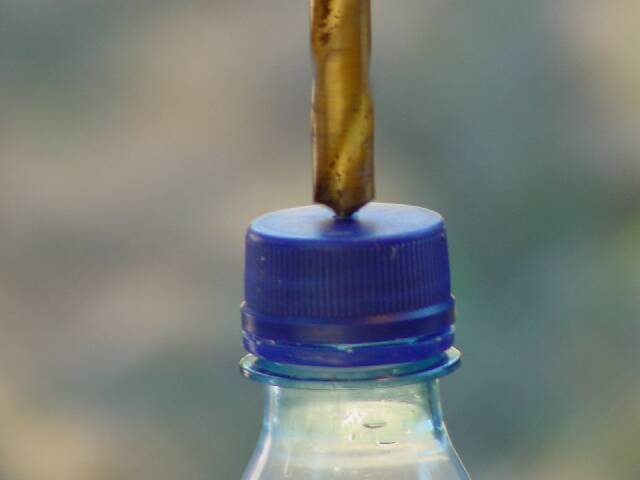
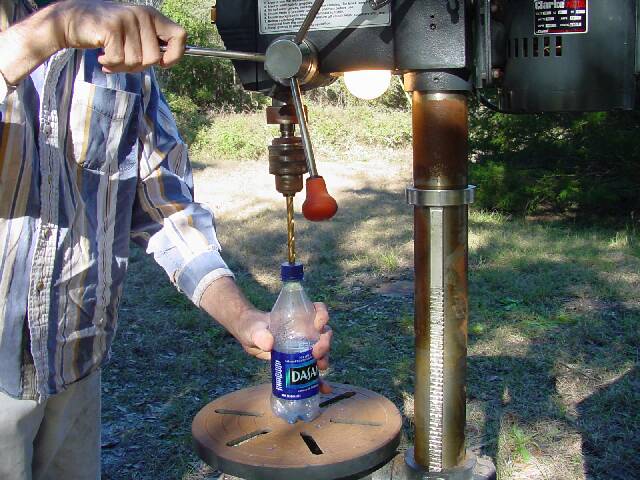
Making the hole, method 1:
I find it easier to get a hole centered by starting with a small bit to make a pilot hole, then enlarging it with larger bit. Here the pilot bit is 1/8 inch, the final bit 3/8 inch. The bottle gives me something to hold onto while the drilling is done. Yes, this is a crude method. Stay tuned for a better one.

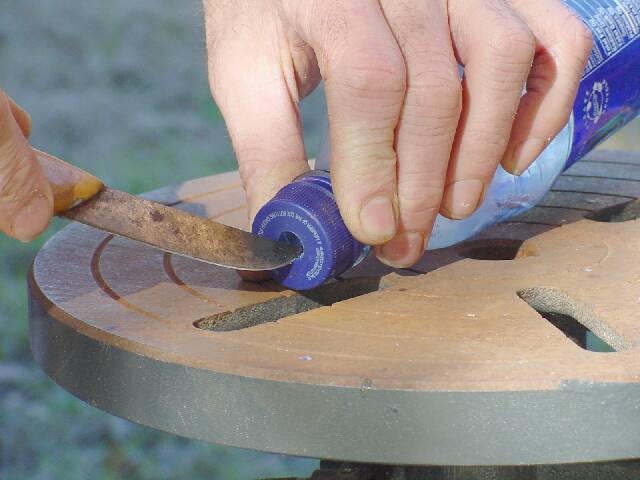
A sharp knife is used for gross enlargement of the hole. It is
then smoothed-up with a piece of 320 grit wet-or-dry paper rolled around
a pencil. High tech.

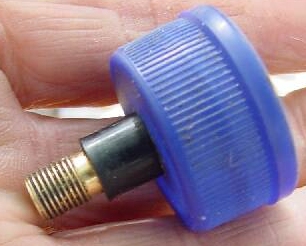
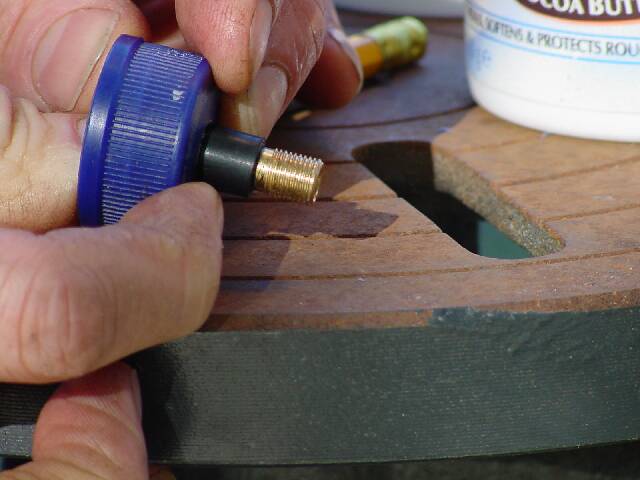
The valve stem should be a tight fit. Fortunately, the neoprene
covering tapers a bit from the threaded tip up to where the bulb used to
be, so we make the cap-hole just big enough for the skinny end to fit into,
and the fatter end will almost not pull out of.
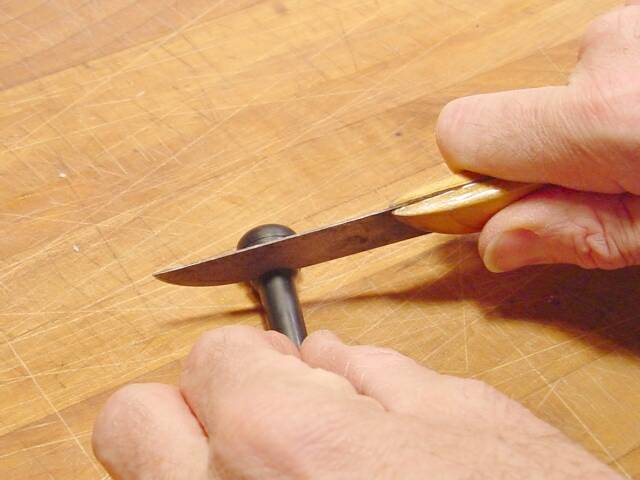
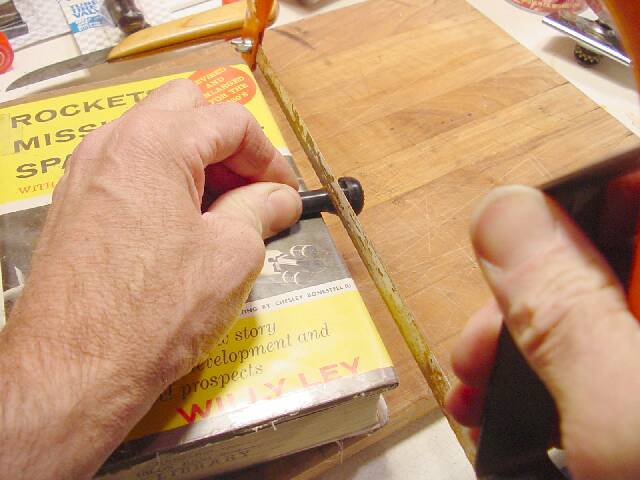
Cutting the valve stem
I start by cutting the neoprene around the brass core with a sharp knife,
then hacksaw through the core. Yes, you can just hack through the
rubber too, but the knife cuts it more cleanly. The sawed end is
rough, but it is soft brass and surrounded by firm rubber. It is
reasonably finger-friendly, so I resist the urge to true it up.
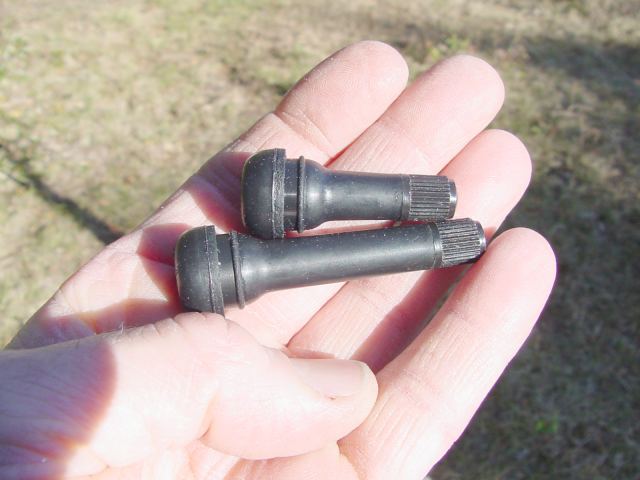
Note that there are two sizes of valve stems. Either will work,
but the longer size ("2 inch") is much better. It gives me something
to grab when attaching the valve to the air pump.
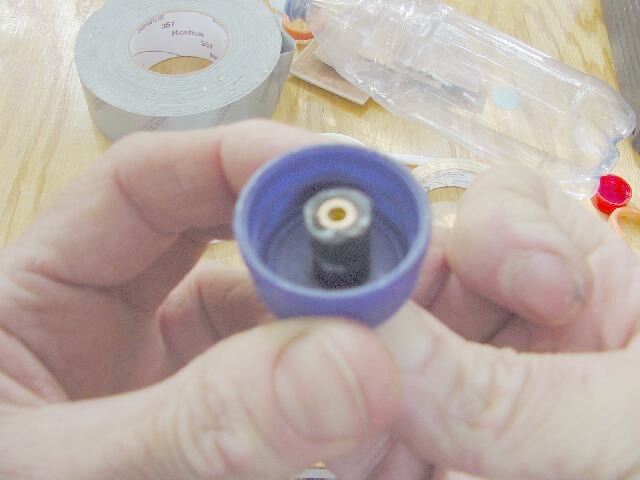
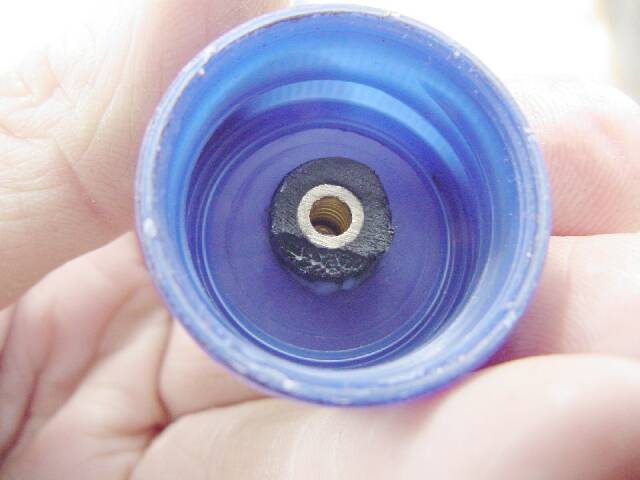
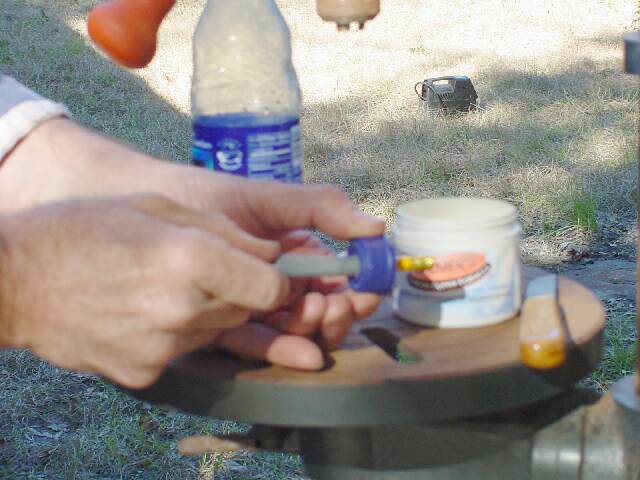
Test-fitting the valve stem.
I smear a little grease on the valve-stem every time it is inserted.
This makes the release much more consistent, I think. Palmer's Coco
Butter skin cream is my favorite. Slick, non-toxic, and smells good.
Vaseline works fine too.

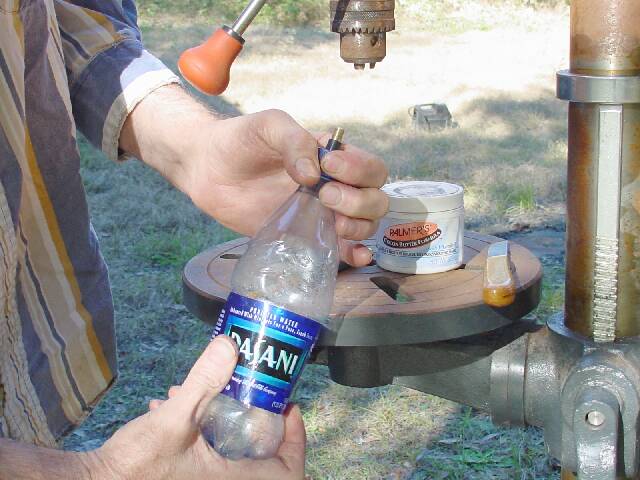
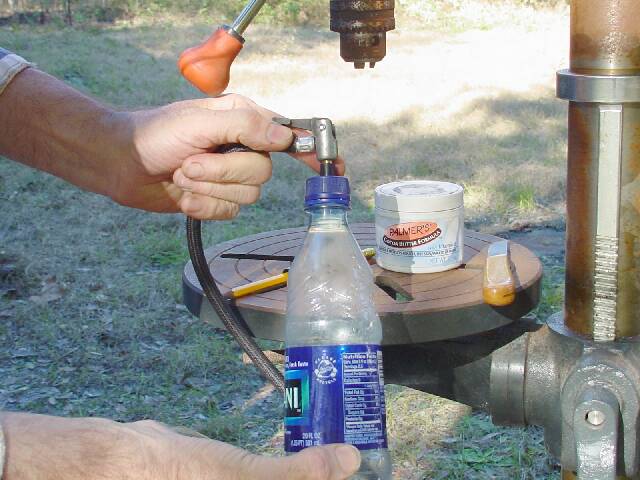
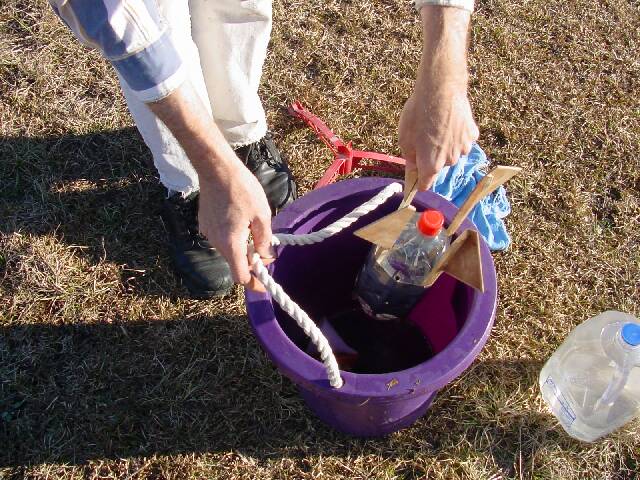
So now we have a pressure-valve. Time to test it.
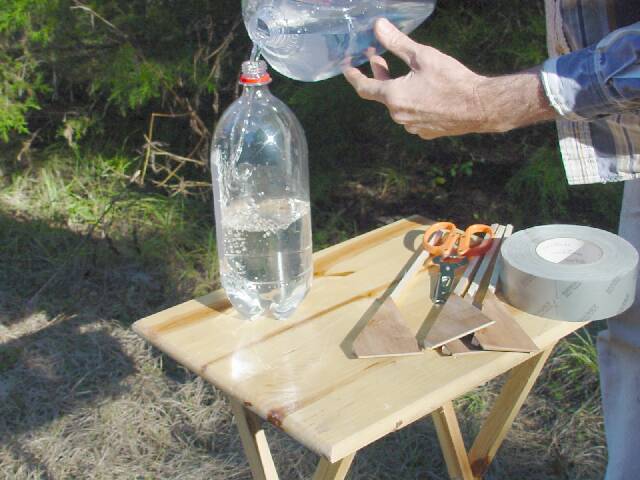
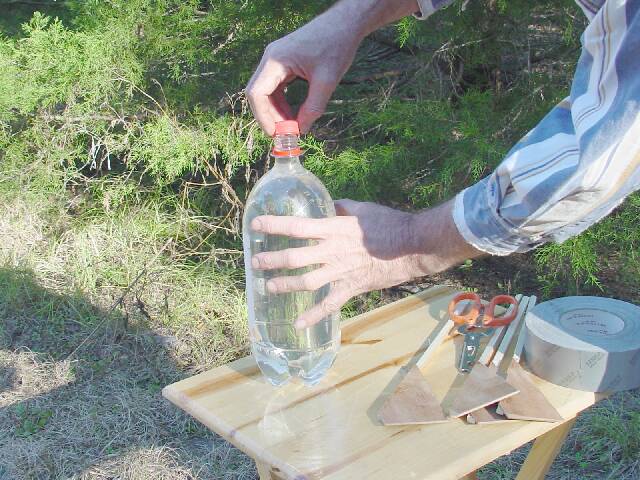
I fill the bottle about 1/2 full of water, screw on the plugged cap and attach the valve-stem to an air pump. The bottle is pointed bottom to the sky, the pump is started and the operator moved to a safe spot.
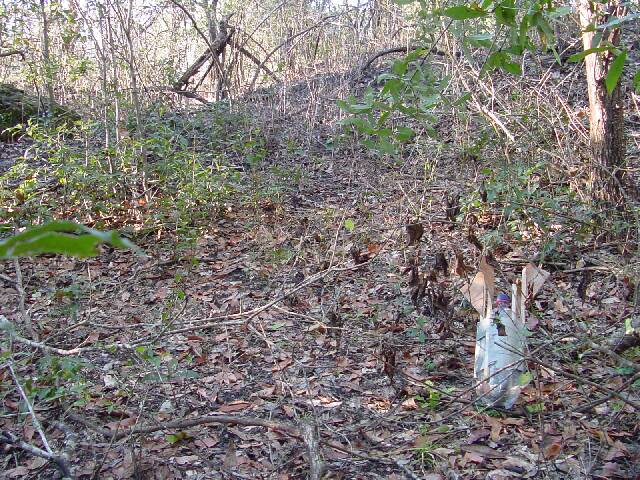
Well, the first of these was launched without any stabilizer. It went flooey and flew all over. Good thrust, no stability, so the next one got a stick. It went fairly straight, but not very far. Got caught in a rocket-eating tree and is still there after two months. Stick heavy. Bad aerodynamics. Need a better stabilizer.
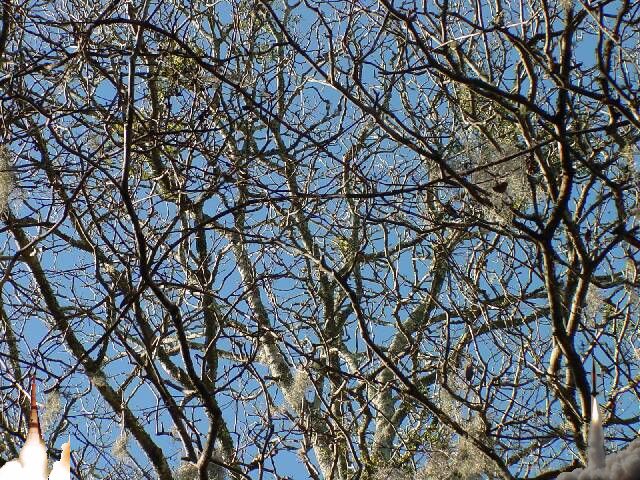
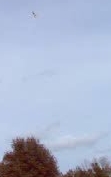
Munch, munch, munch...
Can you find the rocket in this picture?
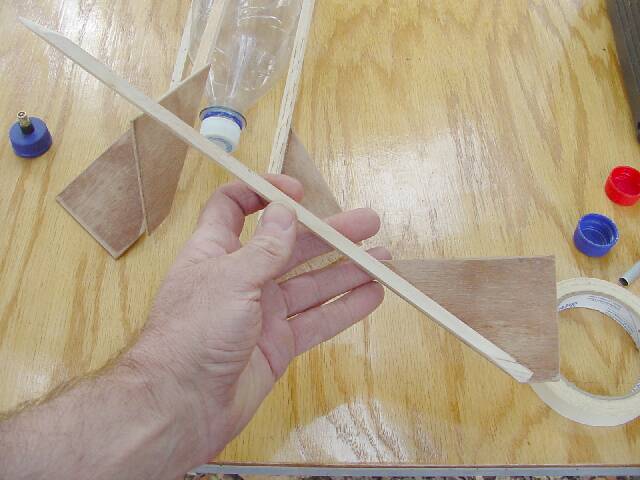
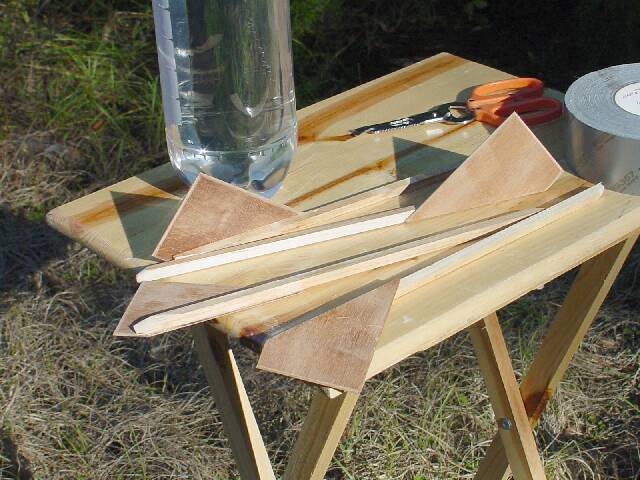
Invention #2 in D-minor: The Finstick!
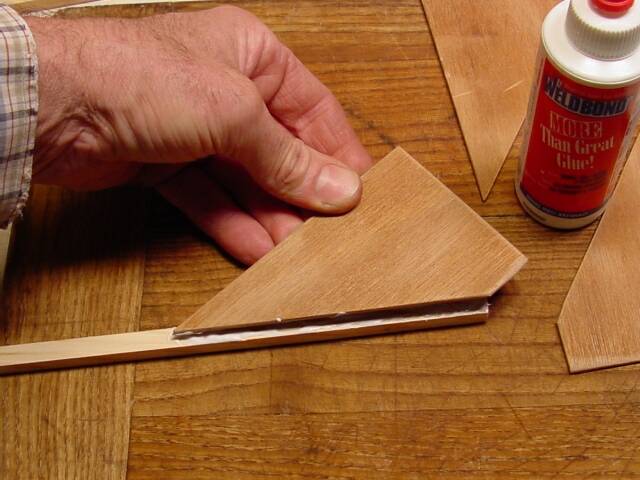
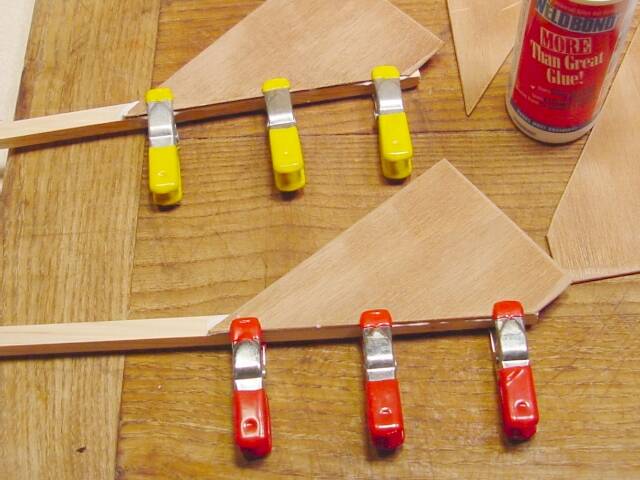
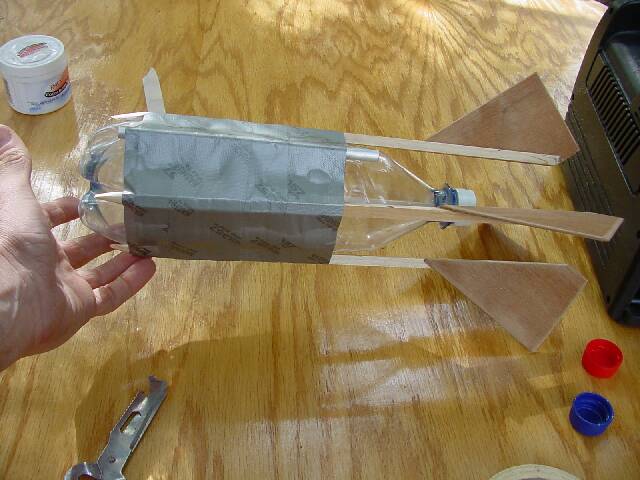
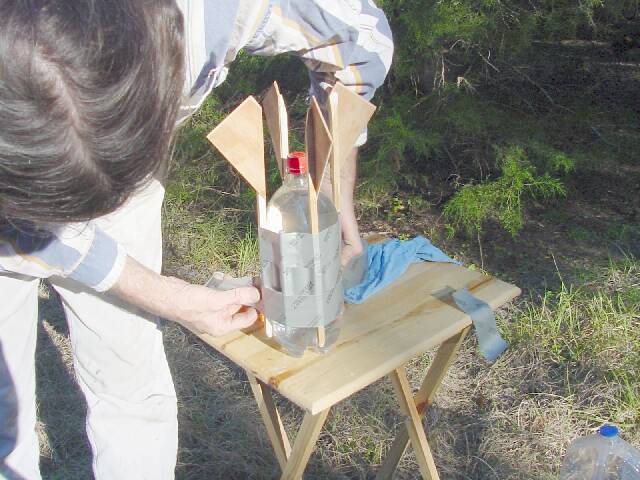
Finsticks are sticks with fins. One fin per stick, four finsticks per rocket-bottle. They are made of 1/8 inch hardwood plywood. A rectangle is cut on the diagonal to make two fins. The rectangle is roughly 7 inches long by 4 inches wide, and the diagonal cut about 1 inch from either end, but these dimensions are not critical. Each fin is glued onto a pine stick about 3/8 inch square by 14 inches long. Here I am using Weldbond glue, similar to white glue but more water-resistant. That will become significant shortly. Notice the cute little clamps. They are perfect for this job. I like clamps. Clothespins work OK too.
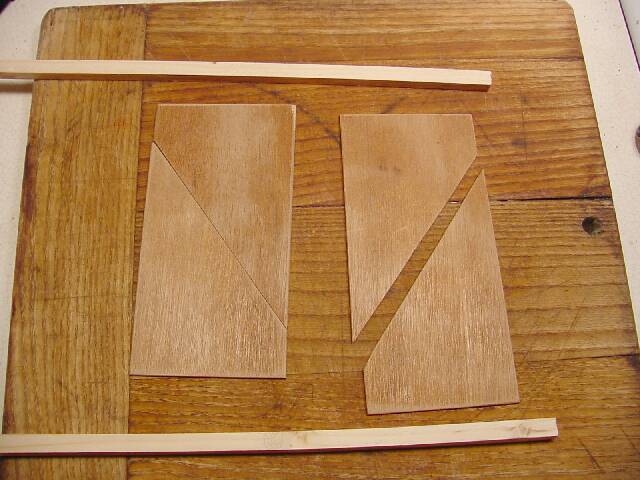

Also notice how nicely the trailing end of the stick is streamlined.
Wish I had a wind tunnel! Here is Bottle 1 going together:


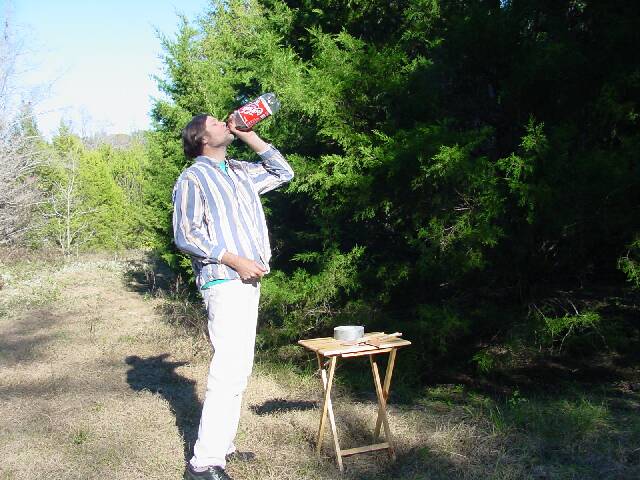
Bottle 1 worked OK (as we shall see in the videos) but the weight of
the fins suggested a larger motor would be of benefit. So I broke
down and bought a 2-liter bottle of caffeinated sugar water, and drained
it. Oh, the trials of rocketry.
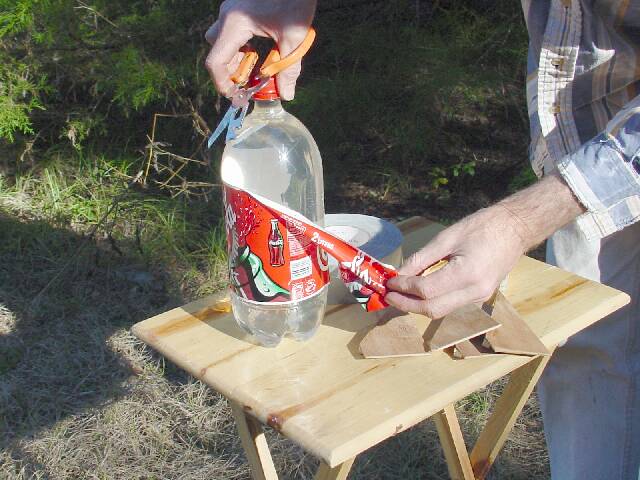
Bottle 1 had complained a lot while I was assembling it, flexing, creaking,
groaning and whining while I squeezed and twisted it to get the fins on.
So Bottle 2 was bloated with water making it much stiffer while the fins
were attached. That helped. More recently, I have been using
the valve/nozzle and inflating the bottle with a few psi of air to make
it stiff - this works even better.

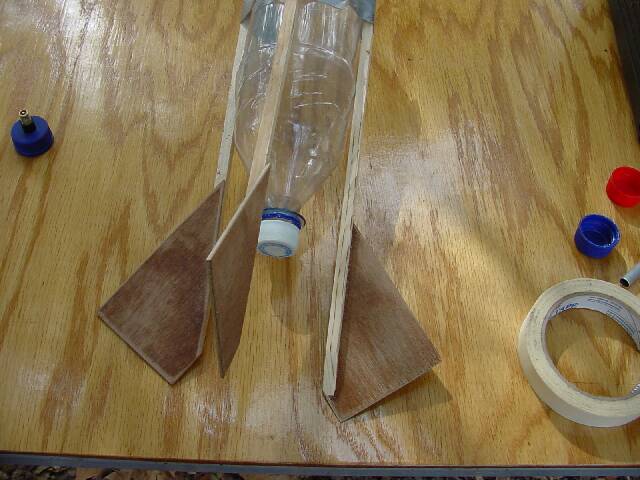
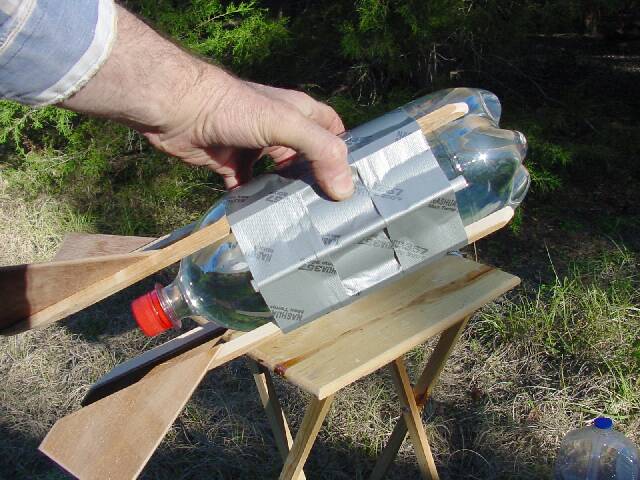
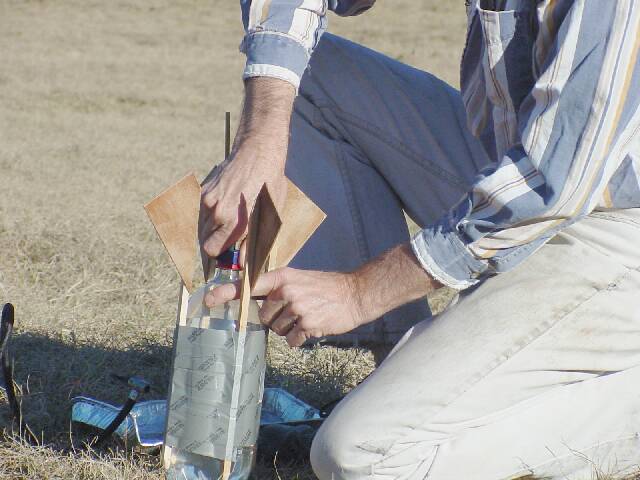
The finsticks are taped on with a single strip of ... Duct Tape!
My deepest apologies to all the Red Green fans out there, but this one
is mine!
One little strip gets them all in place, then two long ones cinch them
down, but not before:
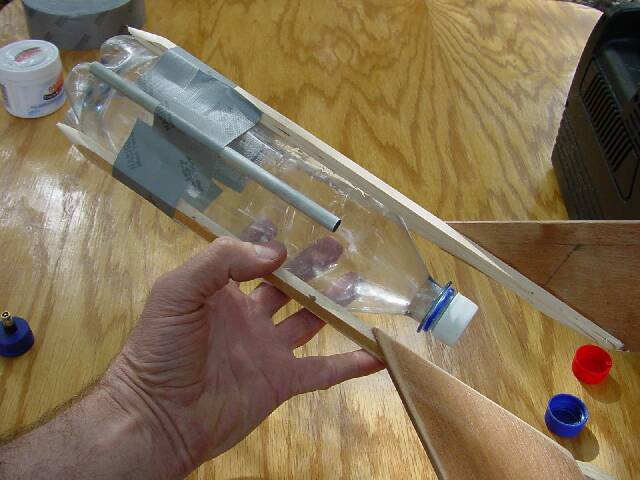
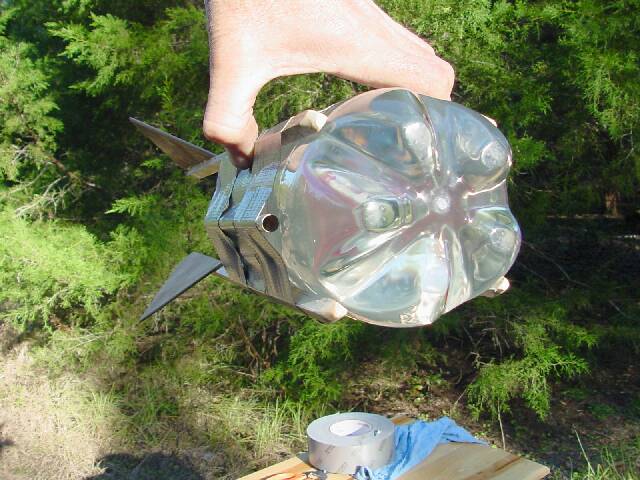
The launch lug.
I looked all over for a sturdy straw but had suffered a cleaning frenzy
over Christmas break and thrown everything useful out. But there
was still a broken arrow in my quiver. It had been lost in the field
for a couple of years, no doubt stepped on by the Belgian mare a few times
before the tractor found it. But a little manual straightening, trimming
and sanding improved it a lot, and it is going to get covered with duct
tape anyway. It's still kind of ugly. Sorry I showed it to
you.
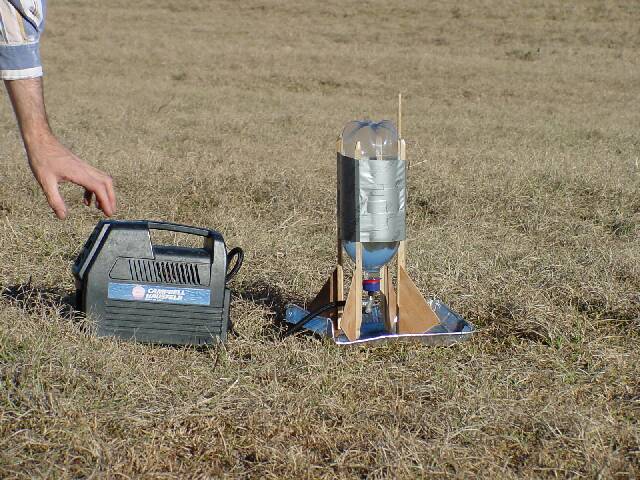
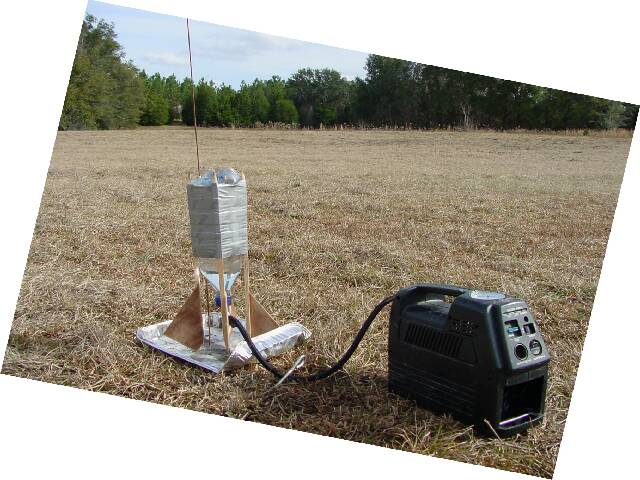
The Pump
You know, I waste money on a lot of things. Junk food, old cars,
good beer, and rocketry, to name a few. But every now and then I
accidentally buy something that is worth more than it costs. This
rechargeable tire pump is one of them. It even has a 12v power output
which might fire an ignitor - I'll try that one day. These bottles
take a lot of pumping, and I personally would rather not be out there standing
over it going up and down and up and down waiting for it to skywrite or
whatever. The battery pump lets me retreat a respectful distance
and play with the video camera.
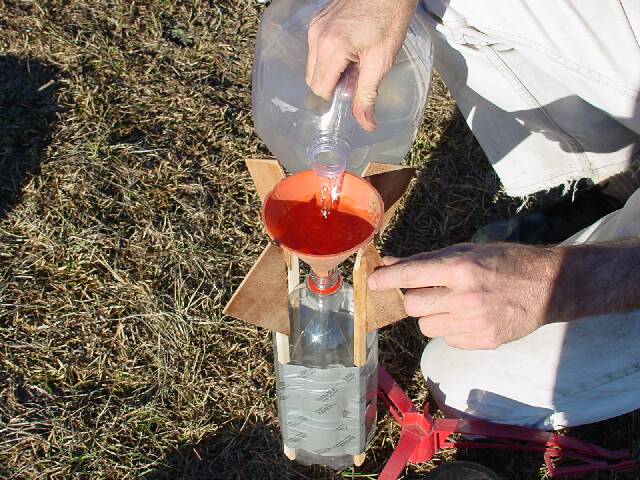

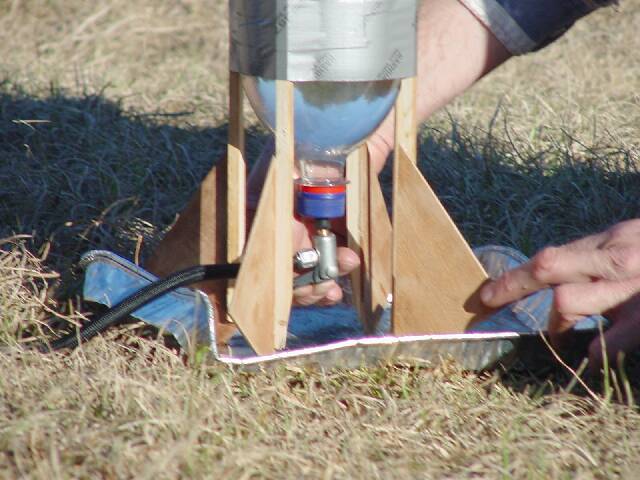
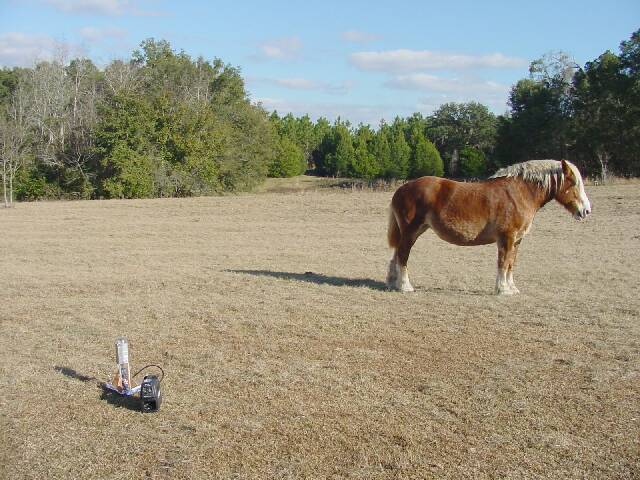
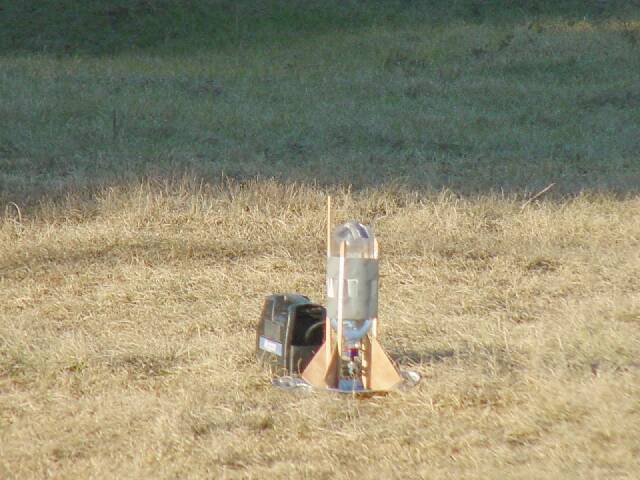

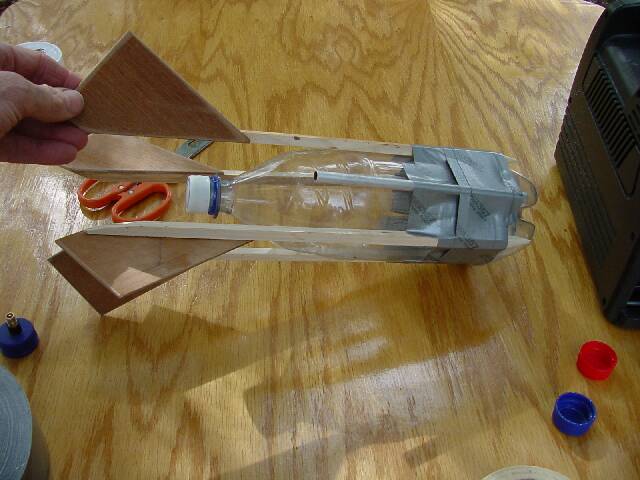
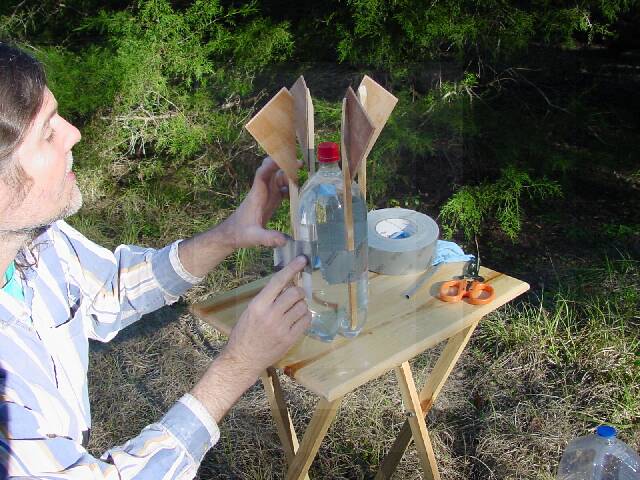
This funnel fits between the fins so nicely I should patent it.
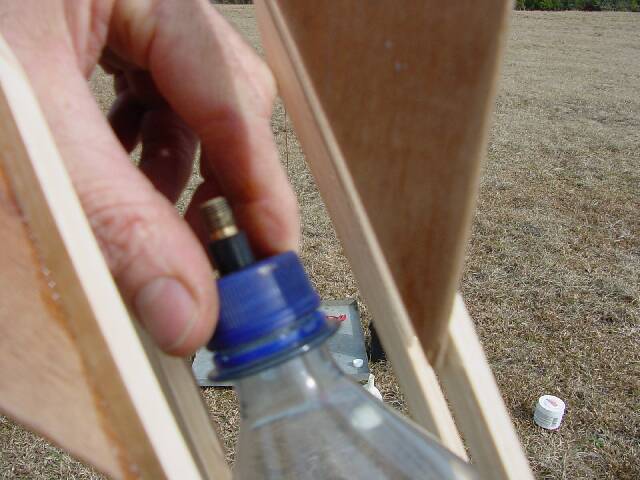
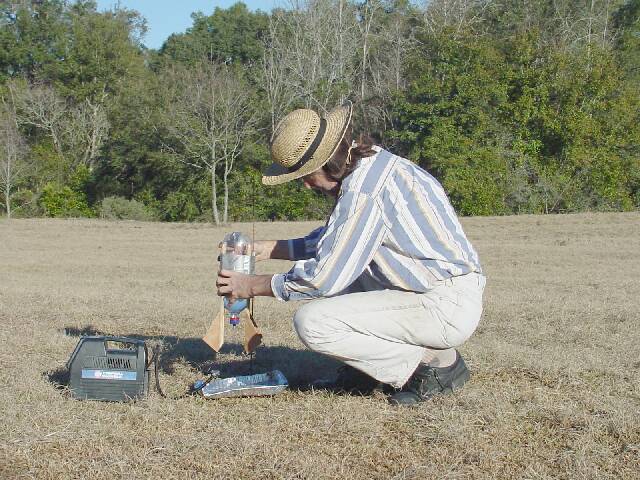
The bottle is filled about 1/3 full of water and the cap with blowout valve
screwed on tight. Notice the mismatched cap color. There is
a reason for that (see below.) The rocket is set upright on a model-rocket
launch rod stuck into the ground and the pump connector attached.
Here I am using the short valve stem because that's what I had. The
long ones are much better - they give me something to hold onto while attaching
the pump
The aluminum pan is the "blast deflector" and serves the purpose of keeping the pump dry. It sort of works, but after awhile the pump stopped working. I had to disassemble it and clean the mud out of it. Ever since I have been throwing a cover over it.
So here, finally, are some launches. Not all are good ones.
Each video is 1.4 megs for 15 seconds of video, much of which is the sound
of the pump running.
 |
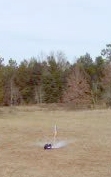
1.5 liter bottle, off-center drilled nozzle. Moderate altitude, arced into treeline. Recovered undamaged. |  |
1.5 liter bottle, off-center drilled nozzle
Nice, long arc. Low altitude, long reach. |
|
 |
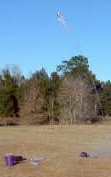
1.5 liter bottle, moderate altitude, arc'd away from camera, nice thunkdown. |  |
2 liter bottle, molded off-center nozzle, unstable in flight. It's skywriting its name right now. | |
 |
2 liter bottle with one ounce weight added to nose. Very stable now, but off-center nozzle still directs it toward the dark side. Good altitude. Surprise guest. | 
 |
 |
I heard large vehicles driving up to my house, then a horn. Out of water anyway, I picked up the pieces and headed back. It was the tree-trimmers hired by our local power company. They were scouting the easements getting ready to thrash the brush back from the power lines. I showed them the water rocket. They were intrigued. I fired it a few times. One guy was particularly interested, and suggested using PVC pipe. I thought to myself: No, that's too heavy. Even for thinwall, if you could find thinwall big enough for a drink bottle to fit into... Bing! The light comes on. I am thinking airframe, he means pressure vessel. Just add fins and the vessel becomes the airframe. I just might have to experiment with that option soon
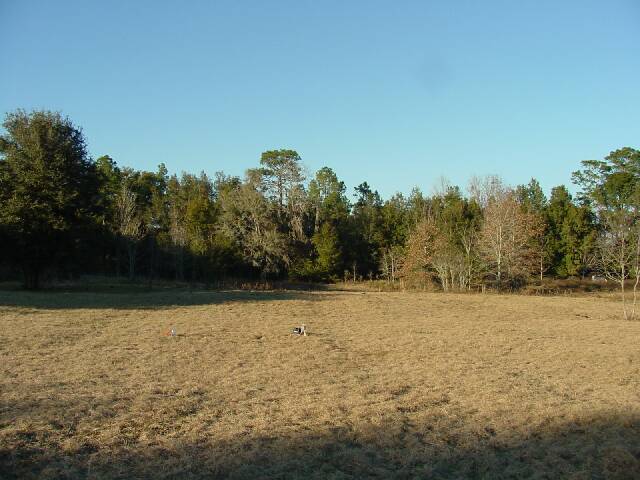
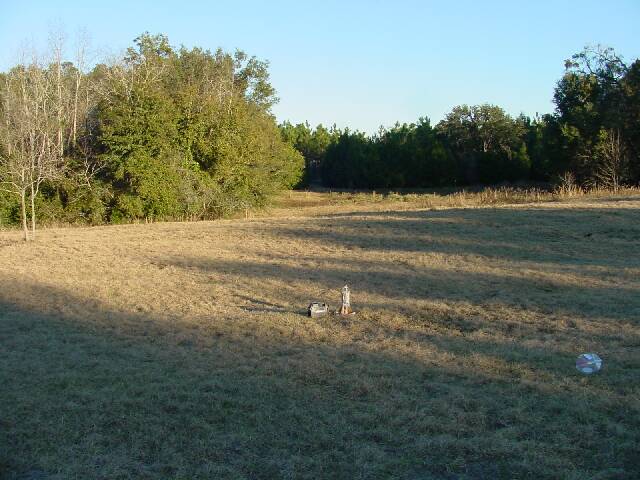
In the meantime, here are a few gratuitous shots from the field:


Another little revelation: I have been assuming that my off-vertical launches were the result of a poorly-centered nozzle hole in the cap. But during testing, I noticed that some rockets flew funny every time, always arced in the same direction, and using a different nozzle-cap made little difference. Now I believe that some PET bottles have off-center necks, or perhaps are not straight. These defects aren't obvious from a casual visual inspection, so I choose my bottles more carefully now.
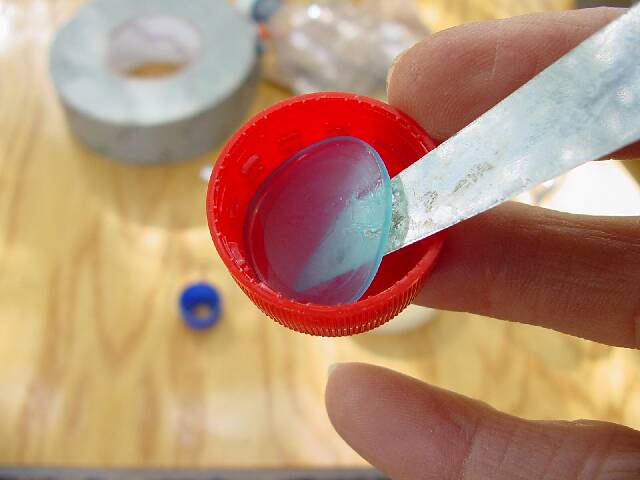
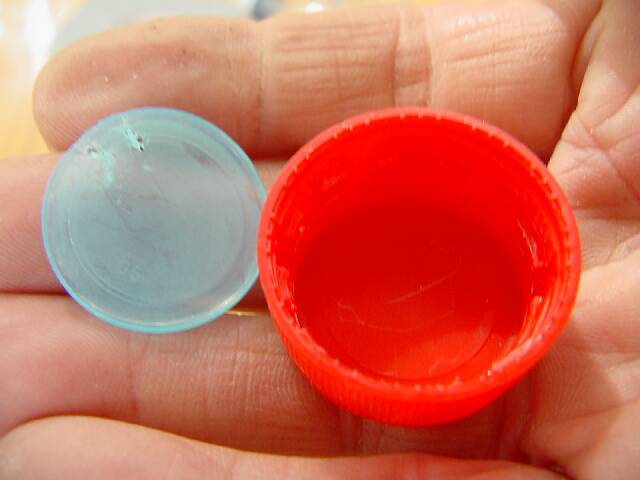
Caps Revisited
The Dasani problem: An alternative to drilling
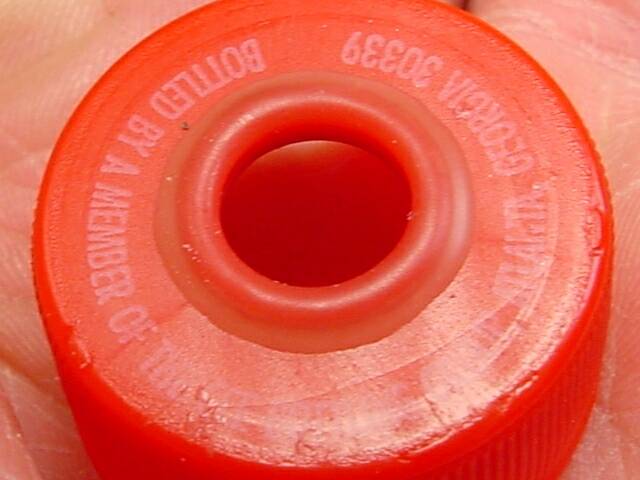
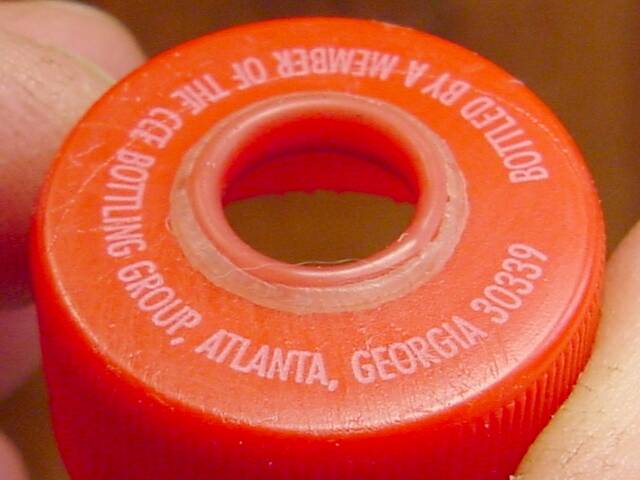
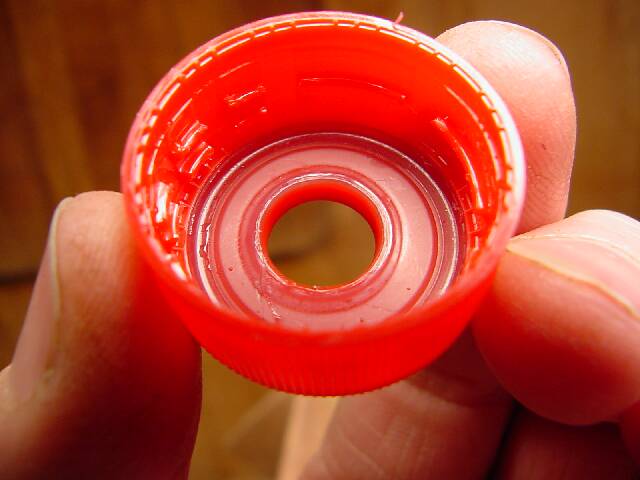
Notice that the bottle caps used in Bottle Rockets 1 and 2 are all blue. That is because the nozzle holes are drilled, and I have found only one brand that has caps suitable for drilling: Dasani bottled water. Dasani caps do not have a gasket. Coke, Pepsi, and all their siblings have a thin, soft plastic gasket inside the cap which provides the seal. Remove the gasket and they leak. Drilling destroys the gasket. So if you are going to drill, get caps from Dasani bottles even if your tap water is good.

If you find another brand that does not have a gasket, please let me know.
Another holing method
Drill-n-sand works but is less than elegant. Besides requiring a certain cap, the hole edge is weak, rough, usually not well centered. I suspect it will wear out rather quickly.
A better method is needed, and I have found one. Melt the hole.
Years ago a friend showed me how to make bamboo flutes. Bamboo is a funny vegetable, incredibly strong in one direction but not in the other. Drilling it is tricky - bamboo loves to split, and drilling is one of its favorite excuses. So bamboo flutes are made by heating a large nail red-hot and "melting" holes in just the right spots. It is smoky magic. So I have long been partial to using a hot iron to make holes in things, and decide to try melting the valve stem hole.
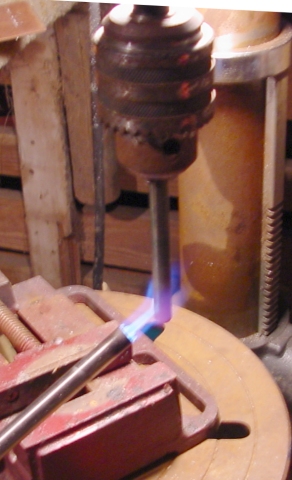
Here I have cut the head off a 3/8 inch bolt and ground the greeblies off the end. It is chucked in the drill press, heated to a dull red glow, and lowered onto the bottle cap, turning at about 300 rpm. This makes a nice, smooth hole with a raised edge for reinforcement. It lets me use bottle caps that have a plastic gasket, and it requires no trimming or sanding so I can crank out a buch of holey caps in short order. Easier, quicker, cheaper and better. I like that combination. Ready to use as soon as they cool.
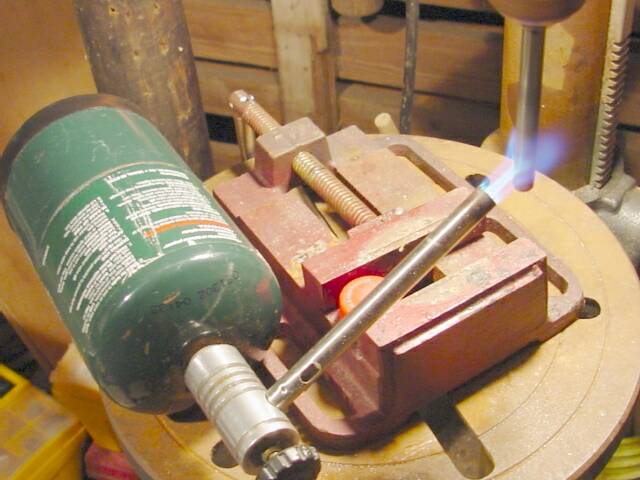


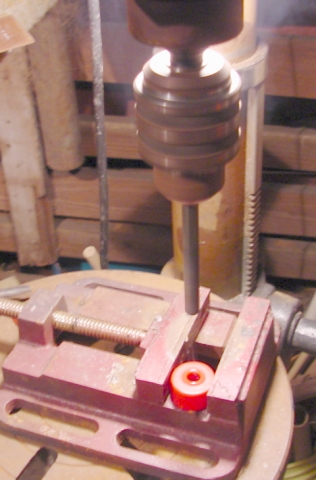
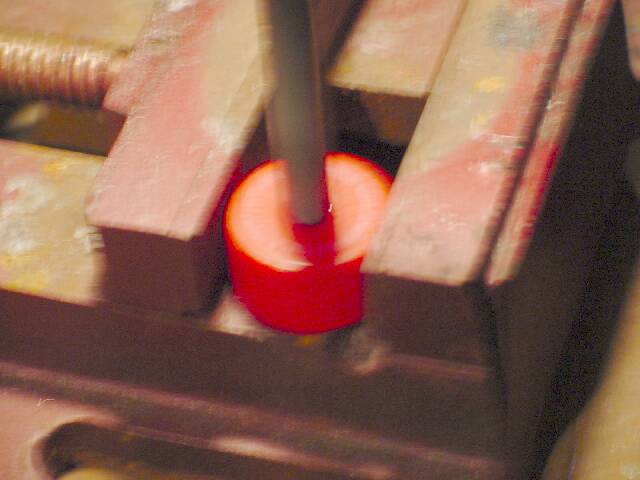


Centering the cap in this cheap little vise is problematic. All of my holes have been a bit off-center, and many of them are eliptical because the cap is being squeezed flat. Anyone have a better idea?
OK, I found one! Here is a page on it.

Jimmy Yawn
jyawn@sfcc.net
1/8/03
rev. 11/20/04