Water-Rocket Cap Holing Jig

It's easy to make, and allows much better-centered nozzle holes.
Plus it is much quicker to use - I can crank out 2 or 3 nozzle-caps per minute.

Warnings:
1.  This is best done outside - one should not inhale melted-plastic fumes.
2.  Also, there is a chance of fire.  
      Do not do this where a little fire would create a hazard.
      A fire extinguisher should be available.
3.  If your "fire extinguisher" is a hose or bucket of water, make sure you        
     unplug the drill press before using it!
4.  And try not to get the motor wet...

To make the jig, a PET bottle neck is cut off just below the flange.
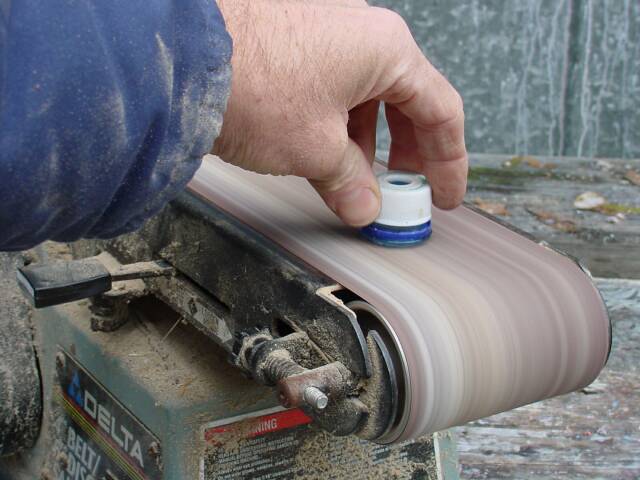
Since the hacksaw invariably angles, the base is sanded flush to the flange.
Using a better saw might eliminate the need for sanding.
dsc20037.jpgdsc20043.jpgdsc20045.jpg
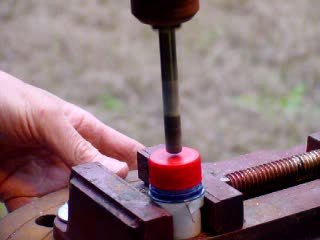
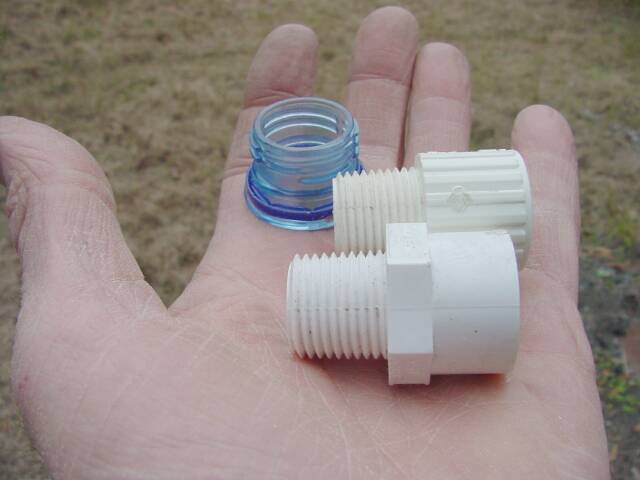
A PVC pipe fitting is used to complete the jig.  It is a 1/2 inch male threaded adapter.  The other end is 1/2 inch female slip-fit, but that doesn't matter.  The 1/2 inch male threaded portion happens to be a snug fit into the bottle neck, providing good centering.  Notice that there are two PVC adapters.  One has hexagonal flanges, the other a knurled exterior.  The one with flat hex flanges is much better for this purpose because it will clamp more securely in drill-press vise.
dsc20047.jpgdsc20049.jpgdsc20051.jpg
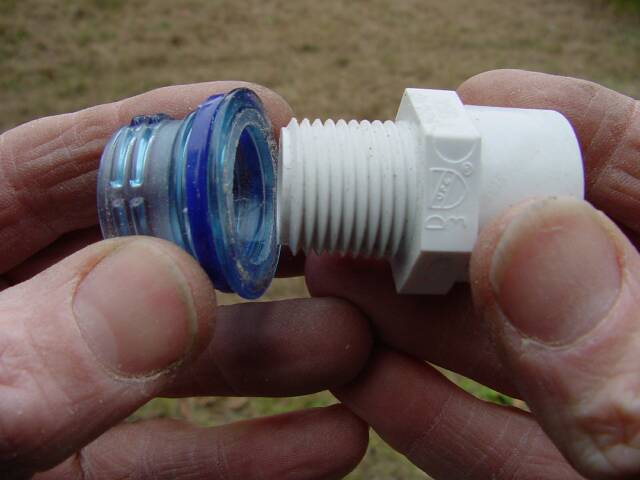
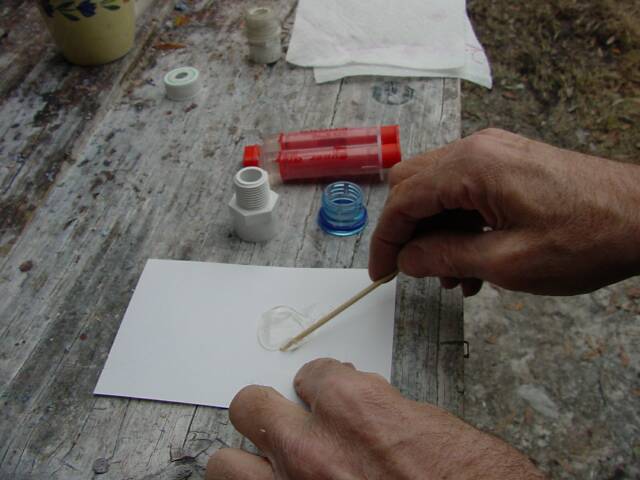
The bottle-neck is fastened to the PVC fitting with 5-minute epoxy.  Yes, I know....epoxy is not the best glue for either of these plastics.  But this joint has a large surface area and will not be highly stressed unless I do something dreadfully wrong. Epoxy is quick, easy, cheap, adequate, and I happen to have some.  Thus it meets all my criteria.
dsc20052.jpgdsc20053.jpgdsc20054.jpg
Here is the first of these jigs (left) and today's project (right.)  Notice the sloppy glue-job on the first one.  I got in a hurry.  Serves me right.  Works OK anyway.
dsc20055.jpg
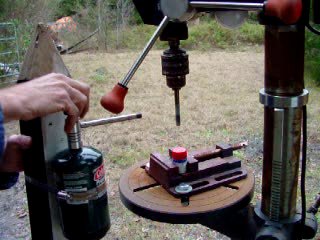
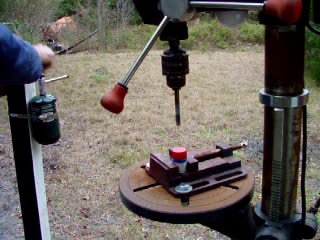
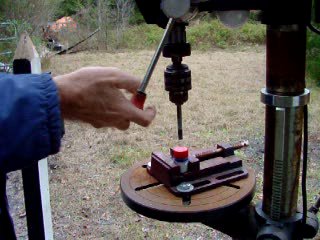
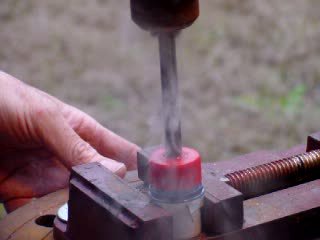
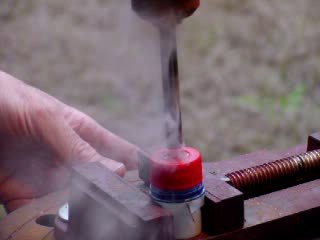
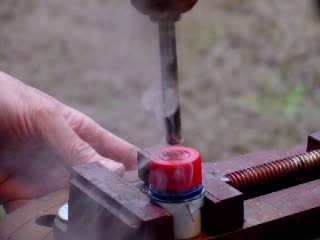
Mounting the jig.  Here I have cut the head off a 3/8 inch steel bolt and mounted it in the drill-press chuck.  The plastic jig is clamped in the vise, centered under the bolt, and tightened down.  Precise centering is difficult.  This is where a good indexing vise would be helpful.  Guess I ought to buy one.
dsc20060.jpgdsc20061.jpg
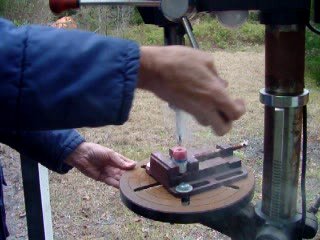
Since semi-retiring my 4x4 airframes, they have found many uses.  This one the torch bearer.  It serves most proudly.
dsc20064.jpgdsc20069.jpgdsc20071.jpg

Once the iron is hot, glowing dull red, the torch is removed, the drill press turned on (340 rpm) and the hot bolt lowered into the cap.  It melts a hole readily.  Upon removal of the hot iron, the cap solidifies quickly, is removed and another installed.  With a few seconds reheating, the iron is ready for another one.

I made 8 of these today.  They are tested by mounting in a small PET bottle, connecting to the electric pump, and filling with air until the valve-stem pops.  I watch the gage, and note how high the pressure went before it popped.

There is considerable variation.  Some pop the valve-stem plug out as low as 50 psi, some as high as 220 psi.  The highest of these is a bit scary, but I haven't blown up a bottle yet.  I have marked each with its tested pressure-rating, and will experiment further.

Jimmy Yawn
1/13/03
rev 11/20/04
jyawn@sfcc.net