|
Sugar Microrockets II
The Whizzer! |
Recrystallized Rocketry
Home Page |
OK. Here it is. My best trick. If you don't love me after this, I am giving up. On you, not on me. I will continue to be one of my favorites for some time, I am sure.
But it is hard to imagine any other way to have so much fun at so little cost and so low a risk. Forget the kiloton CATOs for awhile. Stop worrying about your $200 altimiter and respected colleagues watching as your ejection charge fails to fire...
Twist it up, light it, and toss it onto a flat surface. It spins with enthusiasm for a few seconds, making a ZZZZZZZZZ sound and a cloud of sweet smoke.
It is something you might even consider showing the kids, unless you fear creating a new generation of recreational terrorists.
Each of these costs maybe a penny or two worth of stuff. And it only takes a minute to make them once you have everything there.
Materials include:
Tools:
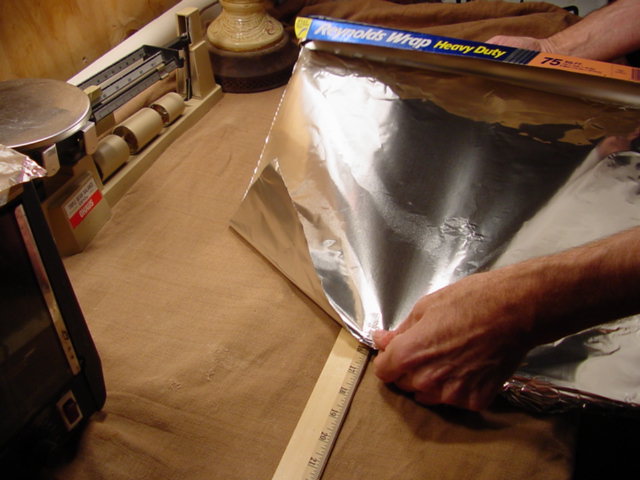
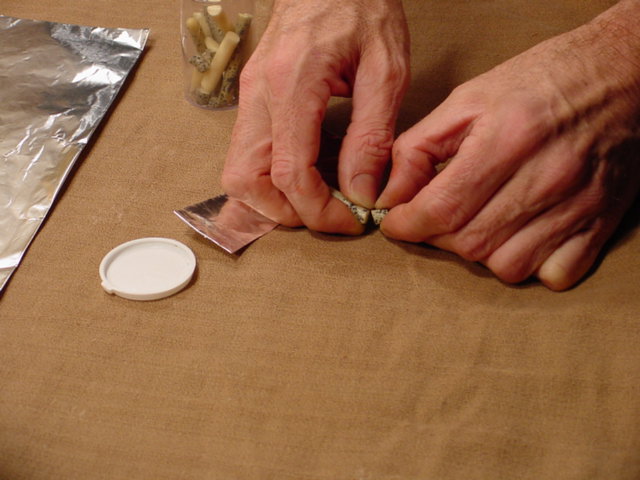
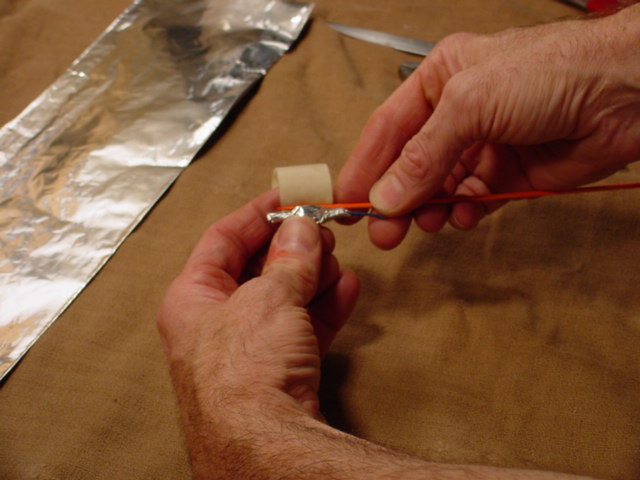
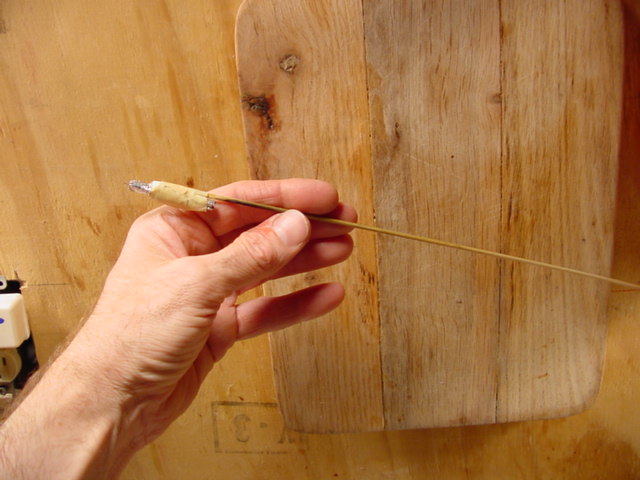
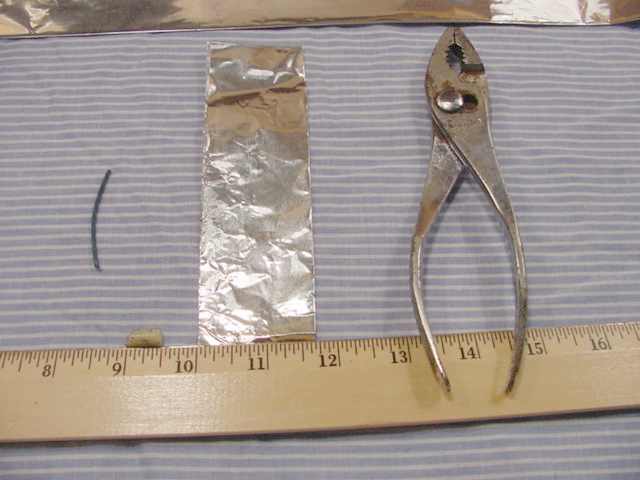
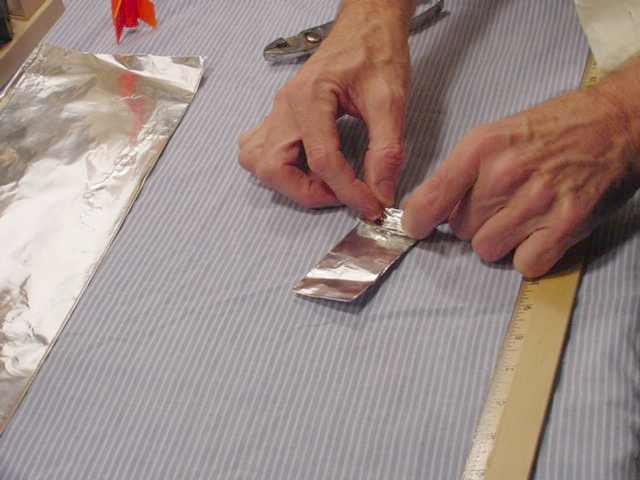
It starts off pretty much like the micro bottle-rockets. Tear off a sheet of heavy-duty aluminum foil, but this time make it 18 inches long.
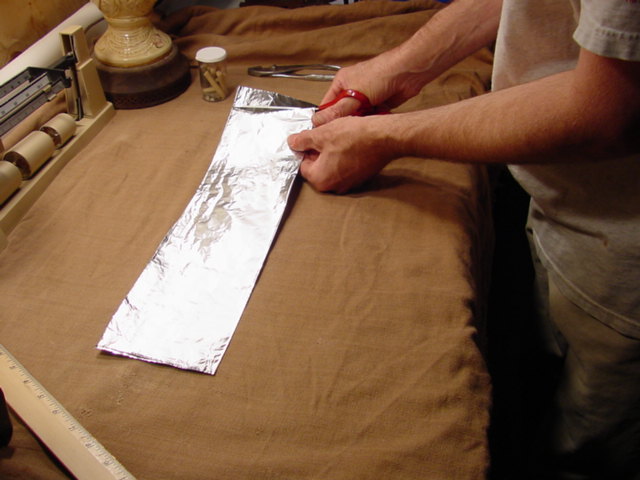
Fold it in half twice to make a strip 4-1/2 inches wide, 18 inches long and four layers thick.

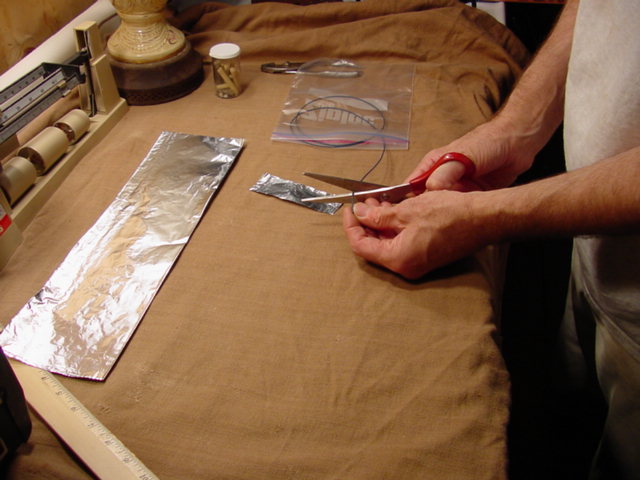
Cut a sub-strip from one end, about 1-1/2 inches wide by 4-1/2 inches long.
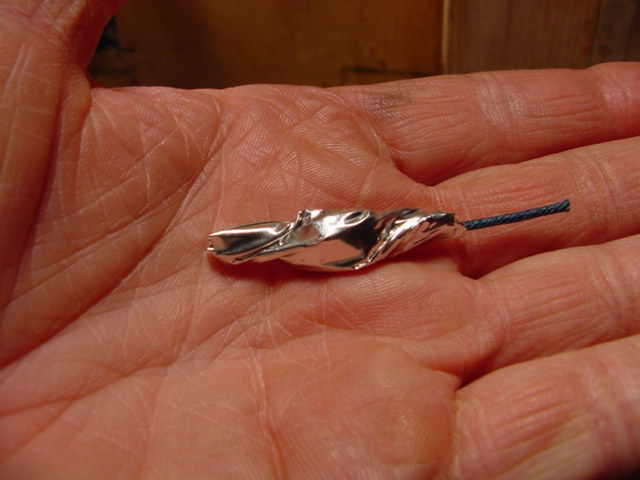
Cut a piece of fuse at least 1-1/2 inches long.
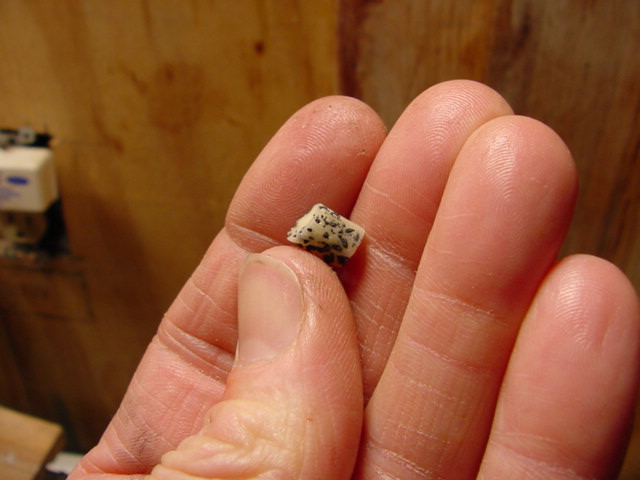
Take a stick of well-primed KN/sucrose and break off as short a piece as you can. It should be from 5/16 inch to 3/8 inch long.
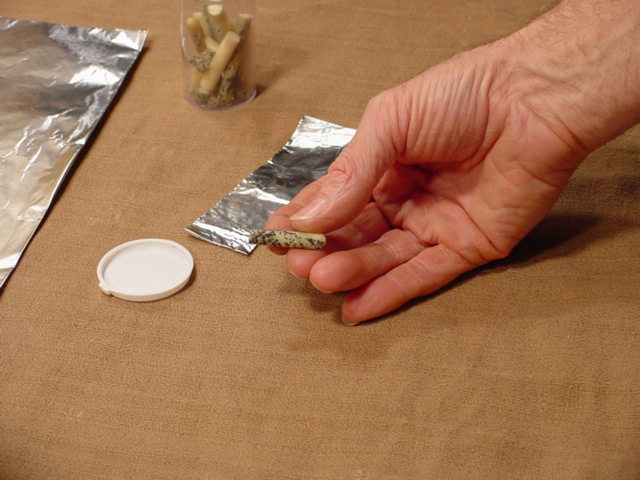

What a cute little grain!

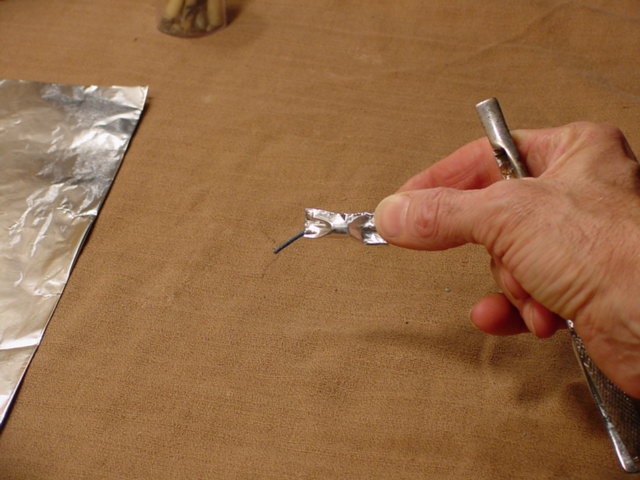
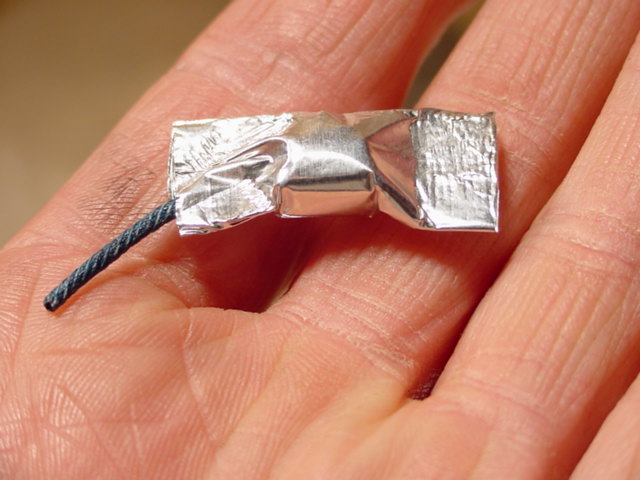
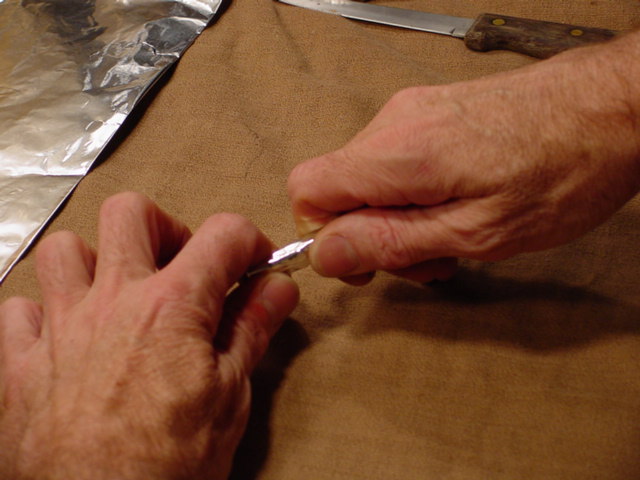
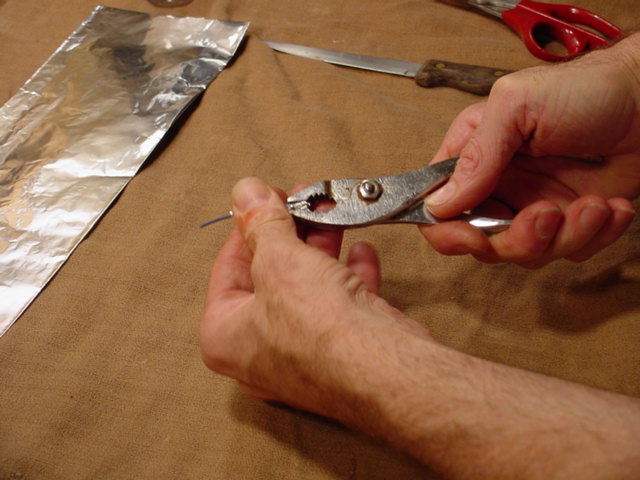
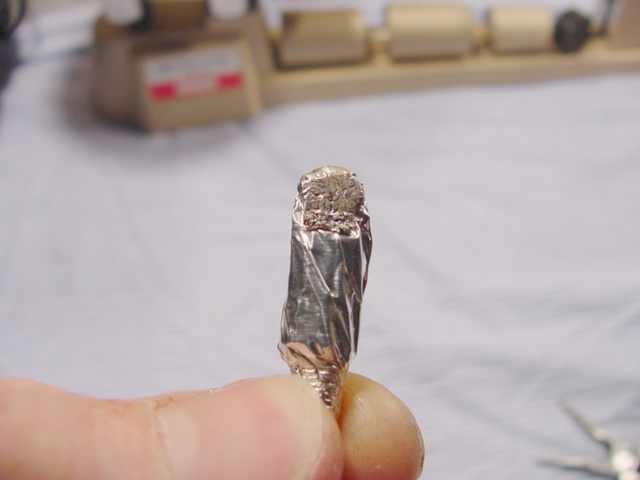
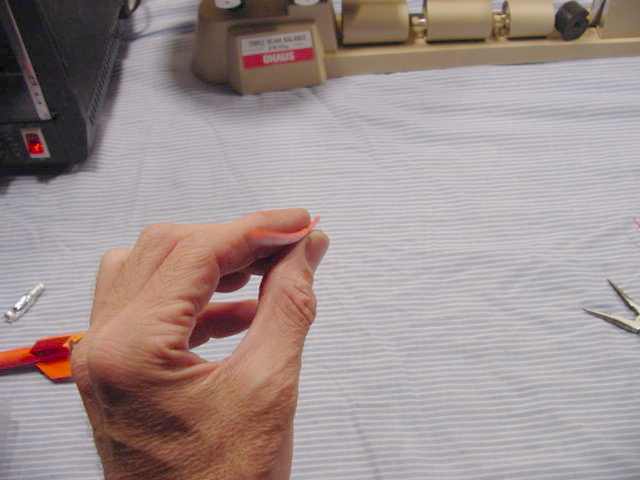
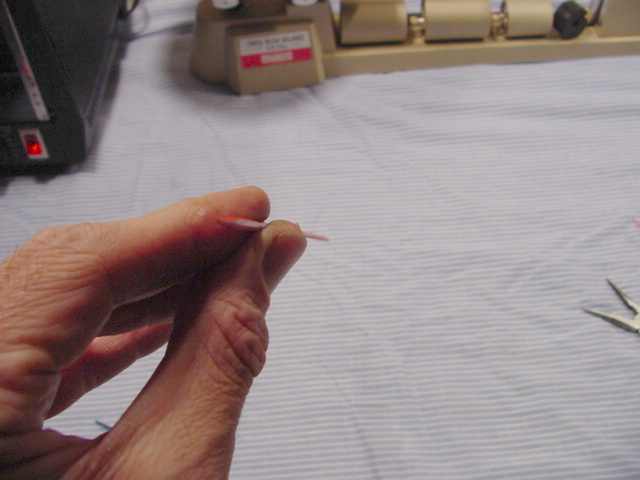
Bend the foil over an inch or so from one end. Lay the fuse in the corner and the tiny grain in front of it. Fold the foil-end down over the grain and press it backward so that the foil is stretched tightly over the grain and fuse. While holding it tight, start rolling the foil up as smoothly and tightly as possible. If you do it well, the result will be a nearly-cylindrical tube of foil with a fuse and grain held tightly in the middle. It may take some practice to become fluent at this, but it can be done.
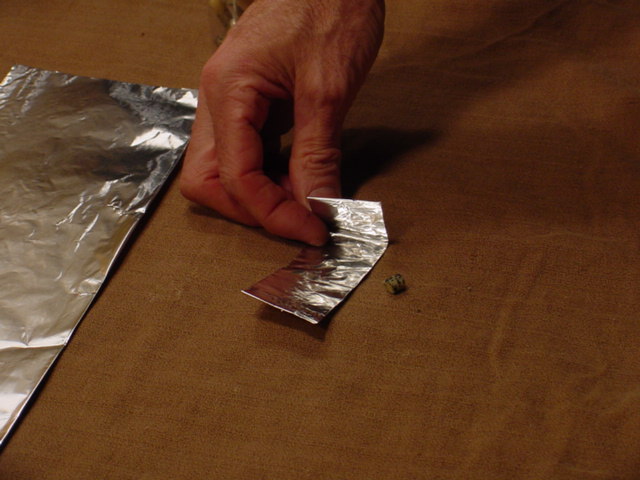
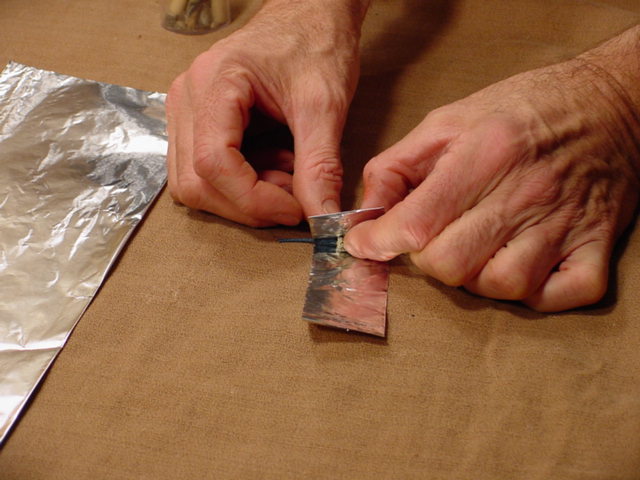

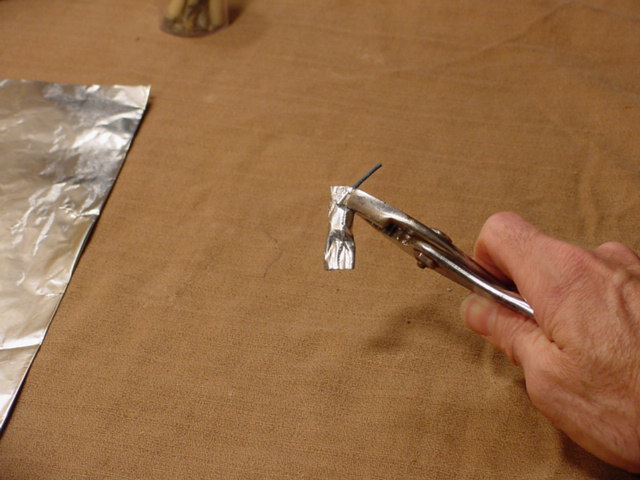
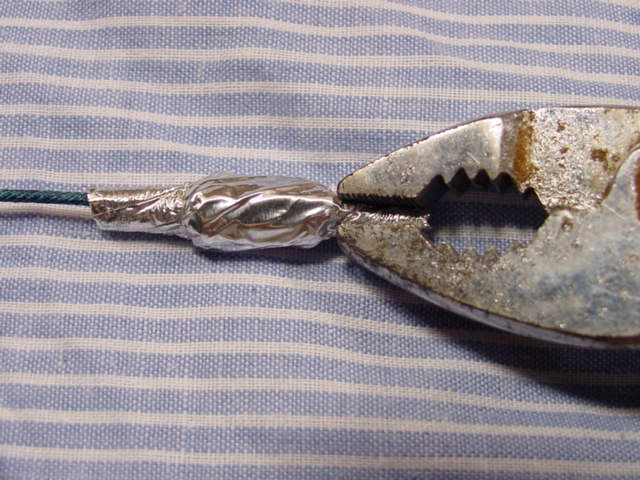
Bend the fuse from the side it is on to the opposite side of the foil tube. The burned-away fuse will leave an exit channel for the exhaust gasses. Bending it to the opposite side increases the angle of the jet in relation to the body of the whizzer, so it spins faster. Leave it straight for a lazier spin.
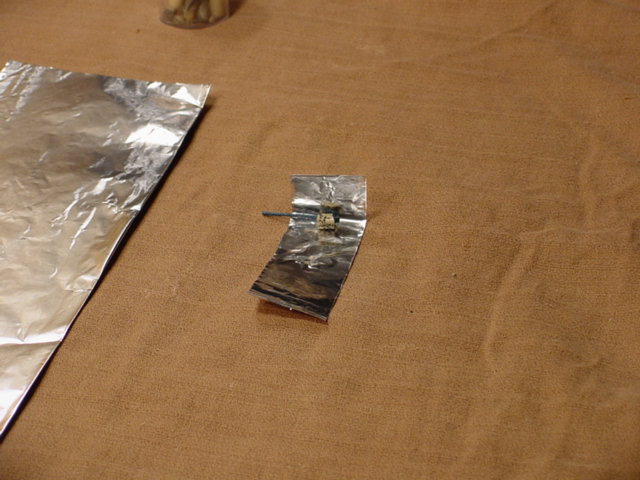
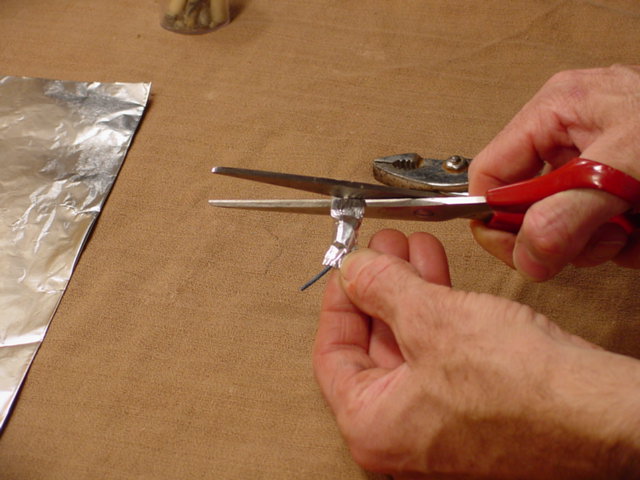
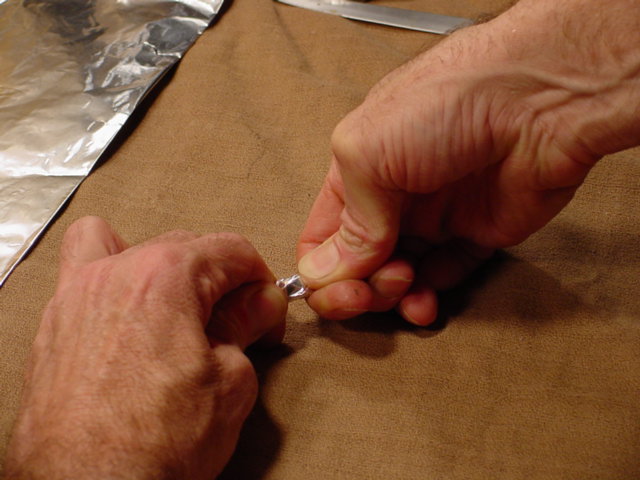
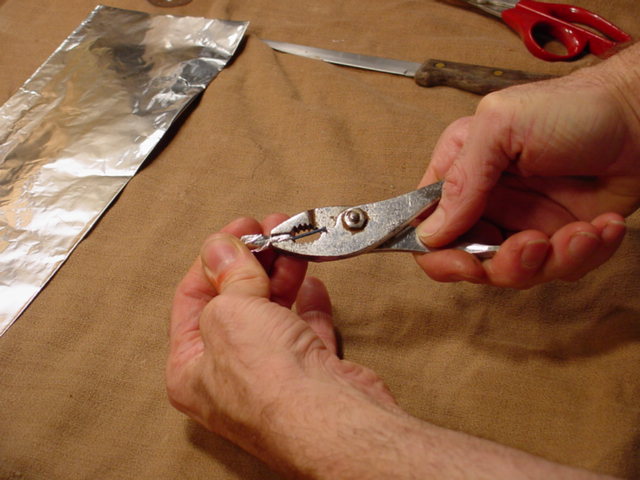
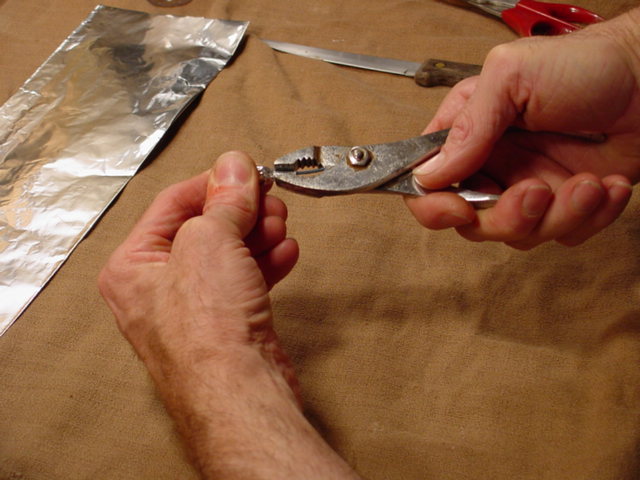
Mash both ends flat with your fingers, and follow up with pliers to get them good and flat. Squeeze on both sides of the fuse to make sure it is crimped down.


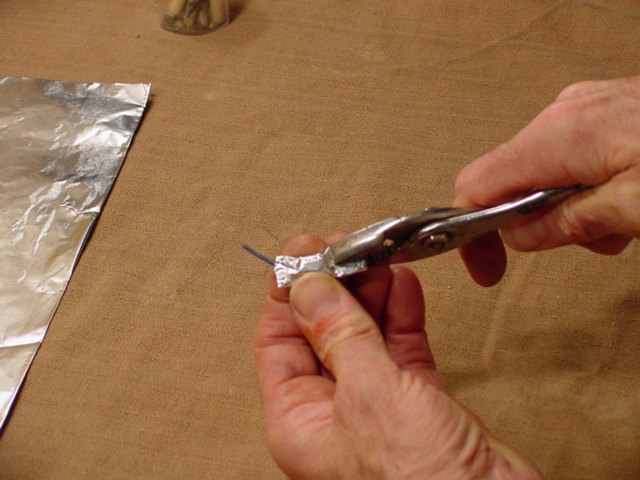
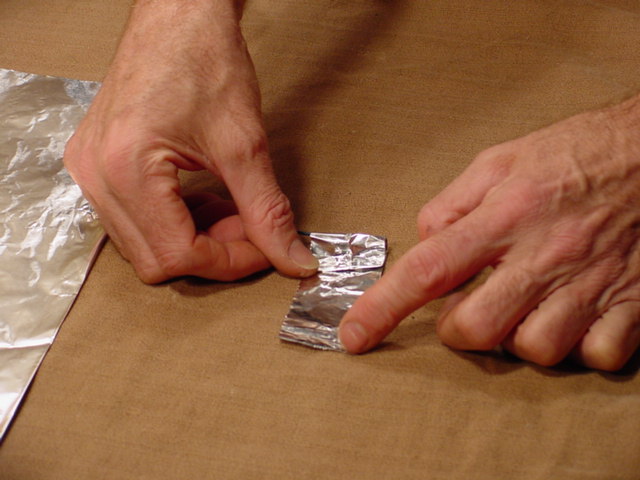
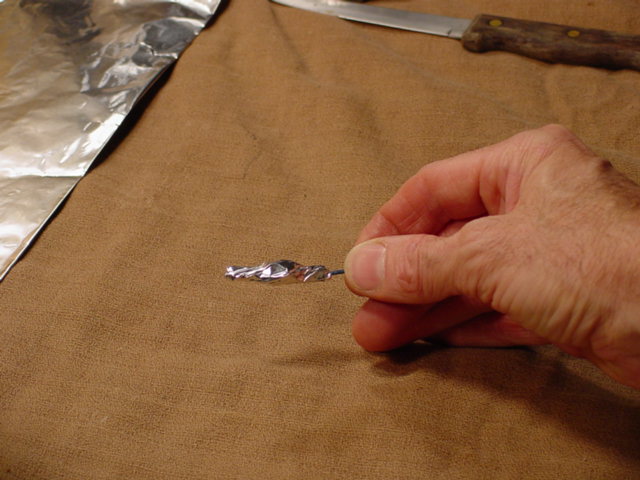
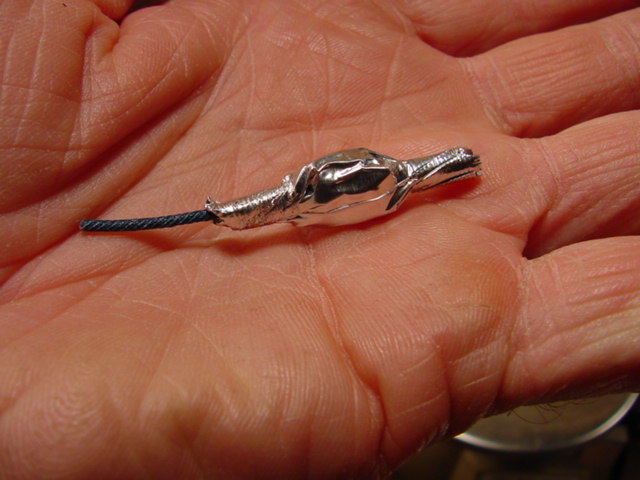
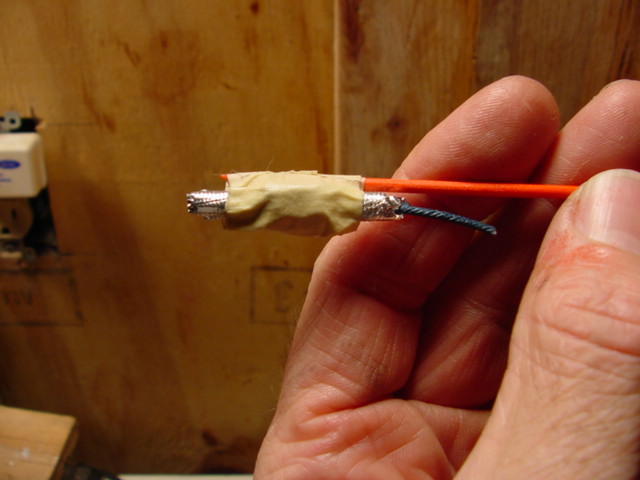
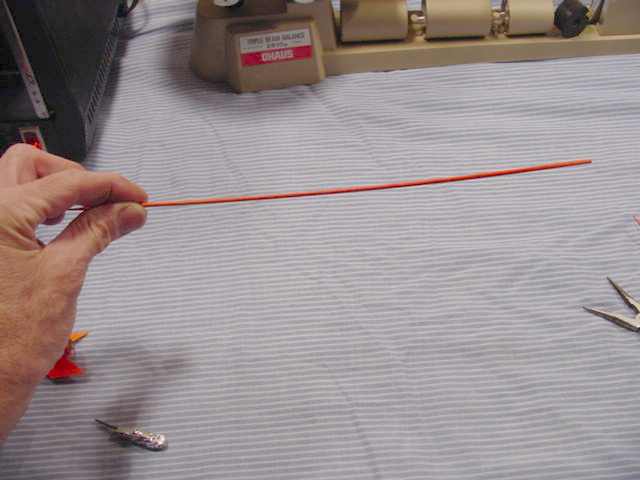
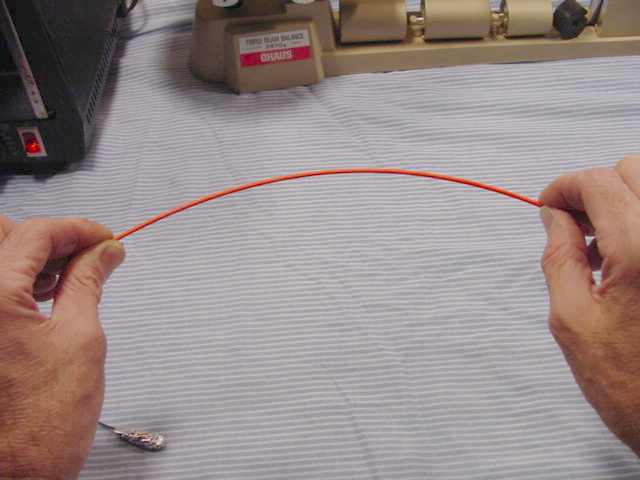
This one is a little bit lopsided, so I trim off the head-end. This is a plain whizzer, ready-to-fire.

Click here to see a video of its burn.
(Beware - 1.3 meg download for a 15-second feature
with little redeeming virtue)
Don't pitch the burned whizzers, recycle them! They recycle well as hydrogen balloons. Don't know that trick? Here it is.
You may recall that I promised a VTOL rotary engine. Well, that wasn't completely a lie, although pretty close. I sometimes make a small hole with a knife-point to expose the candy near its center of gravity. Place it on a flat surface with the hole facing downward. Often these will spin for a second, then rise up as the exhaust starts going out the bottom hole.

"Whoa! You are making fireworks here! Isn't that off-topic?"
Well yes, sort of. But hang on, this is leading somewhere, I promise.
These are reaction engines, are they not? And the engines discussed on aRocket I hear about are pyrotechnic devices, with a few notable exceptions. So let's make one of these into a true "rocket."
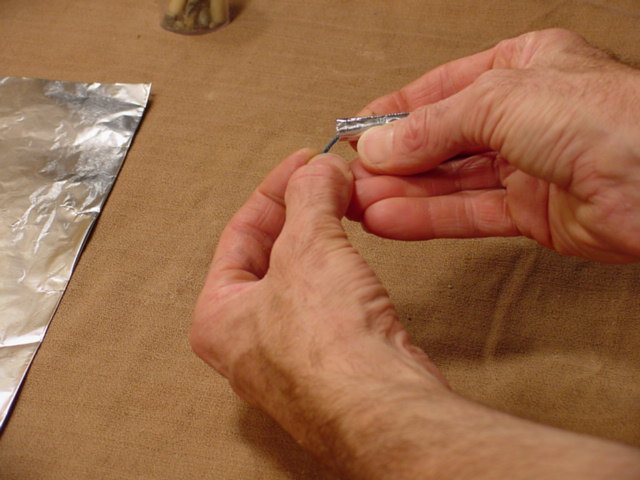
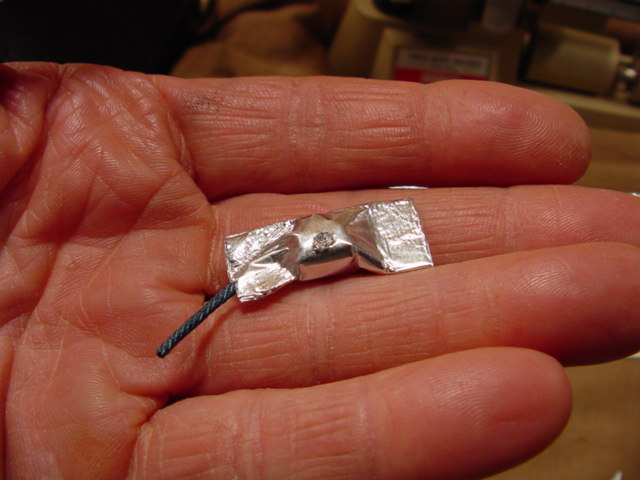
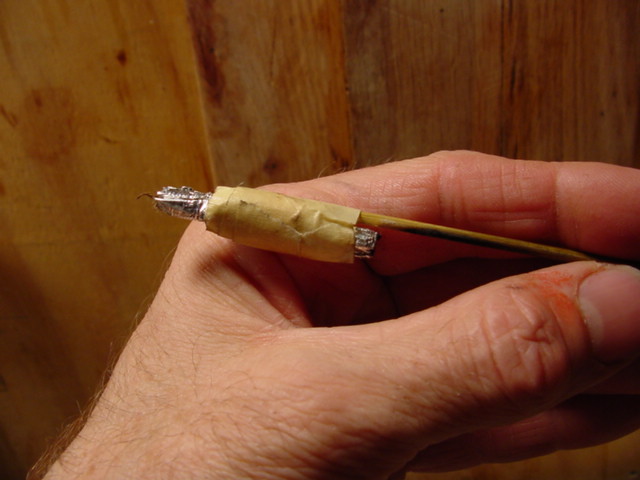
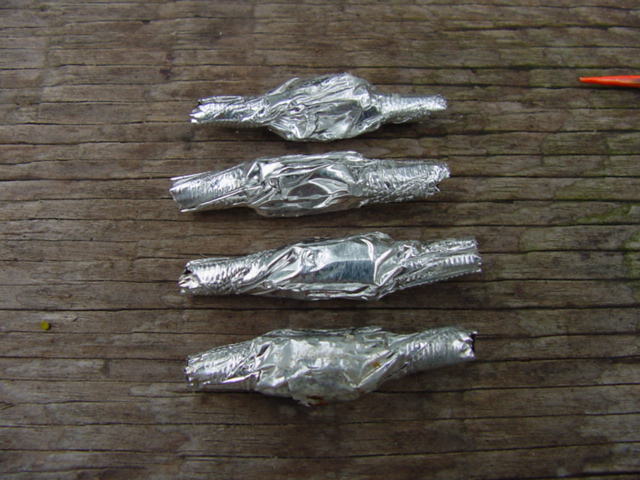
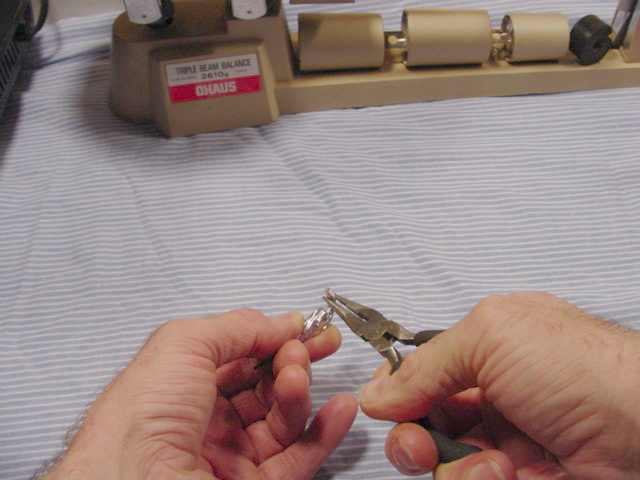
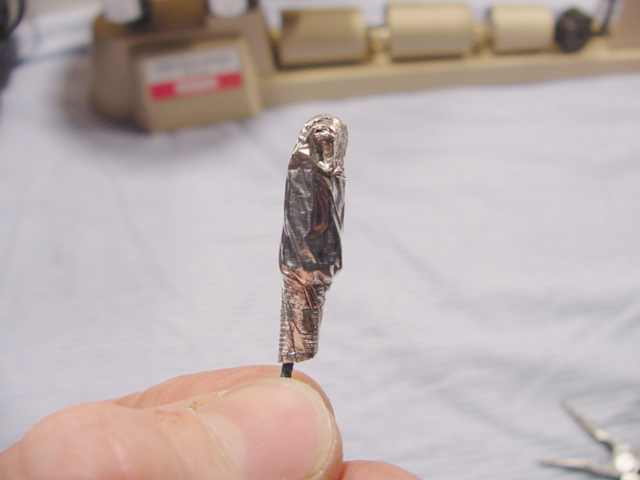
Back to square two, having rolled a small grain and fuse in foil to make a tidy tube.

But this time, instead of mashing the ends flat, I give them as good a twist as my hands can manage. Just grab both ends and twist the heck out of the whole thing. Go ahead. It won't mind.
This is the best I can do.
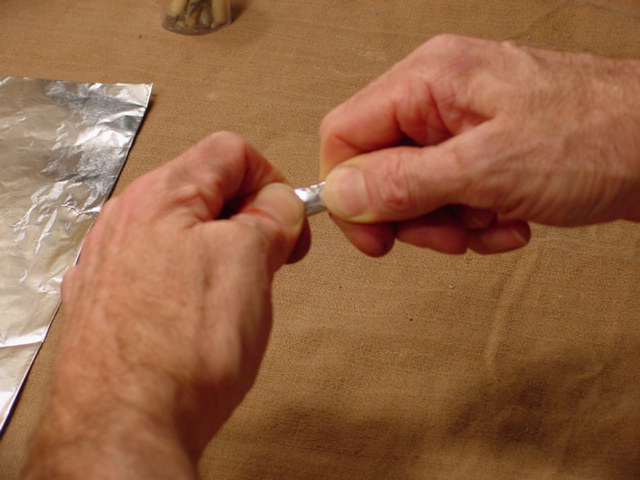
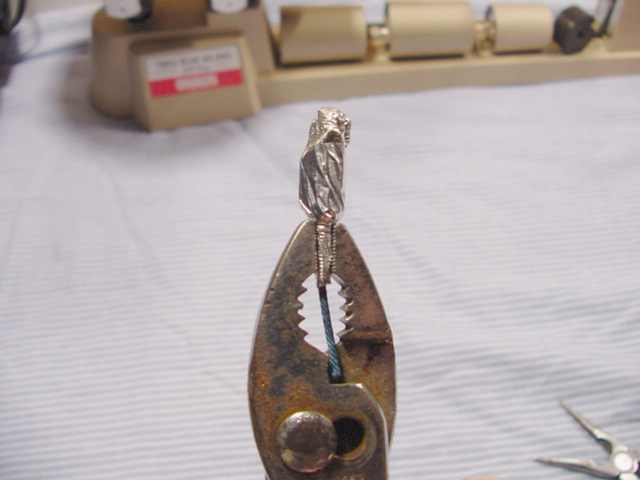
Unless your hands are much stronger than mine, pliers will be required to finish the job. Work from the ends. Squeeze and twist, squeeze and twist each end until it is pretty much round.
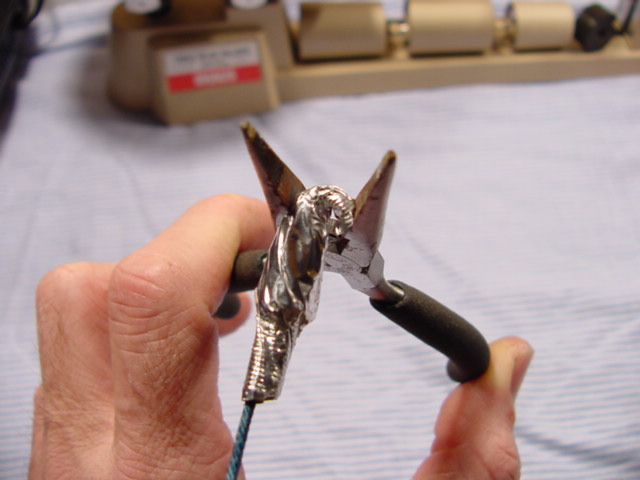
Then I like to squeeze just a little and rotate the foil so that the plier jaws "turn" the nozzle end nicely cylindrical.
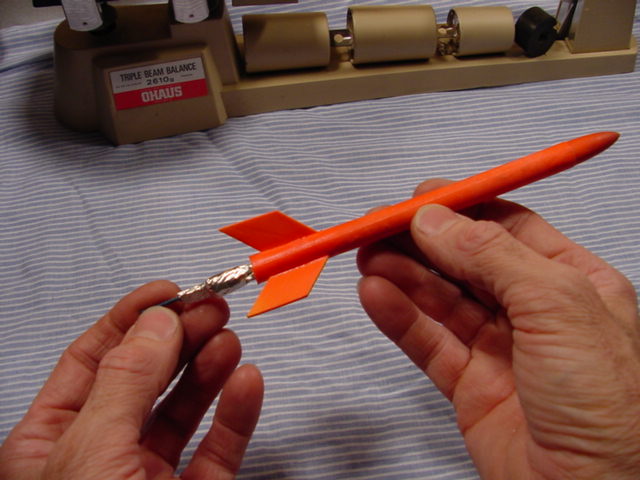
Tape it to a stick, and we have a little bottle-rocket!
In the next photos, please note how smart I am. I spent much of yesterday searching for fired rockets. Bamboo sticks look an awful lot like dead grass and the shiny foil is mostly covered with masking tape which also resembles dead grass. So I spray-painted my sticks flourescent red. Don't think I can patent this idea, as I vaguely recall seeing this done before. The completed rocket weighs 3.5 grams.


Ready for a launch? I thought so.
Click here for a video of this rocket
being launched.
(Beware,1.3 meg download for 8 seconds of video of
a very small rocket being launched)
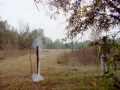
This one landed about 250 feet from the launch-tube, behind the smallest tree you can make out in the field.
Here is a different one I managed to recover from the field. It was fired at a low angle, about 35 degrees, and landed 300 feet from the launch-tube. You may note that it is a bit larger than the one illustrated above, but only a bit.
Today's Breakthrough
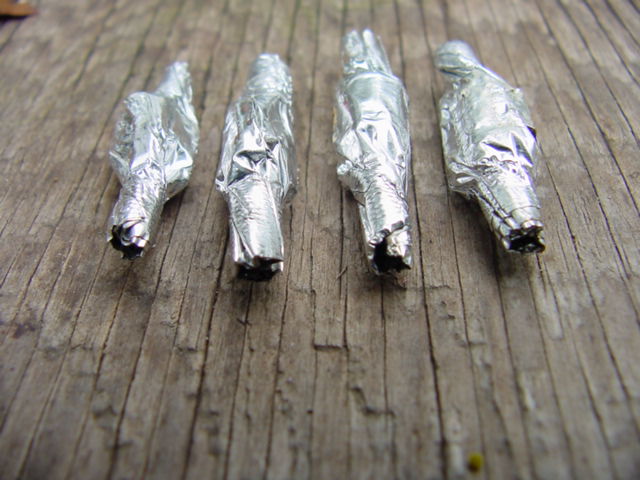
Couldn't help myself. I was up at the crack of noon, made four whizzer-rockets while the coffee was brewing, and fired one right after the other. My fingers weren't quite awake, and I broke some of the grains too long, the largest being about 1/2 inch. Decided to use them anyway just to see what happens.
They were launched from a tube angled about 45 degrees upward. One went about 30 feet. Two went about 100 feet. The third landed almost 300 feet away. Hmmm.
The flourescent stick trick worked. I retrieved all four, removed the sticks and tape and looked at them.
They are arranged below from the smallest to largest, top to bottom.
Guess which one went the farthest...
The smallest one, of course!
I expected that the nozzles on the other three would be blown out by the excess fuel, but they weren't. What is going on here?
You can't quite see it in the photo, but there is evidence of leakage at the head-end of the last three. Apparently they were acting as their own retro-rockets. Obviously, they had too much propellant in them.
Wait one minute! What if the head-end were better sealed? I could just fold over the top as in the bottle-rockets and take care of that. Or at least direct the leakage in a useful direction. But then they wouldn't fit in the cute little airframe I made last night.
Let me show if to you.
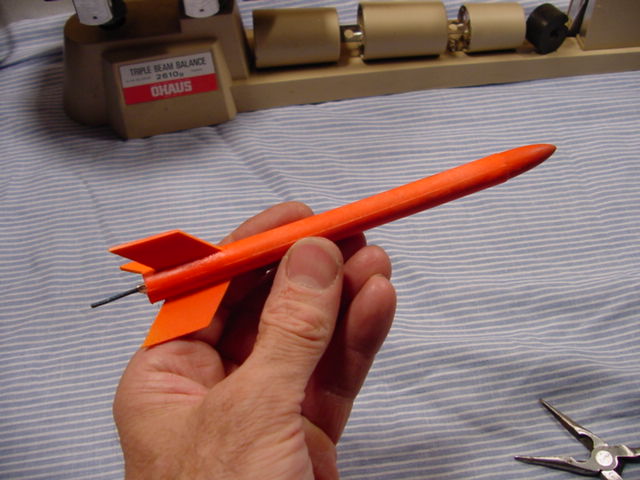
Micro Airframe
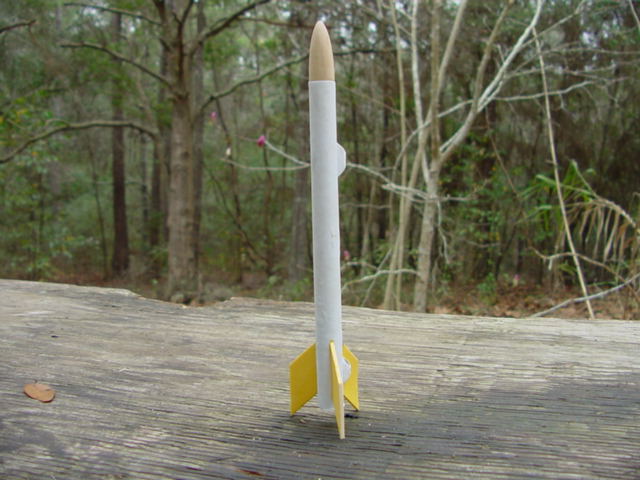
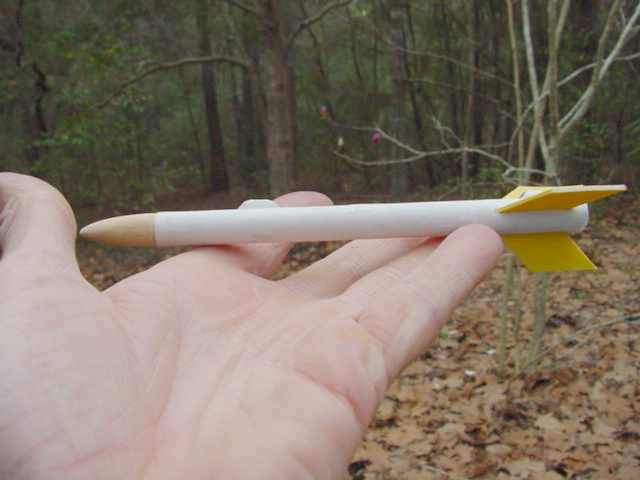
It is made of 1/2 sheet of copy paper, coated with diluted wood-glue, rolled around a dowel, and allowed to dry. I have a page on this process.
The fins are made out of these "Say aahhhh...." sticks, cut up into little parallelograms.
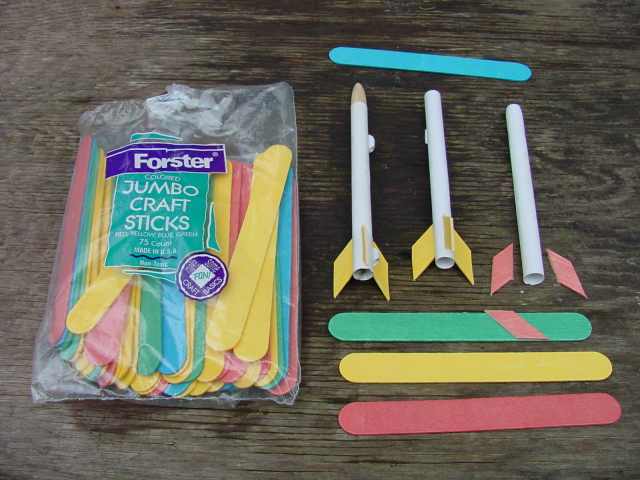
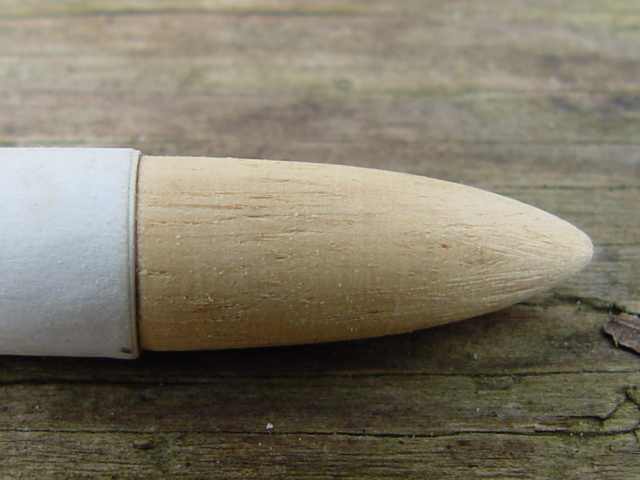
Thanks to Stuart Leslie for suggesting that a small nose-cone can be turned in a drill press. I have a wood-lathe, but it doesn't handle little things very well. I bought a really cheap one, and may have saved too much money. But the drill press worked well except when I got careless and gouged the work. Twice. Badly. I'm not showing you that side, but it cleaned up enough to use.
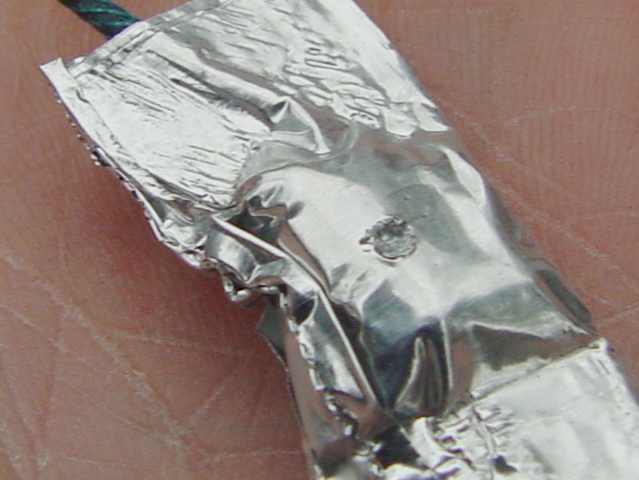
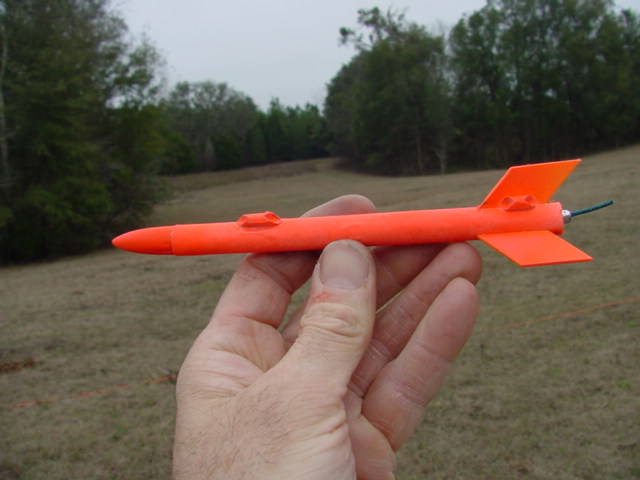
Back to the motor - This is pretty much a rehash of the one above, but the foil is cut a bit wider (1-3/4 inches) and the fuel charge is a bit longer (1/2 inch long, 1/4 inch diameter). The ends are twisted, as before.

But now I squeeze the head-end flat, bend it over, and crimp it down. This makes a tidy bulkhead which will fit in the little rocket body nicely. Hope it doesn't unroll upon firing. (It won't.)
By the way, I squeezed the fuse-end flat too. Not sure if this makes much difference, but the ones I mashed worked well.
I like this red paint. It makes things easier to find than they are to lose.
Before flight 1:
During....

Click on this photo for a video of the launch
(Beware, 1.3 meg download for 15 seconds of trivia)
After:
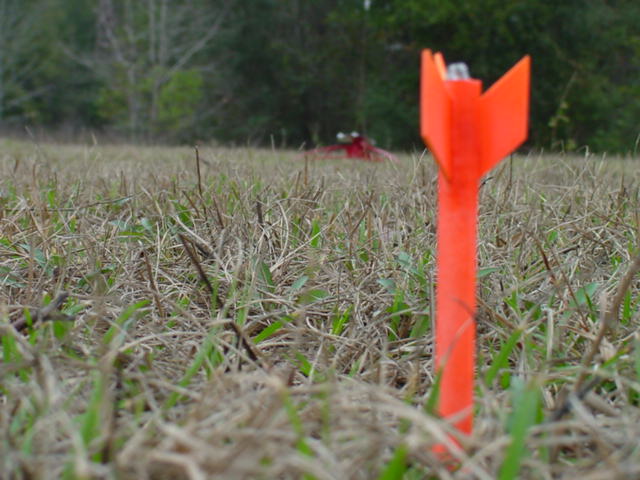

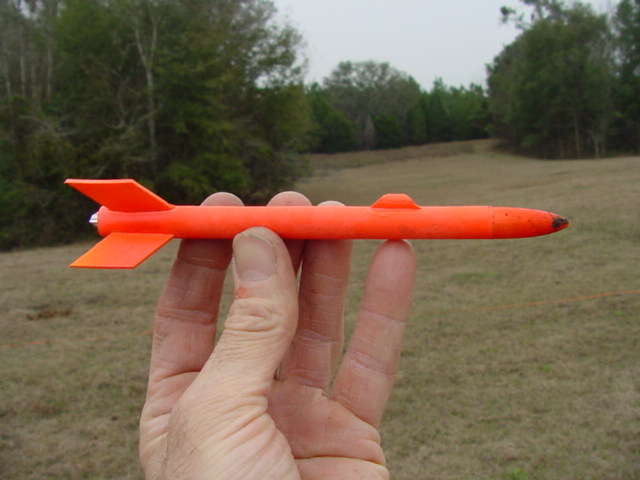
The brave little airframe survived this flight and several others with
a little dirt but no damage.
Flight time of 4.32 seconds suggests apogee at 75 feet.
Analysis of audio shows thrust duration 0.2 seconds.
Propellant charge weight - 0.6 grams.
Total launch weight - 8.9 grams including fuse.
Thus its total impulse would be 0.193 Newton/seconds.
ISP is 32.8 seconds.
Not a very efficient engine. But if I made a 12 degree divergence
on the nozzle... I feel an experiment coming on!
Straight Talk about stabilizers
I fired a whole bunch of bright orange stick-stabilized whizzer-rockets today. Toward dark I went out and found most of them, noting how far each landed from the 45 degree launch-tube. The winner was at 166 paces, almost 500 feet. Several others were over 400 feet. Quite a few much closer in. I noticed that the overachievers tended to have straighter sticks than the others. Duh. I know this from archery. If it isn't straight, it doesn't go where it's pointed. But I also know how to straighten arrows, and therefore stabilizers. Just bend it in the opposite direction until it is about to break. Bamboo will keep your suggested shape for a little while. Not forever, but long enough to launch the thing.


Well. Thanks for enduring so much drivel. I do tend to go on. Especially once the coffee gets done, adding some "artificial enthusiasm" to the real thing.
Perhaps you will consider this when the Cub Scouts invite you to do a presentation on rocketry. Well, maybe not. Even this could be scary in the wrong little hands.
As always, suggestions, comments, and criticisms are welcomed.
Jimmy Yawn
jyawn@sfcc.net
1/28/02
rev. 3/2/02