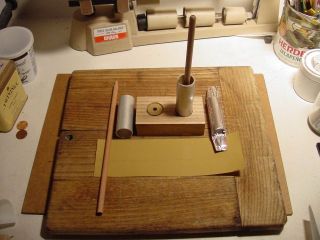
After literally months of deep thought, it finally occurred to me how to get a reduced peg on one end of the coring dowel that is perfectly centered. Use the table saw! I lower the blade until it is just barely over the saw table, and roll the dowel over it until it is cut down just that amount.
It took several tries, but doweling is cheap. Once I got the saw set up just right, I made several.
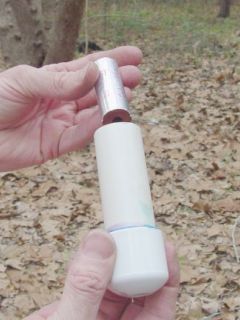
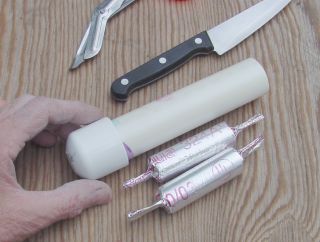
The brown flap is typing paper covered with plastic mailing tape. It is rolled up and inserted in the molding tube to keep the propellant from sticking. It emerges with the grain and serves as an airtight wrapper, at least for the outer surface.
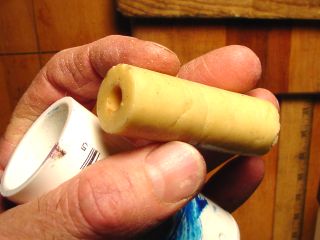
The tape is cut about 3 inches too long, so that it can be pinched shut to seal the grain. I believe this will make a pretty good package for storage of these hygroscopic grains
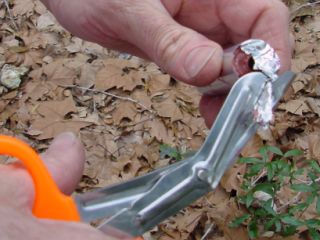
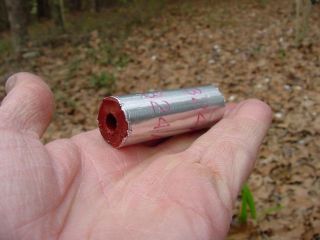
Before loading, the ends are cut off to expose the propellant inner surface and ends.
Now my imagination takes a leap, and envisions having several grains sealed in such a wrap, loading them in unison into a casing, and storing indefinately. Then at firing time, one pokes a sharp thing through the nozzle to make a hole in the wrapper, inserts an ignitor, and all is ready to go. Right? Poor-man's Cesaroni load. "Povera-38?"
This technique is way too easy. There must be something wrong with it.

Specs are:
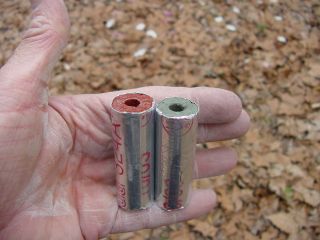
Grain: Rcandy with 8% Ti and 1% Fe2O3
Grain type: Inhibited, al foil tape
Length:
Test 2, 2-29-04B - Virtually identical to A except no Fe2O3 in the propellant.
Click Here for a video of this test (1.3
meg, 5 seconds)
Both motors burned well, despite low Kn ratios. I wonder if the Ti helps out here?
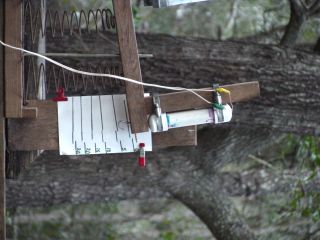
I havent' yet analyzed the test stand date, but at a glance thrust seems to average 10 to 12 lbs for 0.8 second or so, roughly 40 N-seconds which is in the ballpark of expectations for this propellant.
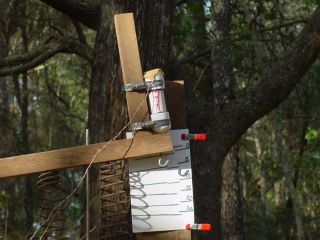
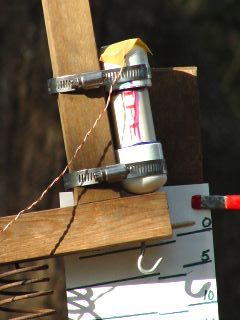
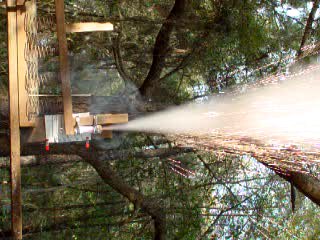
Happy March to you! Today's treat is a double. Two of the 2.5 inch grains in a single casing, same nozzle throat diameter. This will be a much more vigorous motor than yesterday's tests.
Not very scientific, just do it and see what happens. I indulge myslef a few of these now and then, and sometimes learn some unexpected things. Like what they say about Education: It's what you got instead of what you wanted.
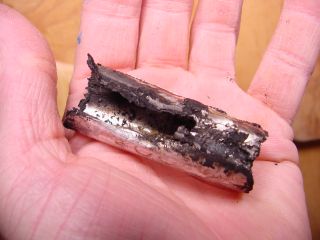
Good burn, but funny "squeak" at the end. Nozzle eroded significantly, one inhibitor badly burned, the other completely missing! I suspect that the squeak was the missing inhibitor being ejected from the motor.

Not to worry. I can still apply a better inhibitor, then cover
it with foil tape to seal the package. I have a 38mm version of one
of these I made in November '03 which I plan to test in May '04.
By then it will have endured quite a range of atmospheric conditions, most
of them humid. I will let you know how it works!