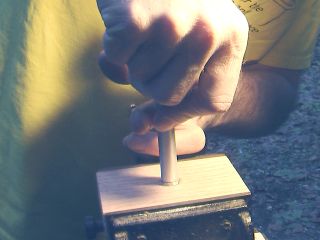
Luther Model Rocket Motor Ramming Tool Luther

This tool is used to make nozzles from Bentonite clay.  They are rammed directly inside the paper motor tube.  Tubes are made from posterboard and white or yellow PVA wood glue.

It can also be used to make rammed-propellant motors.  These motors are less powerful than rcandy motors, but are very quick and easy to make, and work fairly well.

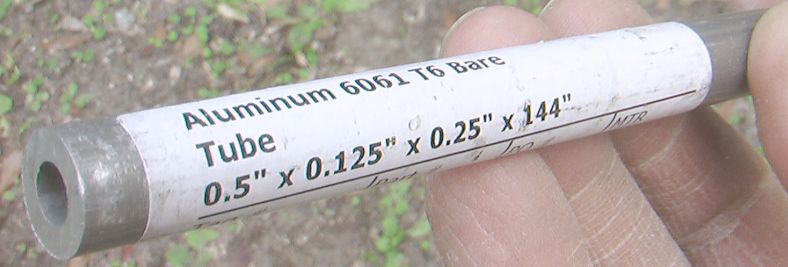
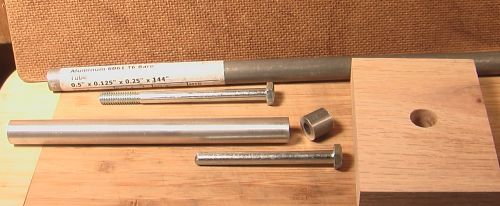
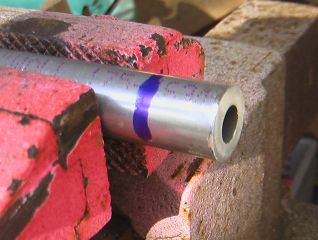
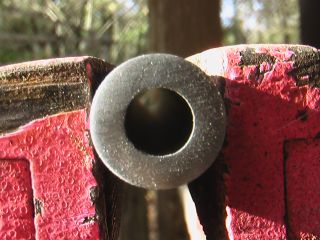
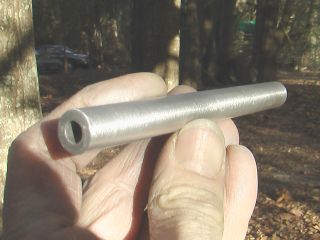
Aluminum Tube, showing label


Materials

Aluminum tube, 1/2 inch OD, 1/4th inch ID 1.  Tube.

The rammer project starts with ordering tube.  Here is a link:

0.5" OD x 0.125" WALL x 0.25" ID 6061 T6 TUBE

This tube came from Online Metals where it cost $6.00 per linear foot as of yesterday.  One foot will make two rammers.  

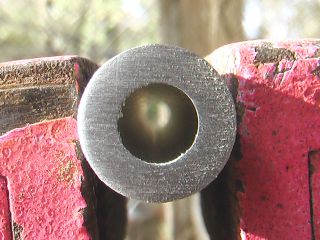
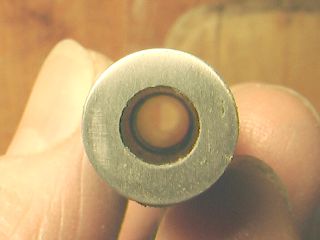
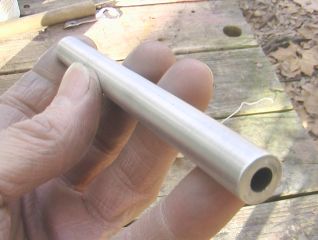
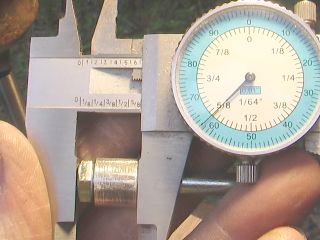
As you can see, it is 1/2 inch outside diameter, 1/4th inch inside diameter, which leaves 1/8th inch thickness for the walls.  

There is a light imprint on the tubing itself:  "Kaiser Aluminum, Chandler, AZ"

This will be used to ram nozzles in a rocket motor casing of 1/2 inch inside diameter.  The nozzle throat will be 1/4th diameter.

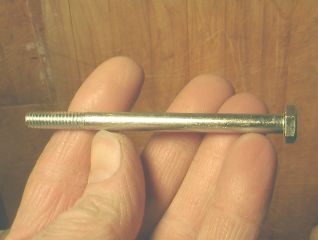
1/4th inch screw, 3-1/2 inches long 2.  1/4th inch steel screw, 3-1/2 inches long.  The last 7/8th inch is threaded, the rest of the shank is smooth.  I will cut off the threaded part and discard it.  OK, I'll put it in a jar with the delusion that I'll use it for something, someday.  But I won't use it on this nozzle rammer.  It doesn't need it.    

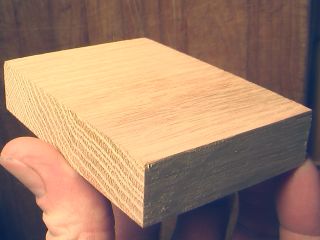
Wood Block 3.  Wood block.  I like a nice piece of maple, oak, or other good hardwood.  But a sturdy softwood should do OK too, provided it can stand being whacked with a mallet a few thousand times.  


5-minute epoxy package 4.  Epoxy.  This is needed to glue parts 1, 2, and 3 together.  I've found 5-minute epoxy to be adequate for this purpose, but slower epoxy should be sturdier, and is preferred.  


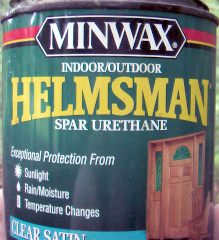
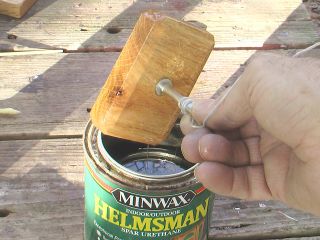
Minwax Urethane Spar Varnish 5.  Varnish, to make the wood pretty and protect it.  Alternatively, you could spread the whole thing with epoxy, but it's hard to get a smooth finish that way.  I use Minwax polyurethane, but any good varnish should do.  

Materials for making the rammer Here is the collection again.  Unmodified aluminum tube and screw at top, cut and polished versions below.  Wood block has been drilled with 1/2 inch diameter hole.

The procedure includes cutting off a 1/2 inch section of the aluminum tube.


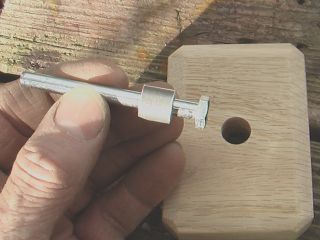
Heads-up on where we are heading... the short section of aluminum tube (hereinafter called: "the bushing") and the cut-off-screw (which will be referred-to as: "the spindle") will be glued into the wooden block with epoxy to make the spindle base.  The remaining 5-1/2 inches of tubing will be trued-up and polished to make the rammer.  

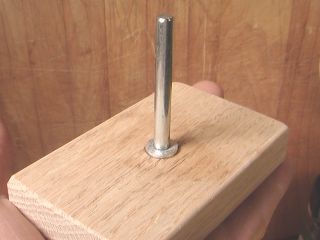
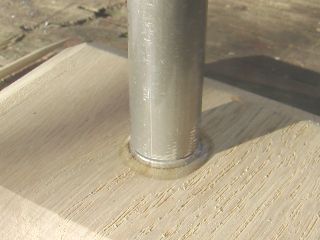
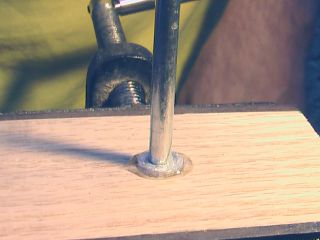
A short section of the bushing, 1/16th inch, is left protruding from the wood.  This serves to center the motor casing and hold it in place as the nozzle is rammed.  

 3 parts that make up the spindle base  Spindle base, completed

The screw is a nominal 1/4th inch by 3-1/2 inch machine screw.  I don't think the strength matters much, but be sure to get one with a smooth shank.  

1/4th inch screw, 3-1/2 inches long

Note that the depth of the screw head is not included in its nominal length.  This  "3-1/2 inch" screw is 3-5/8ths inches in total length.  The last 7/8ths inch is threaded.  The threaded part will be removed, and the unthreaded shank used as the rammer spindle.  


Tools:  


1.  Hacksaw with a fine blade, 32 teeth per inch or so.  A vise is nice, but you could cut the tube while standing on it with one foot.  Watch those toes!
2.  Flat file, for squaring up the ends of the hacksawed pieces
3.  220 or 320 grit wet-or-dry sandpaper, to smooth the filed ends, remove burrs, and make things pretty.
4.  Optional, 400, 600 or 800 grit wet-or-dry, to put a nice polish on the metal parts.


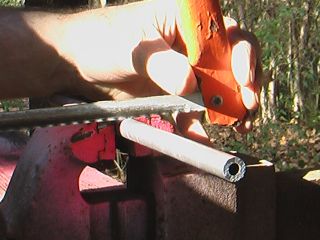
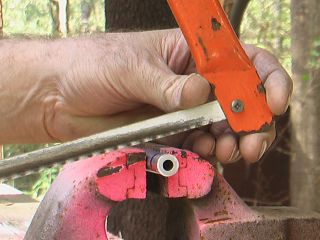
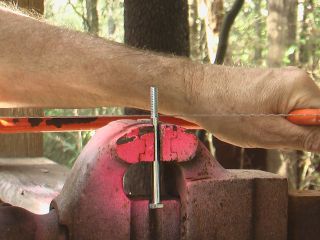
Cut 6 inch section with hacksaw I ordered the tubing in 1-foot sections.  

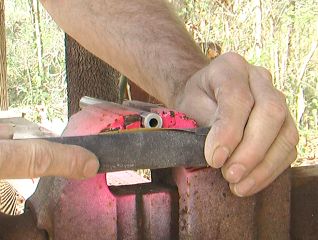
Here I'm cutting a section in half to yield two 6-inch pieces.  Each piece will make one ramming tool.


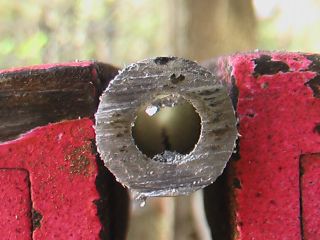
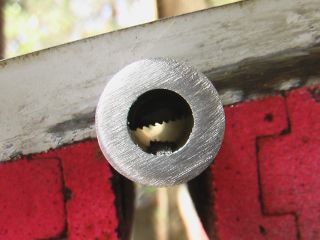
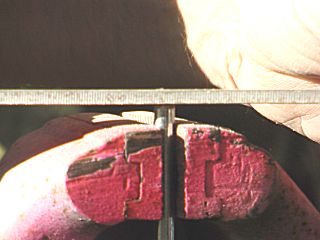
End of tube as cut by hacksaw The hacksaw is aptly named.  It leaves the end of the tube rough and not flat.  Gotta fix that.  We need flat, smooth ends on both of the ramming faces.  


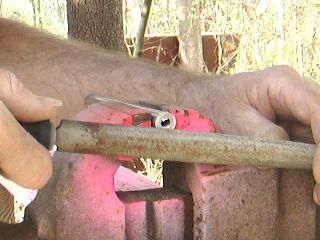
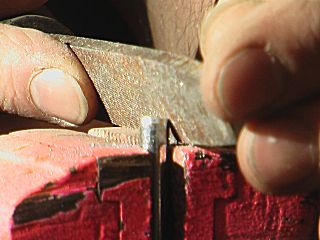
File end of tube smooth and square A flat file is used to square up the end and smooth it somewhat.  

Critical observers may note that this is actually a half-round file.  
Astute observers will realize that "half round" means that one side is flat.
Wise observers will understand that since you can see the round side, I must be using the flat side.

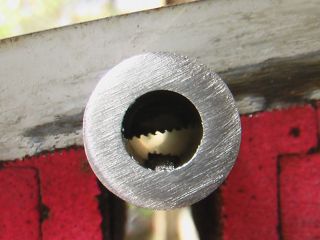
After a few minutes filing, the end looks a lot better.  Flat, but still not very smooth.


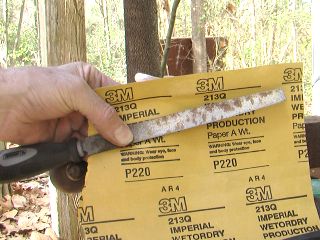
Wrap file with watersand  Sand end of tube For greater smoothness, wrap the file with fine wet-or-dry paper.  I recommend 220 or 320 grit for this purpose.


Use the sandpaper-wrapped file to sand the end of the tube.  This will smooth it considerably.  

Tube end sanded with 220grit While you are sanding, be sure to go around the edge to remove any burr left by the sawing and filing.  

If you wish, sand it again with finer paper.  Here I've used 600 grit to get it fairly smooth.

Aluminum tubing, trued and polished end We could go on to finer and finer papers until the face has a mirror finish, but that is unnecessary for this purpose.  The 220-grit finish is good enough.  

Tube is marked at 1/2 inch from smoothed end


The tube is relocated in the vise so that we have a good shot at the next mark, 1/2 inch from the smoothed end.  

This will be our next cut.
Getting ready to cut tube at 1/2 inch mark

Cutting through tubing, halfway done So cutting proceeds, slowly and carefully, as straight and flat as possible, to minimize the amount of filing that will be needed later.  
Cutting through tubing, halfway done

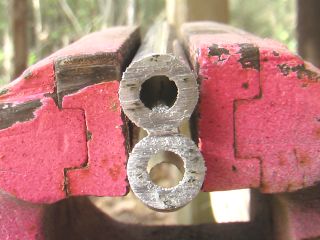
Two rough-cut ends So now we have two more rough cut ends to deal with.  But only one of them needs to be "nice."  
The other end will be buried in the block, anchored with epoxy, where only the maker will know how ugly it is.  
Therein lies the rub.  I'm the maker.  I'll know it.  So I'm compelled to make both ends "nice."  Darn.  

Another smooth end So these ends get the treatment too.  Here is another shiny one;


The lighting gives us a clue that the filing and sanding has resulted in a slight "crown" or convex surface.  That's OK.  In fact, I think that might be a good thing, as opposed to a perfectly-flat end.  


Cutting the screw.  

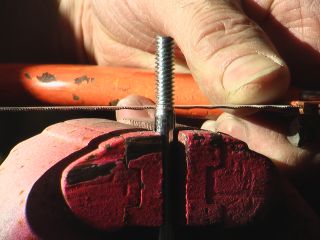
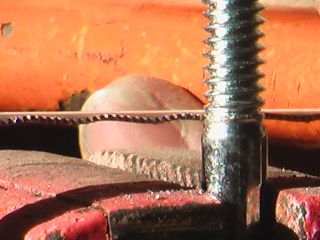
All we want from this screw is the non-screwy part.  The threaded section will be cut off.  Last thread makes a nice starting groove for the hacksaw.  but watch your fingers!  I think I've been injured with hacksaws more than any other tool.  

Cut threaded section off screw   Cut threaded section off screw  Cut threaded section off screw

As you might expect, sawing off the threads has left a rough end.  File it flat and smooth.  

File end of screw flat and true

And while you have the file out, chamfer the end so that the shoulder is not sharp.  This will help the rammer "find" the spindle inside the motor casing.  

Chamfer end of screw with file at 45 degrees

If you happen to have a grinding wheel, this is a good time to use it!  You an round off the end of the spindle, or even make it a point.  
Shape doesn't matter much, as long as the shoulders don't have any burr that will compromise your nozzles as they are removed.  


Moving on to the wood block...

Here I've cut a little piece of red oak 2-1/2 inches wide, 4.116 inches long (golden rectangle!) and it came 3/4th inch thick.  
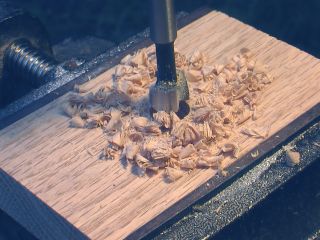
A hole is drilled in the middle of it, 1/2 inch diameter, and 9/16ths inch deep, or a little deeper.  This depth is to accommodate the length of the aluminum tube bushing we cut off recently (1/2 inch length) plus the length of the screw head (1/8th inch) minus the 1/16th inch that the bushing will extend above the surface of the wood block.  Whew!   OK, I'll illustrate all that.  

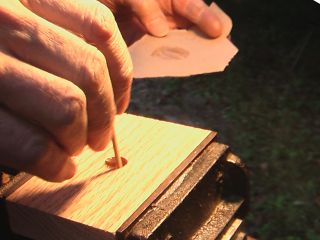
Drll 1/2 inch dia. hole in wood block  Drilled 1/2 inch dia. hole, blew chips away

Or you can forget about drilling to a precise depth and just cut the hole all the way through.  Glue the spindle assembly at the proper depth, then fill the hole on the bottom with epoxy.  That's a lot easier, so we will do that here.  

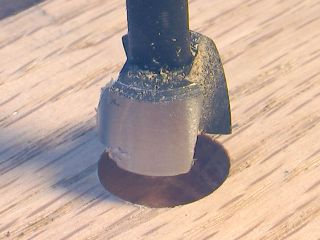
By the way, you don't need a Forstner bit to drill this hole, although that is the best bit for drilling clean holes in wood.  

Here are the options, in descending order of preference:

0.  Forstner bit
1.  Brad-pointed wood bit
2.  Spade bit
3.  Metal-working spiral bit
4.  Steel rod and propane torch (heat rod, burn hole)
5.  Small fire.  Place glowing coal on wood, blow on it to burn hole, scrape out carbon now and then, replace coal and blow some more.
6.  Fingernails.  Recommend using a softwood if you intend to try this.  
7.  Teeth.  I don't even want to think about it.


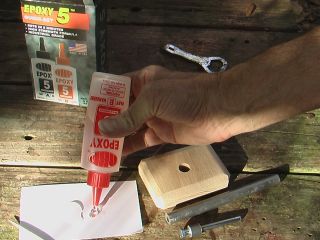
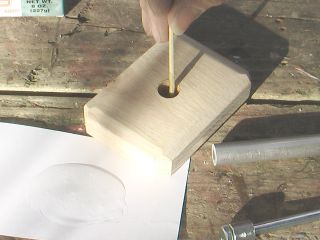
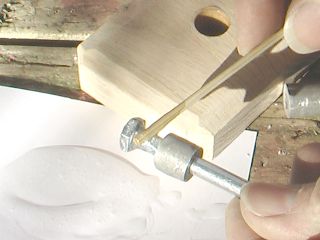
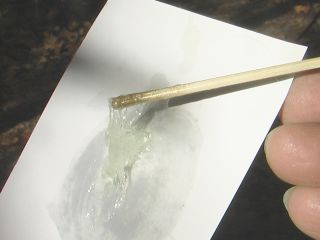
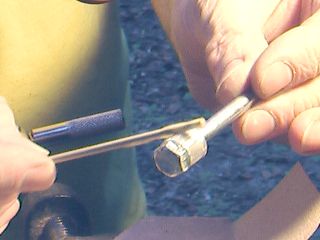
Mix up some epoxy.  5-minute epoxy should be OK for this purpose.  Coat the inside of the hole in the wood block, coat the screw head and bushing, and the lower 1/2 inch of the screw shank.  Be generous with the epoxy - we will wipe off the excess later.  Since the screw shank is a loose fit inside the bushing, the extra epoxy will make the assembly rigid once it hardens.  

Squeeze out epoxy  Coat hole in block with epoxy  Coat screw head, lower shank, and bushing with epoxy

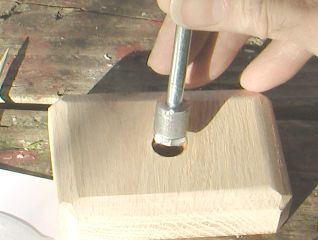
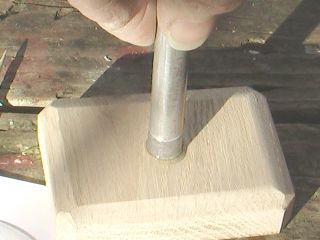
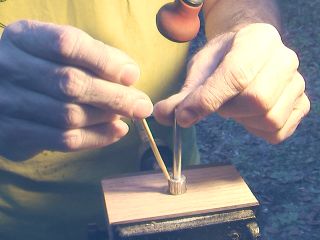
Insert the screw head and bushing into the wooden block.  Use the rammer to press it down until the bushing is only 1/16th inch above the surface of the wood.  Tap it lightly if needed, to get it to the right spot.

Insert screw head and bushing into wood block  Use rammer to press spindle assembly into block  Spindle assembly set to proper level

OK, that looks about right.  Now we must get rid of that excess epoxy before it sets.  
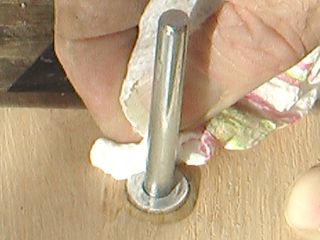
A paper towel moistened with a little rubbing alcohol works well.  
And while you are at it, give the spindle a good rub with the wet towel, to remove any epoxy that might be on it.  
Much easier to get it off now than after it hardens.  

Wipe off excess epoxy   Remove epoxy from spindle

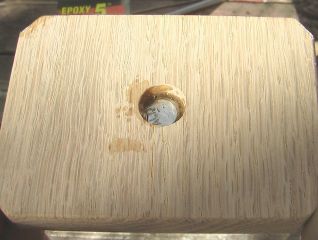
OK, now we need to fill that open hole on the bottom.  Let's hope our epoxy hasn't set yet....

Open hole on bottom of block

Too late!  It is globular.  Downside of working with 5-minute epoxy.  Oh well, just mix up some more.

Too late!  Epoxy has set

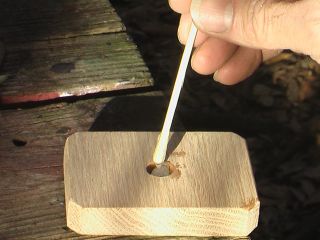
The spindle is placed in a hole in the workbench, so that the base lies flat.  Epoxy is dripped into the hole until it is filled....

Fill the hole with epoxy

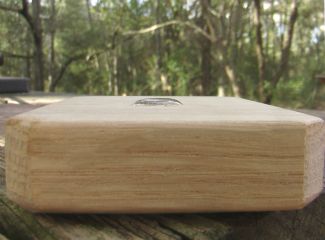
... plus a little.  I intentionally overfilled this hole a bit.  Once the epoxy has cured, I will sand it off flush.  

Epoxy bubble, slightly overfilled hole

One more step.  This one is optional, but I like it.  Varnish the wood.

Wood block has been dipped in polyurethane varnish

This block is small enough that I can just dip it in the can.  It will take awhile to dry, but this provides a very deep coat in one fell swoop.

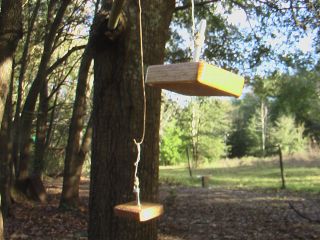
It is hung out to dry.  Look!  It has a friend!  Maybe they will mate...

Spindle Blocks hanging out to dry


No.  This one already has a significant mother.  

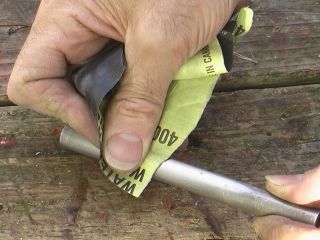
The rammer should be polished too, just to make it look nice.  
Go over it well with that wet-or-dry paper to remove all the gray stuff

Polish rammer with wet-or-dry paper

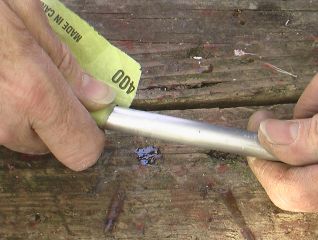
Pinch it in the sandpaper and twist, twist, twist to give it that "brushed aluminum" look.


Polish the rammer with wet-or-dry paper


Polished rammer  Polished rammer looks nice!


Luther The Drill Press Alternative

The drill press is optional.  But very useful.  

Hacksaws don't cut straight.  At least not when I'm using one.  They tend to run off to one side or the other as I cut, requiring more filing to get the end trued up.  

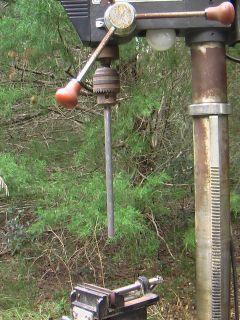
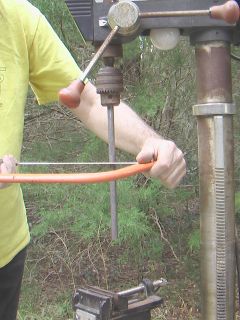
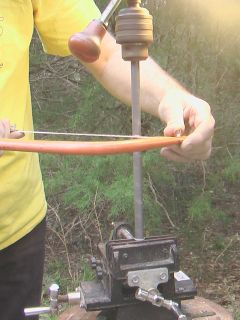
Here I've chucked a 1/2 inch tube inthe press to cut it in half.  The idea is that I will hold a hacksaw against the tube as it rotates, so the drill press does the sawing.  It's not so much a work-saver, but it should allow me to cut an orthogonal kerf.  "Orthogonal" is a big word for "straight."  

Aluminum tube in drill chuck Tube with hacksaw

But can you imagine the amount of vibration that I would encounter with this setup?  Lots!  It will shimmy and rattle and be less than optimal.  I'd be better off with the hacksaw.     

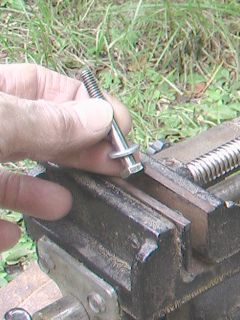
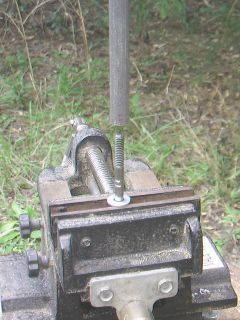
So I clamp a 1/4th inch screw firmly in the drill press vise, align it with the tube, and crank it up until it is inside the tube.  The screw provides a crude sort of bearing, supporting the tube at the lower end.  With two-point support, there is little vibration, and the tube is much easier to cut.  

 Place 1/4th inch screw in vise Raise screw into tube Cutting tube with hacksaw in drill press

First, I cut the foot-long tube in half.  Then I remove the bottom half, crank the vise up to the remaining tubing, and cut off a short section, 1/2 inch long to serve as the spindle bushing.  

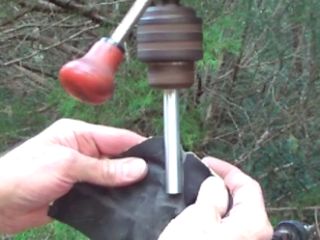
While the tube is still in the chuck, I take advantage of the spin and hold a piece of 400-grit sandpaper on it.  Gives it a nice "brushed aluminum" look.  

Tube is sanded with 400-grit as it spins


Screw head and bushing

Drll 1/2 inch dia. hole in wood block  Drilled 1/2 inch dia. hole, blew chips away  Spread epoxy into hole  


Apply epoxy to both screw and bushing

Insert bushing into block with epoxy


Press bushing in with rammer


Some glue is ejected when the bushing is pressed in  

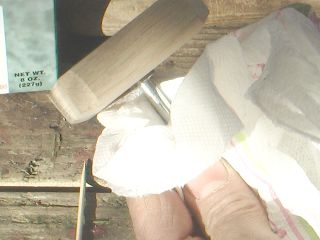
Wipe off excess epoxyWipe off excess epoxyWipe off excess epoxy

No, I'm not using my finger to wipe off the epoxy.  I'm pointing at something.

So.  The drill press is a really handy thing, and I recommend having one.  But in a pinch, these tools can be made with a hacksaw, a hand-held drill, a file, and little more.  

The resulting set can be used to make rammed-clay nozzles in 1/2 inch diameter motor tubes and rcandy grains inserted afterward and sealed in.  

Please check out the web page and the movies on making these motors.

Alternatively, this toolset can be used to ram dry-mixed propellant in small motors.  I have also made a few black powder motors using this set, and they worked fine.  

Jimmy Yawn
jyawn@sfcc.net
Recrystallized Rocketry